This has to be one of the toughest tests for a robot lawn mower. Long, wet grass, very uneven ground — and even a few curious sheep getting in the way.

This is the Yarbo Lawn Mower Pro. It looks like a tank and it’s certainly built like one. So I’m going to see just what it can handle.
The Yarbo Lawn Mower Pro is a little different to most robot lawn mowers I’ve tested. Rather than being a standalone mower, it’s one module that attaches to the Yarbo Core. The same Core can then be used with Yarbo’s other modules, including its snow blower, leaf blower and trimmer.
Setup and first cut
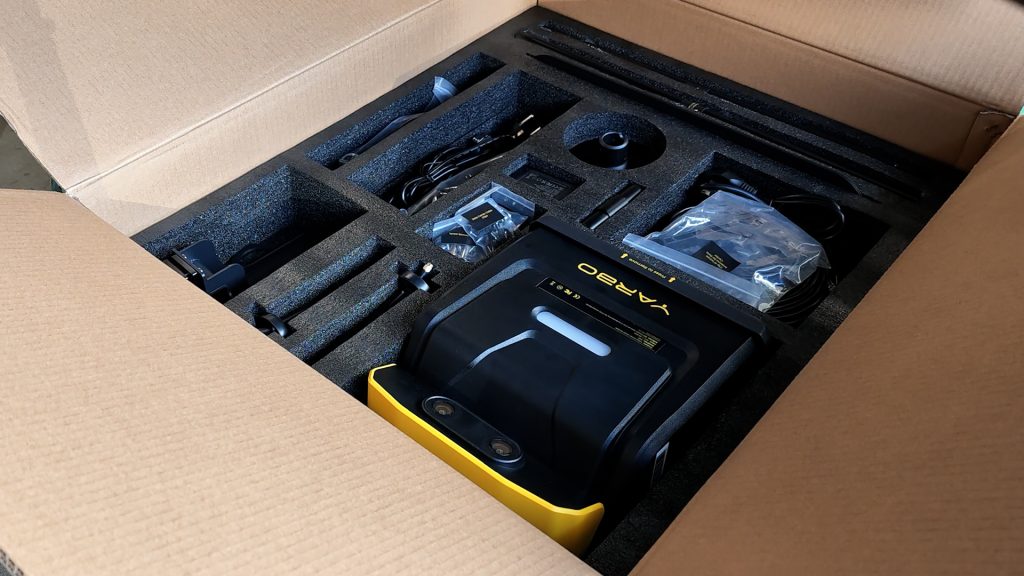
I got the mower system in a number of very large separate deliveries, so clear some space for its arrival! The Core unit is seriously heavy — you won’t be able to lift the box on your own.
Setup initially looks a little intimidating, but it’s actually pretty straightforward.
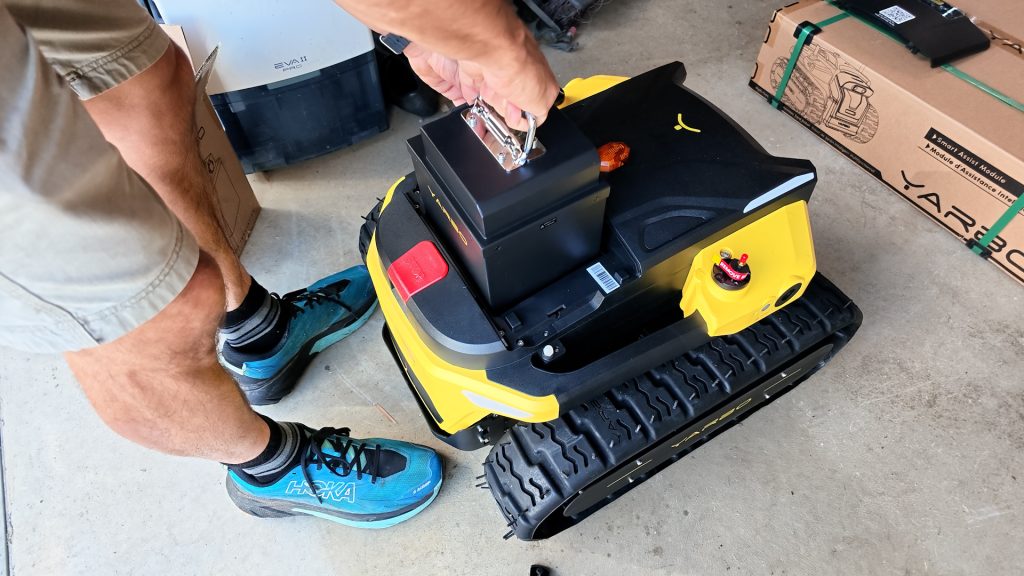
Basically, you unbox the Core unit by pulling the box off the top rather than trying to lift the Core out, which would be pretty much impossible. Then insert the 1382 Wh lithium-ion battery, connect its cable, and attach the GPS and HaLow antennas. I’ll explain HaLow a little later.
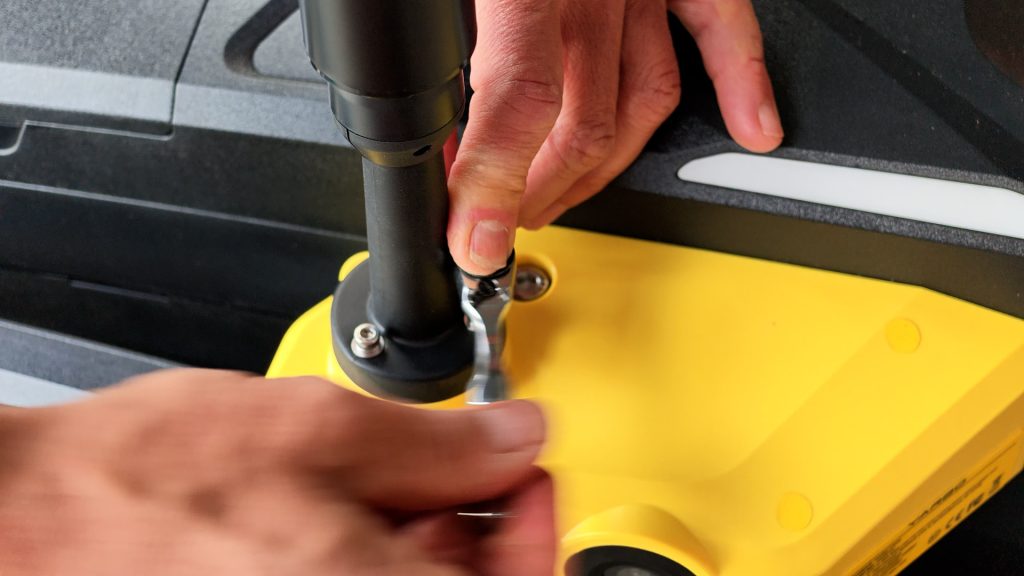
The Mower Pro module is more manageable and comes pretty much fully assembled. It comes fitted with blade discs, each with five small pivoting blades, which I used initially on my small test lawn. I’ll swap these out for the larger straight blades later when I test the mower in more demanding conditions.

The Core unit can be controlled without any attachment. There is an optional remote controller, but I’m just using the Yarbo app to move the Core unit to my back garden. I have some steep steps that I had to carry it up, so I didn’t want any attachments fitted. Even with some help, the Core unit was hard enough to carry up the steps on its own.
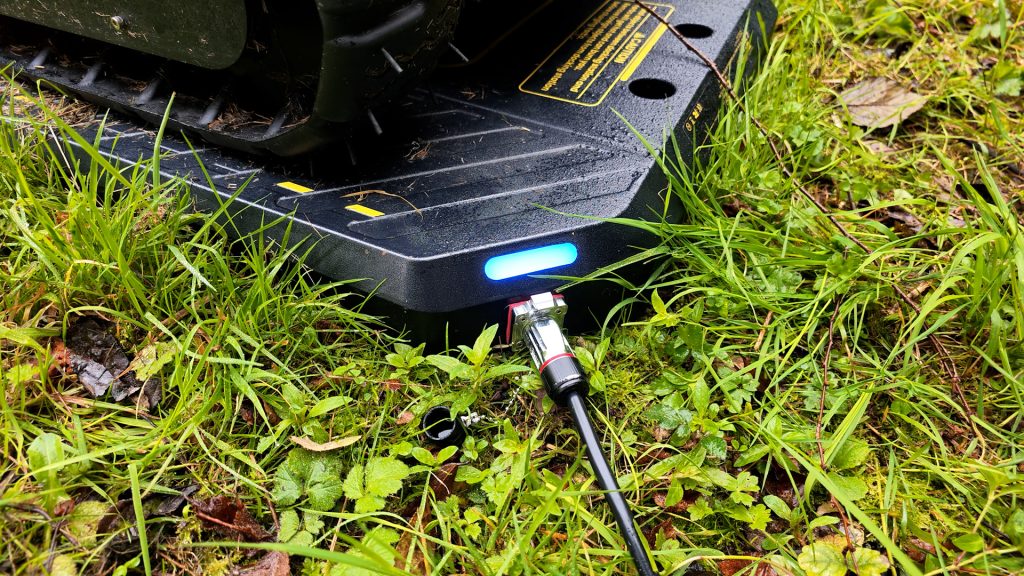
Then you can unpack and install the wireless charging base unit. You should put this in a suitable spot in your garden, ideally somewhere flat. The mower itself is IPX6 rated, but with our British winters, if I was leaving this permanently installed I’d probably still try to position the charging base somewhere reasonably sheltered. There’s hardware to fix the charging base permanently in place, but since I was moving it around between different lawns, I didn’t bother. For a temporary setup like this, it’s heavy enough to just sit in position with the supplied power cable connected.
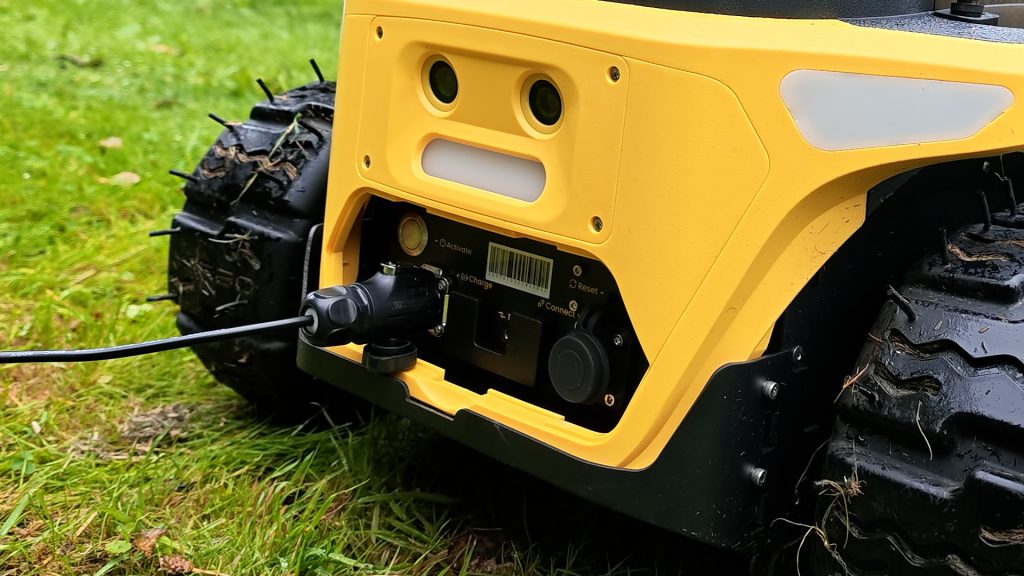
The mower also comes with a direct charging cable, which plugs straight into the Core unit itself if you don’t want to use the base station, although surprisingly this charges significantly slower than the wireless charging base unit.
I guided the Core unit onto the base station and attached the Mower Pro module. There’s a little knack to this that I’ll come back to later.
There’s also a separate RTK setup included. RTK improves the accuracy of standard GPS using correction data, allowing Yarbo to position itself to within a few centimetres. That’s important for accurately following virtual lawn boundaries without needing a perimeter wire.
Yarbo’s supplied RTK system needs to be installed and connected directly to your router with a wired network connection. It uses the Data Center, which communicates with the mower using that HaLow antennas I mentioned earlier. The advantage is that HaLow has a much longer range than conventional Wi-Fi, so you can maintain a wireless connection to the mower over a much larger area. On other RTK mowers I’ve tested, the RTK antenna has simply connected through the charging base, which can make installation a little easier, but you don’t get that same long-range connection back to your network.
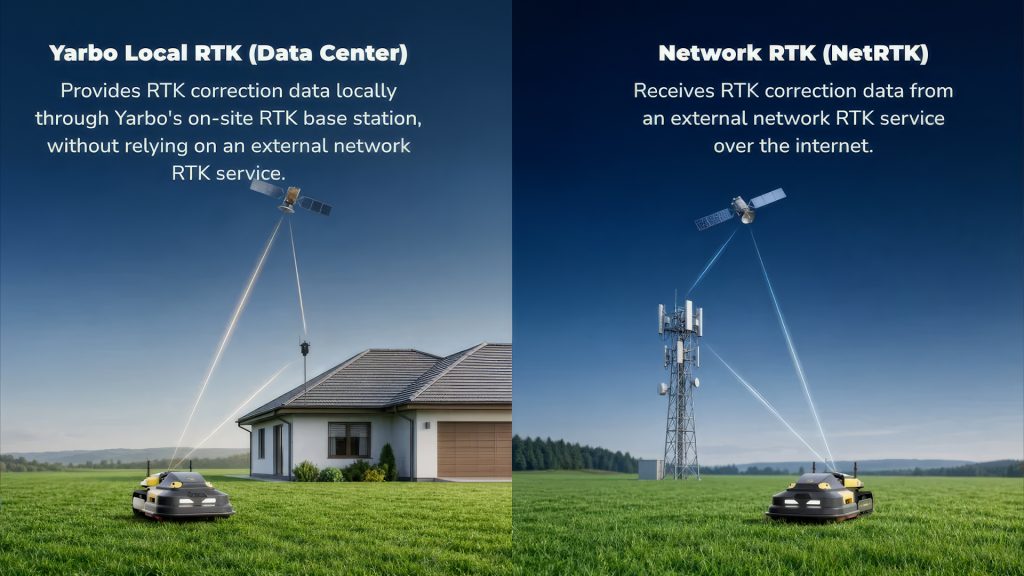
At the remote location I’ll be testing, the router is too far away to practically install Yarbo’s RTK system, so I’ll be using NetRTK instead. This receives the RTK correction data over the internet, so you don’t need your own RTK base station. There’s also no Wi-Fi coverage out in the field, so in my case the mower will be relying on its built-in 4G connection for that data. And using NetRTK certainly makes the initial setup a lot simpler.
That’s the hardware setup done. Now you can set up the mower in the Yarbo app.
The app initially connects over Bluetooth and guides you through the setup. In my case, I’m choosing NetRTK as the positioning service. It’s worth checking that you have Network RTK coverage before purchasing this mower if installing the physical RTK system isn’t an option.
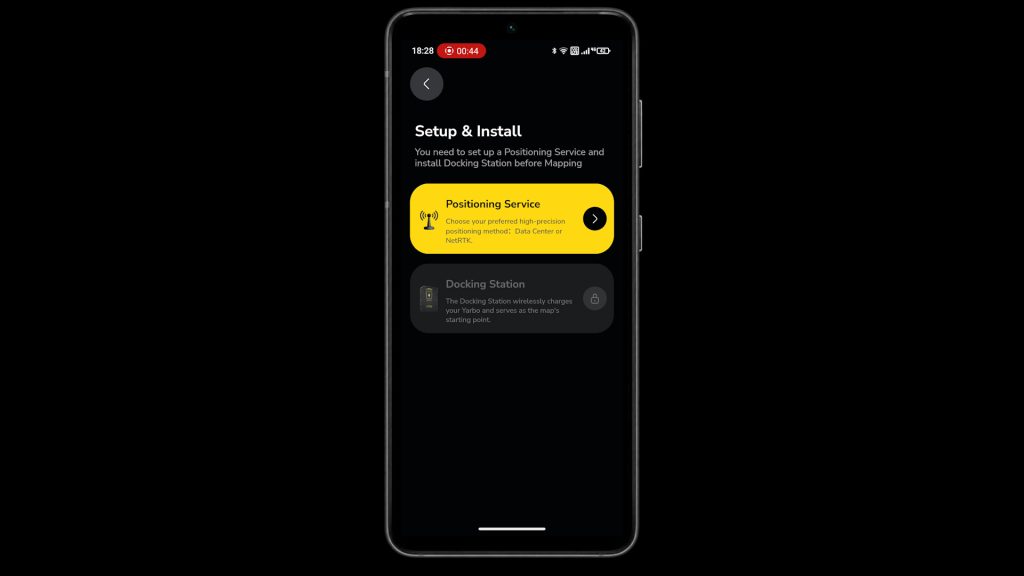
The app confirms I have coverage, initializes the NetRTK service, and then guides me through setting up the docking station before moving on to the main event — plotting the lawn.
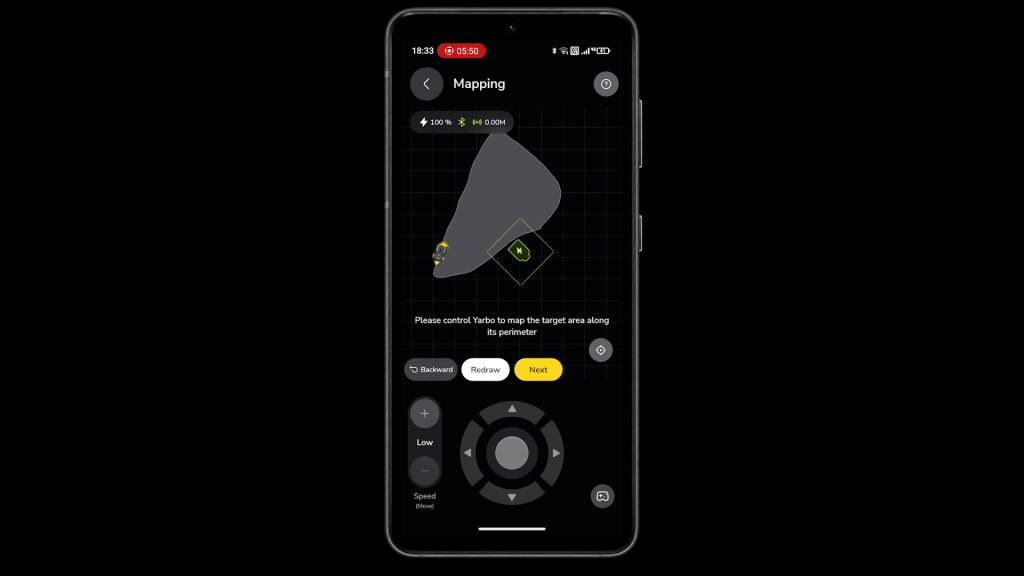
Plotting the lawn is pretty much the same as any other GPS-based mower I’ve tested. You control the mower around the perimeter of your lawn to create an Area.
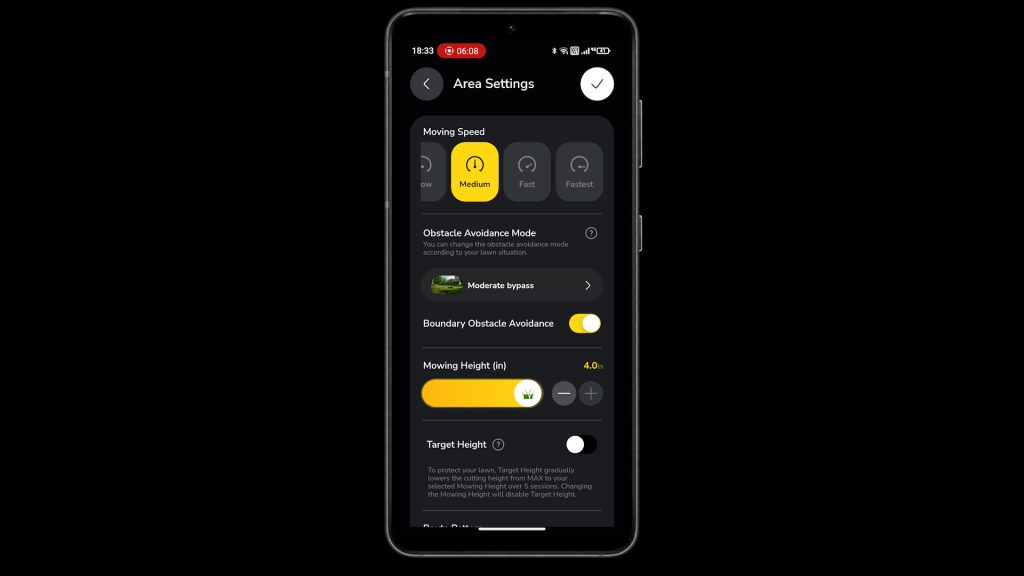
Then you configure your cut settings — the most important is the cut height, which you can set between 2 and 10 cm. I set this first cut with the blade discs to 5 cm. Most of the other settings you can leave at their defaults.
Finally, you need to create a Pathway between the docking station and your defined Area.
To start mowing straight away, you can add a Work Plan with your selected Area and then tap Start.
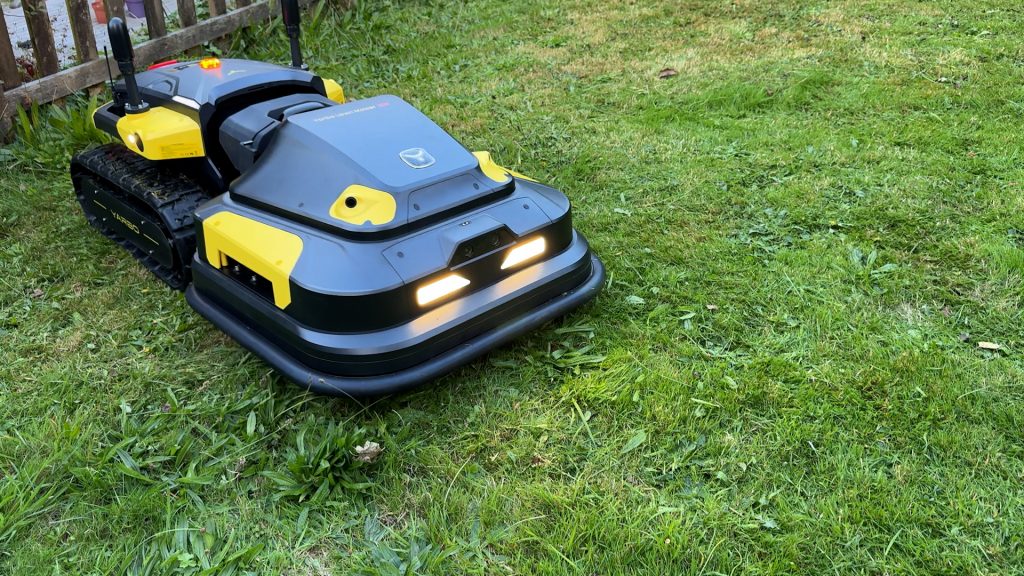
This is a tiny lawn, and the Core unit together with the mower is huge in comparison, which makes getting right into the edges and corners tricky. It mowed just fine, but I was using my home Wi-Fi and noticed that 4G wasn’t working.
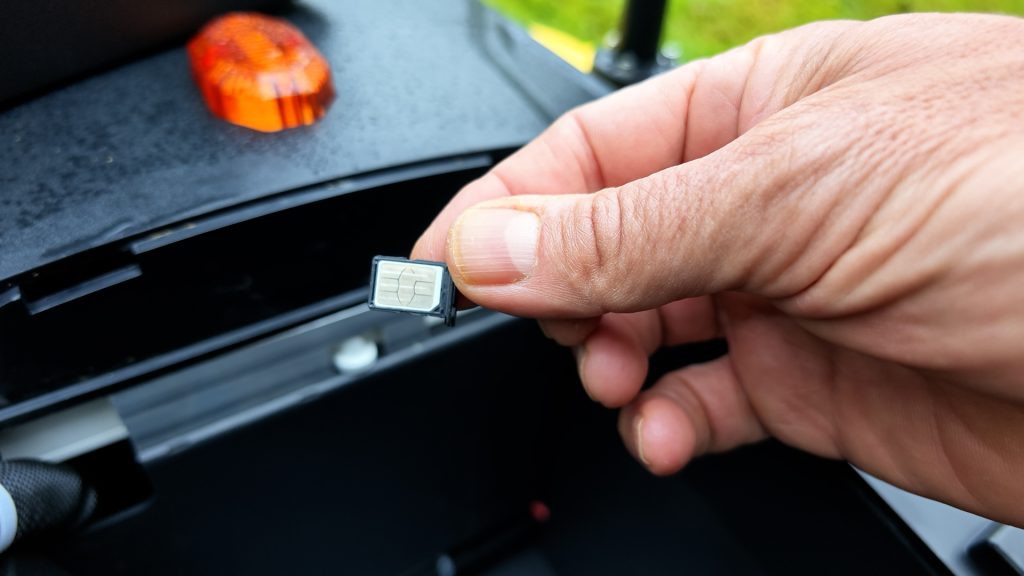
There’s a 4G SIM card already installed in the Core unit, and Yarbo includes a free period of 4G service, after which you’ll need a subscription if you want to continue using it. NetRTK itself is free for the lifetime of the mower, but if you’re relying on 4G for the data connection, you’ll need that 4G subscription. This had been working fine, but I was now getting an error message when trying to re-enable cellular.
I needed 4G working before moving to the remote location. You need either Wi-Fi or the built-in 4G connection when using NetRTK. A data connection also lets you control and monitor the mower remotely.
After a bit of back and forth with Yarbo support who were very responsive, it turned out I’d used up my data allowance – the error message could have been a little more helpful though. After adding more data everything worked fine, and I cut the small lawn again, this time when it was wet which didn’t cause the mower any trouble.
Tough field test
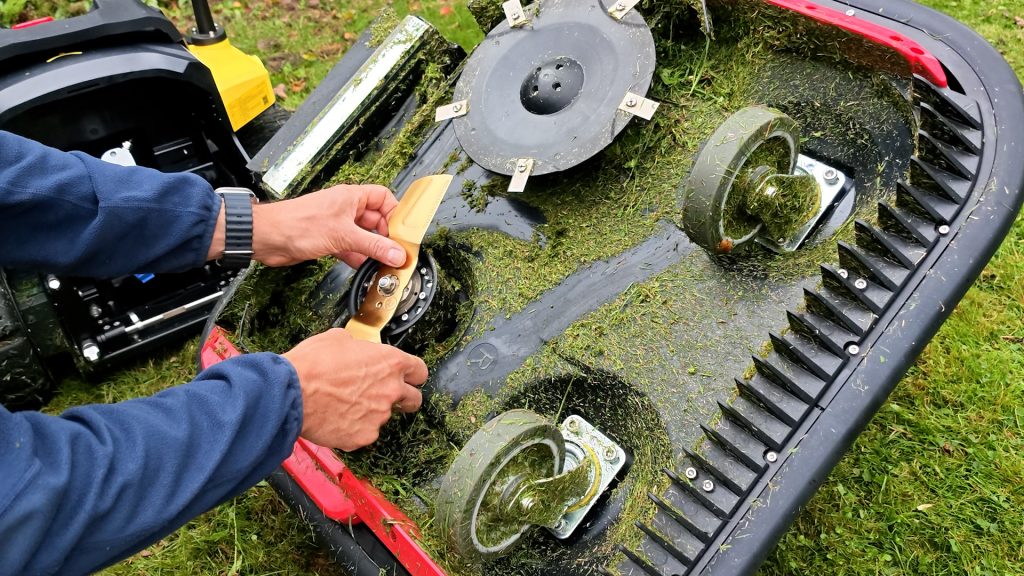
Happy that everything was working reliably, it was almost time to move to the farm. I knew the farm’s field I planned to cut had long, tough grass, so I installed the included straight blades.
These straight blades are one of the main differences with the Mower Pro compared to the standard Mower, together with more powerful 300 W cutting motors.
Swapping the blades is pretty straightforward. Just remove the blade discs and install the straight blades, making sure you fit the left and right blades on the correct sides. The straight blades are secured with small retaining plates and Allen bolts.
I loaded the Core unit and mower into the van. I enlisted the help of my son, but if you’re doing this on your own you might need to build a ramp. The Yarbo can manage up to 35° so it shouldn’t be a problem.
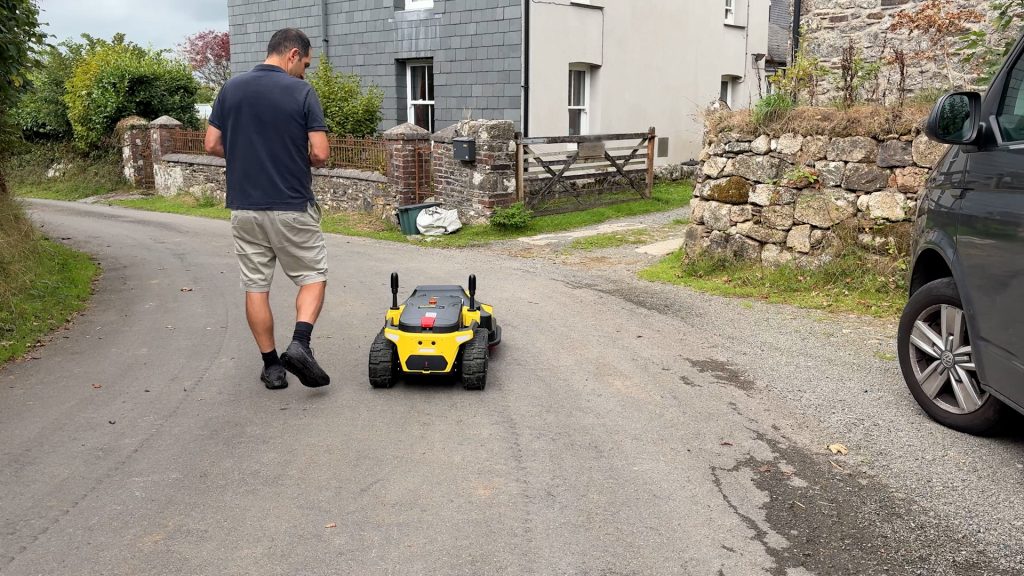
At the farm I drove the whole mower setup to the large sheep field, over some fairly rough terrain and it coped fine.
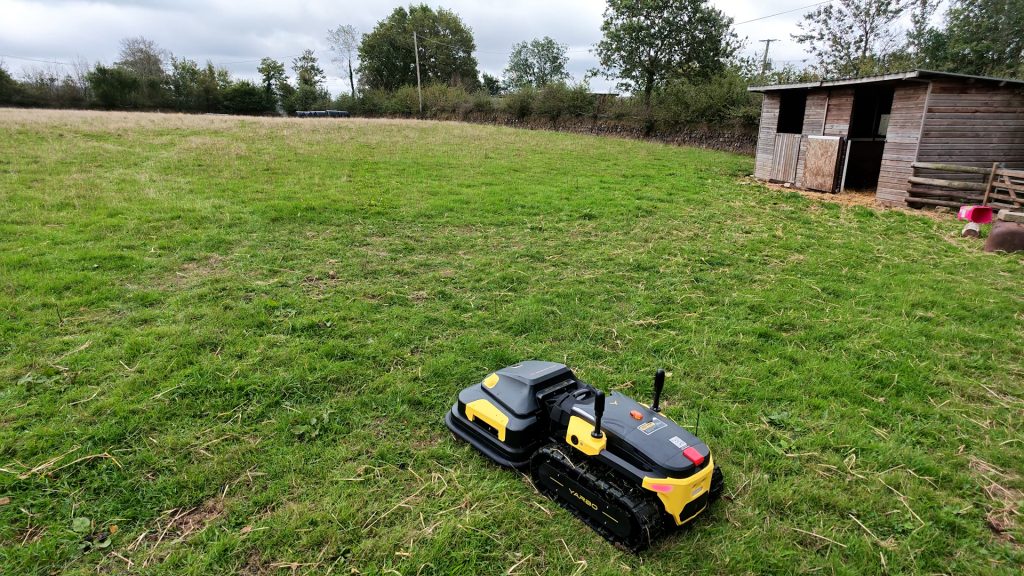
This field is a proper test for the Yarbo. It might be hard to tell, but as well as the long, tough grass, it’s very uneven.
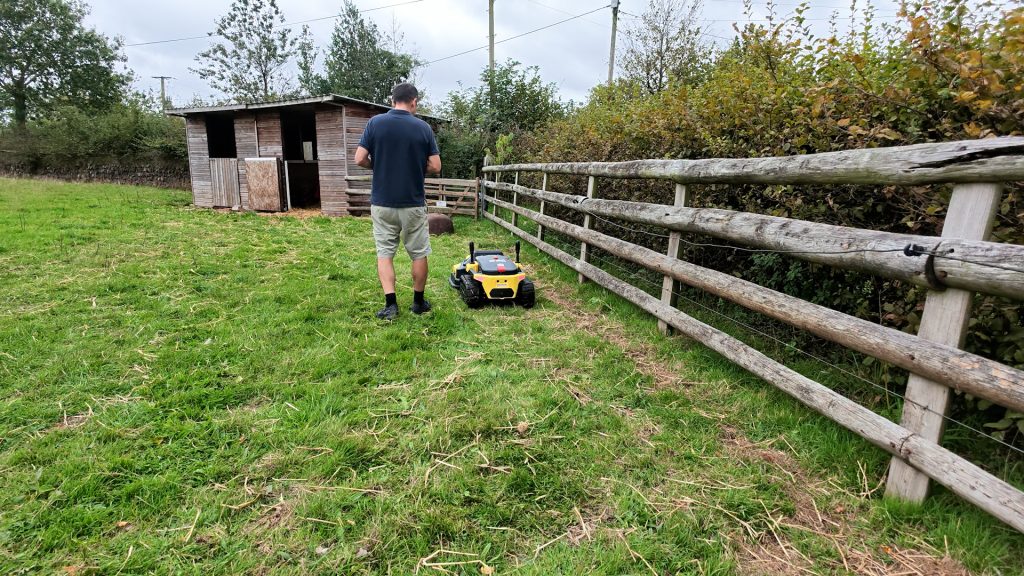
For this first attempt I hadn’t brought the charging base with me. I wanted to see whether I could simply take Yarbo to another location, map a lawn and start cutting.
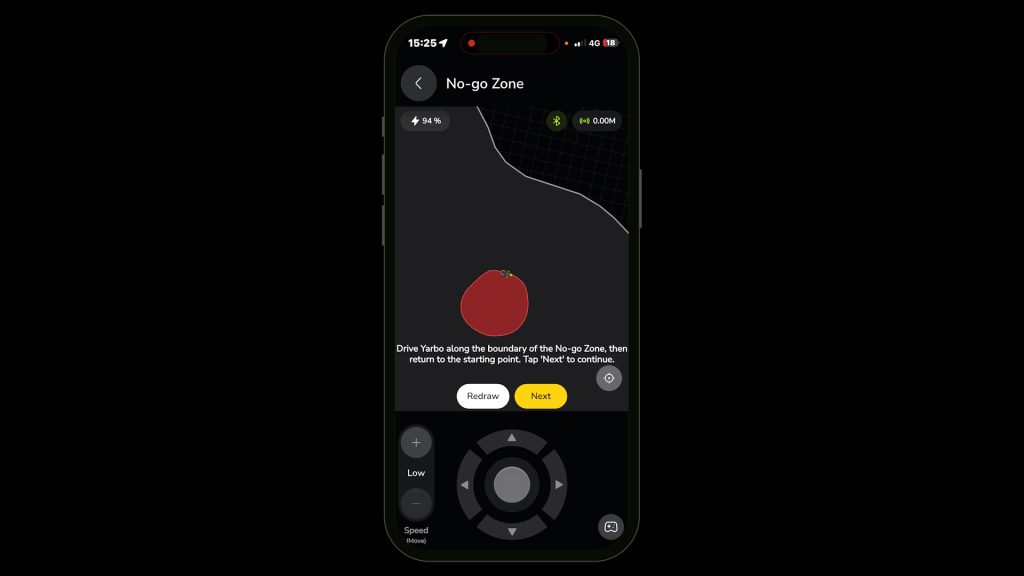
And you can — I mapped roughly three-quarters of an acre and added a no-go zone around an old bonfire area. It also started raining, so I had to disable the rain sensor to keep it mowing.

But with an estimated cut time of over five hours and around two hours of cutting possible from a full battery, I was obviously going to need the charging base for a proper test. I also found that at the maximum 10 cm cutting height, particularly with the grass this long and wet, the mower was tending to flatten it rather than cut it.
So this first attempt was a good proof of concept, but I came back the following day with the charging base and a long extension lead to complete a proper cut.
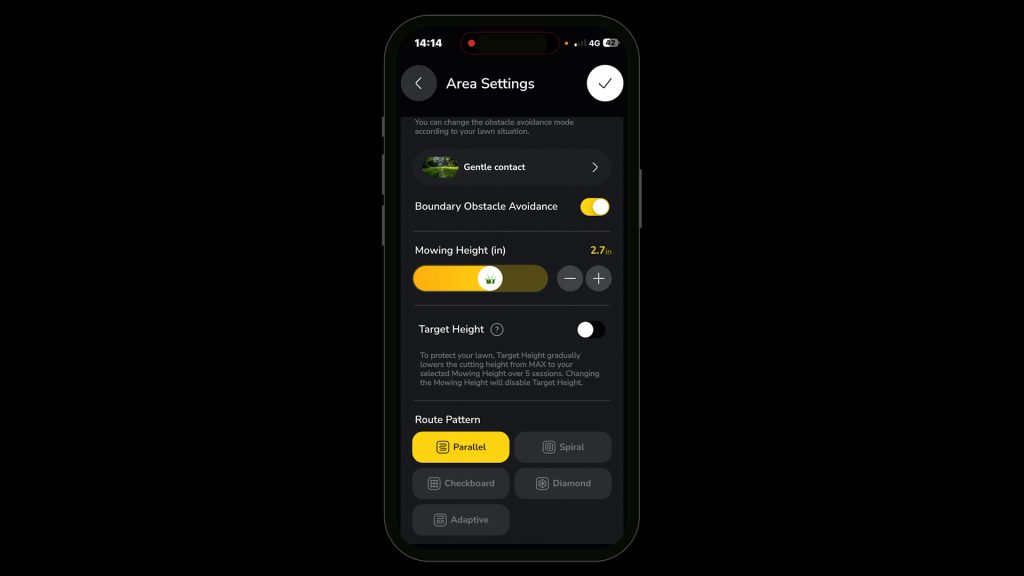
I mapped a slightly smaller area of the field — around 0.6 acres or 2400 m². I set the cut height to 7 cm or 2.7 inches — the mower gives you a warning if you go any lower.
There are loads of configuration options, but I changed the turning from Smart Turns to Zero Turns. They might not be a great idea on a show lawn, but they’re fine in a field like this and a little quicker.
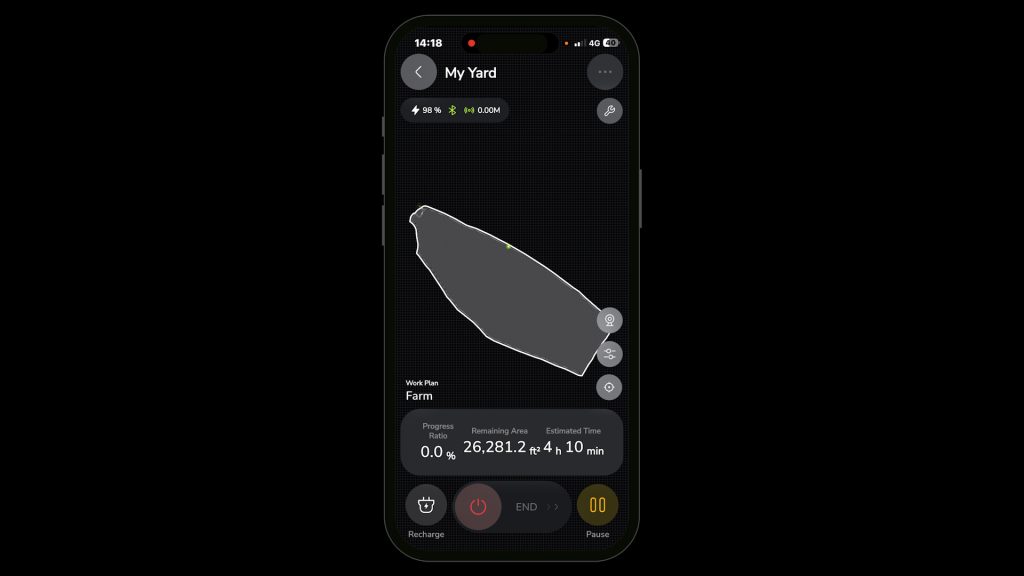
The app estimated it would take just over 4 hours and the Yarbo set to work.

With a large field like this, the mower relies mainly on GPS to cut in almost perfectly straight lines, and generally it does a great job. Mobile reception out here is very patchy, and occasionally the mower just stops waiting for positioning data — in this case because it needs a 4G connection to receive the NetRTK correction data.
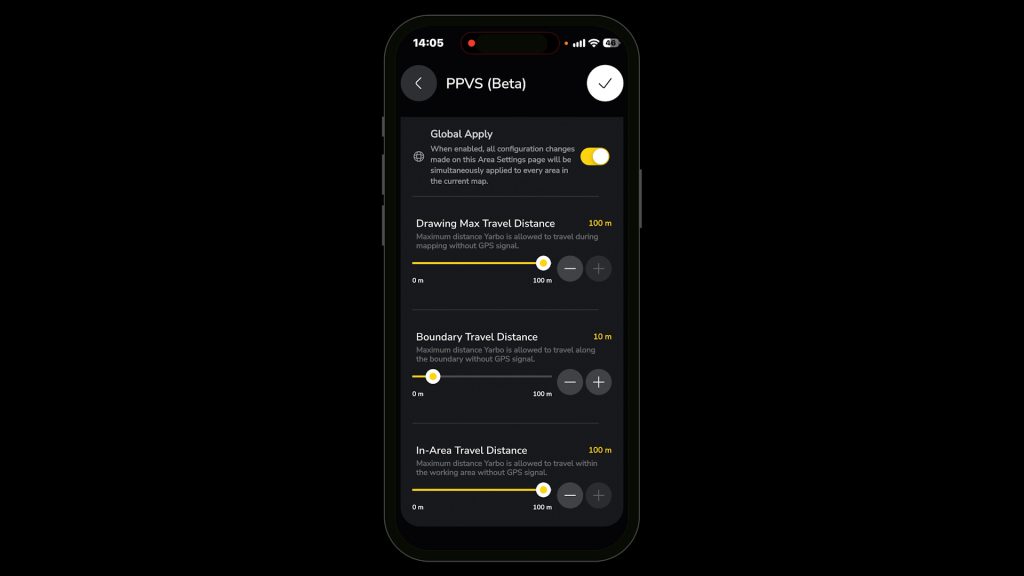
By default there’s a beta feature in the app called PPVS, or Precise Positioning Vision System, also referred to as dead reckoning. If the GPS positioning becomes unreliable, it helps the mower continue navigating for a configurable amount of time.
Even with this enabled, I did find the mower could miss small sections where it should be overlapping. There are plenty of configuration options in the PPVS settings, so I could possibly improve this.
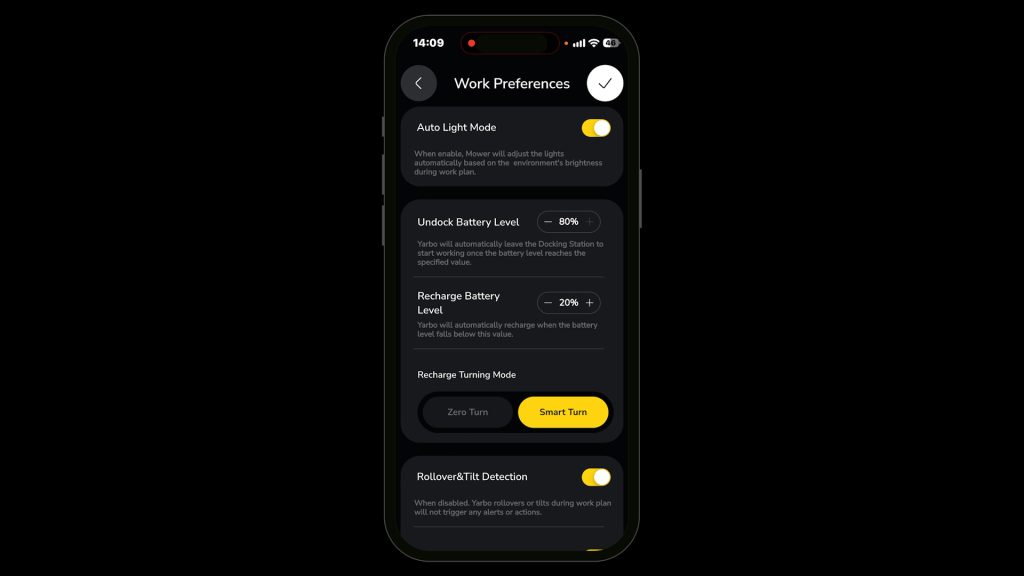
After around two hours, in line with Yarbo’s specification, the mower returned to the base station to charge. By default it returns at 20% battery and only charges to 80% before continuing, to help maintain the life of the lithium-ion battery. Charging takes around 90 minutes.

Yarbo rates the mower for lawns of up to six acres. That figure is based on the mower automatically charging and continuing throughout the day, covering up to around 1.7 acres per day. So if you’re mowing the entire lawn twice a week, Yarbo reckons it can maintain around six acres.

The mower then carried on into the evening.
I decided to increase the overlap further in the app and give the field a final cut, dropping the blades slightly to 6 cm. I set this all up remotely from home over the 4G connection and left it cutting overnight.
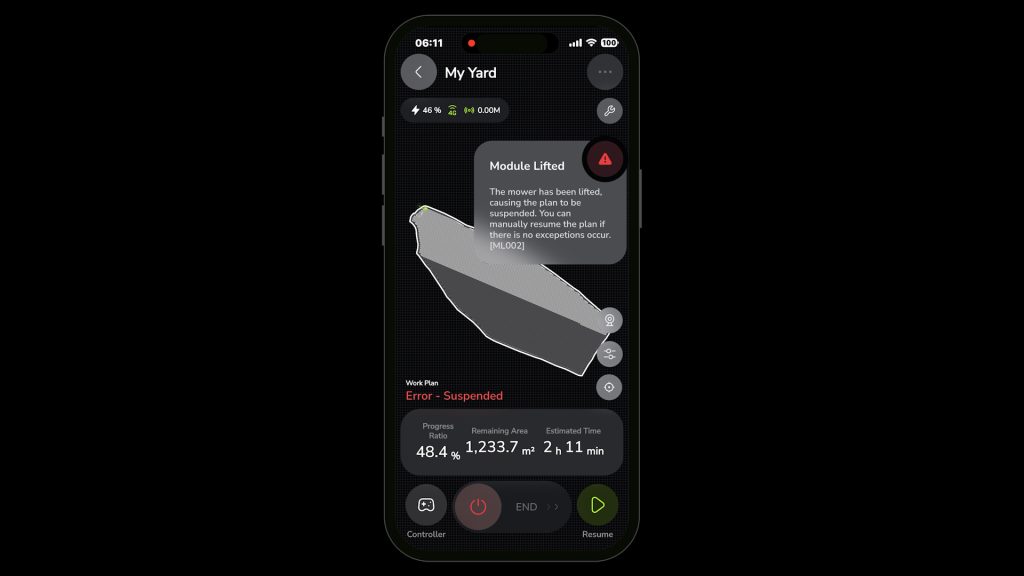
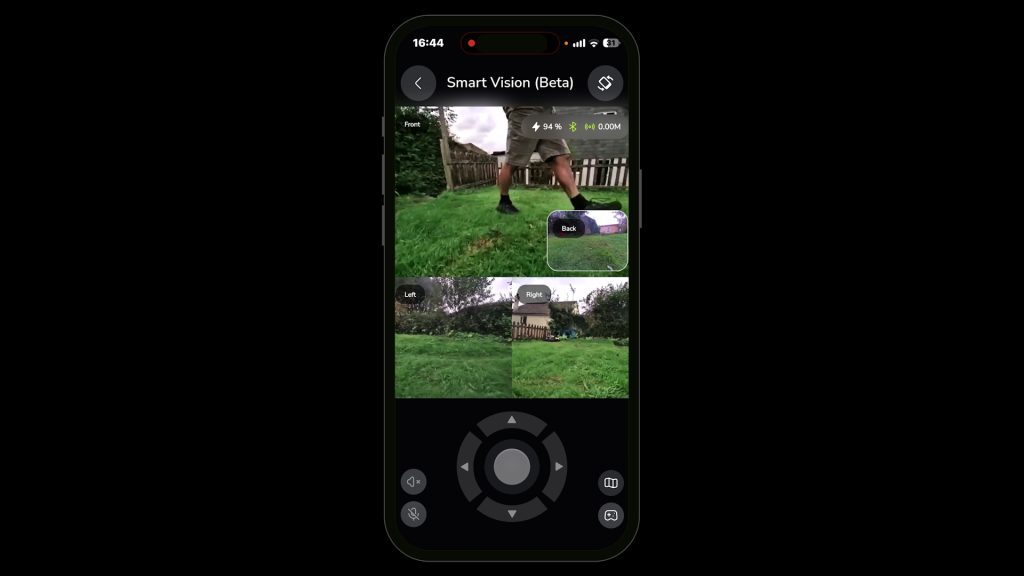
Checking on it in the morning, it had stopped roughly halfway with an error saying the mower had been lifted. I’m around 15 minutes from the farm, so I turned on the mower’s cameras and manually controlled it back and forth. It took a couple of attempts, but I did get the mower to continue.
There are some fairly major mounds and divots in this field, so I assume it had got itself stuck on one of these. I would have liked to see the mower try to sort this out itself rather than just stopping, but it’s not a huge deal.
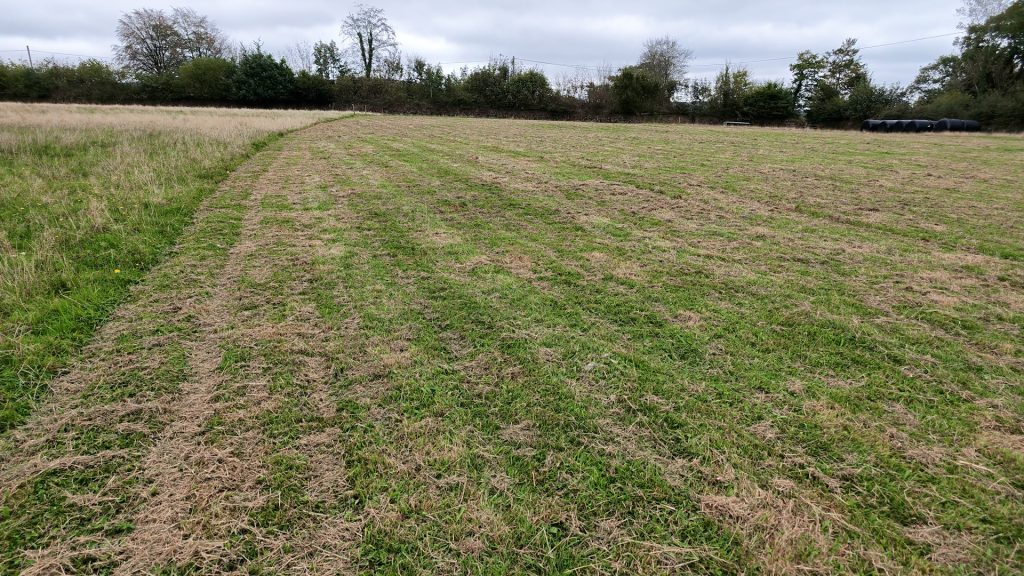
The mower lasted a little longer this time, obviously because it was cutting less grass, and got to 62% before having to charge. I returned later to see the finished field, and the final cut was impressive. It’s hard to show with photos alone just what a good job it had done on such a tough field, bringing all that long, rough grass down to a pretty even 6 cm.
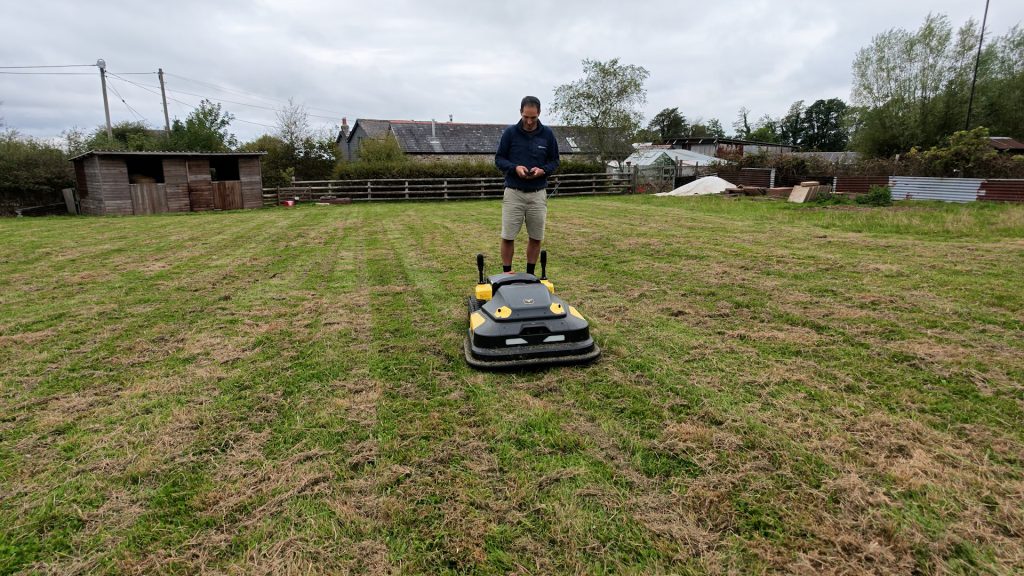
The only fault I could find was still a few very small strips where I’m guessing it briefly lost positioning. But these would be tidied up in future cuts. For completeness, I manually cut them — you can turn on the motors and manually cut sections of lawn if you want.
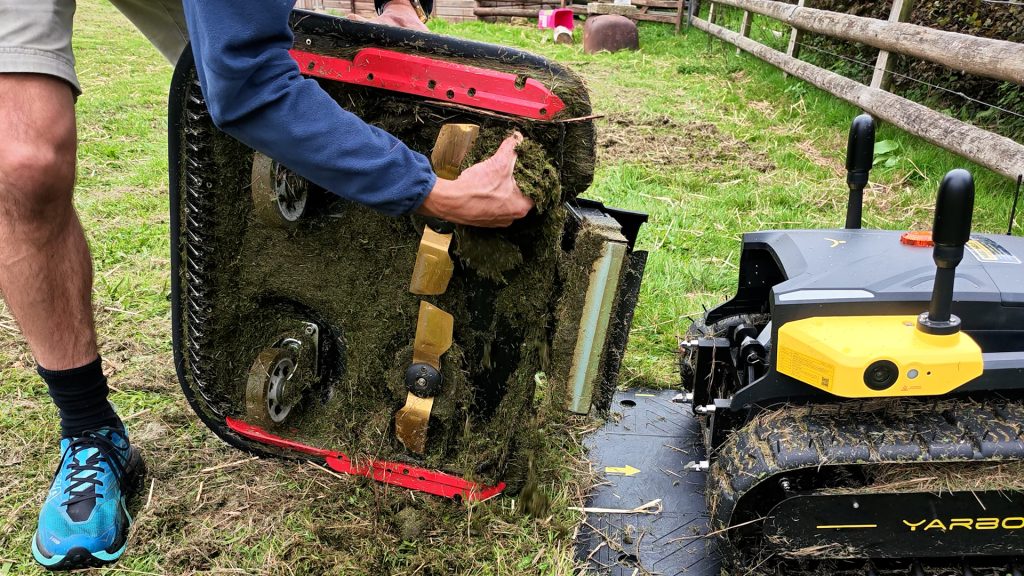
After a fair bit of cutting of thick and damp grass, I thought it was time to give the mower a clean. Another advantage of the straight blades on the Mower Pro is meant to be the reduction in clogging. And although there was some grass to clear away, they’d done a very good job. And not once in over 10 hours of cutting this field did the motors stall.
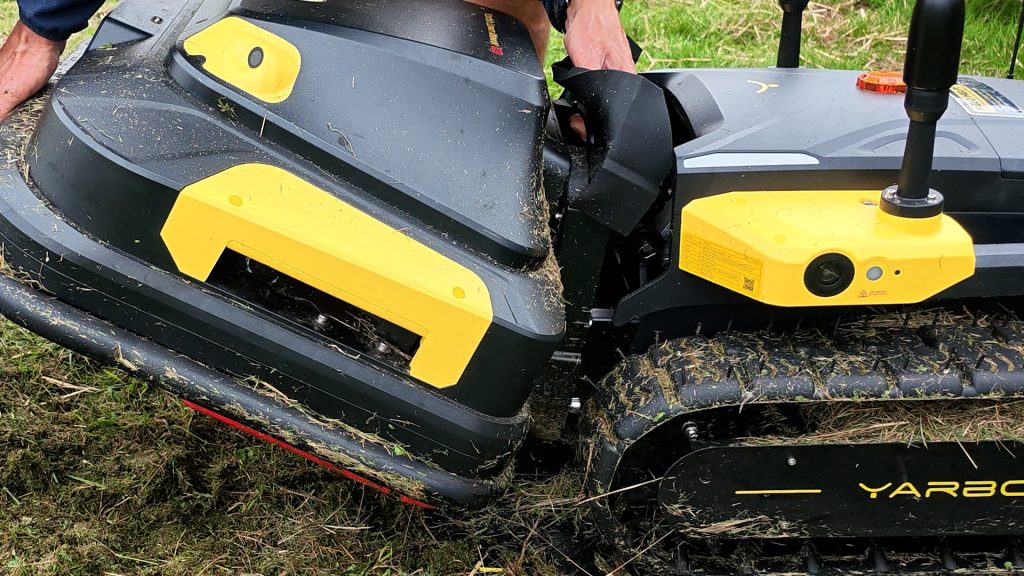
I then reattached the Mower Pro module. It took me a few goes to get the hang of this. You need to lift up the locking latches, align the mower with the top posts, lock down the latches, lower the module to the ground, and finally seat the rubber cover.
Garden lawn test

The final challenge was a more conventional lawn with long damp grass and a small slope at the corner. To get to this lawn, I controlled the mower back around the farm and through a narrow passage between the house and the farm wall. I did have one slight collision along the way — this is where the physical controller would have been nice.
The 4G signal near the house is even worse, and it did take a little while to get a reliable enough signal to map this lawn. But you really notice the large 500 mm cutting width of this mower. Even at normal mower speeds, the Yarbo cut this lawn very quickly — the app estimated just 23 minutes — and again, you get those nice, straight lines across the lawn.
Like most robot lawn mowers, it’s quiet too. You barely hear it cutting, really just its movement. The noisiest element is the voice notifications when it returns to the charger, but fortunately you can mute the mower in the app.
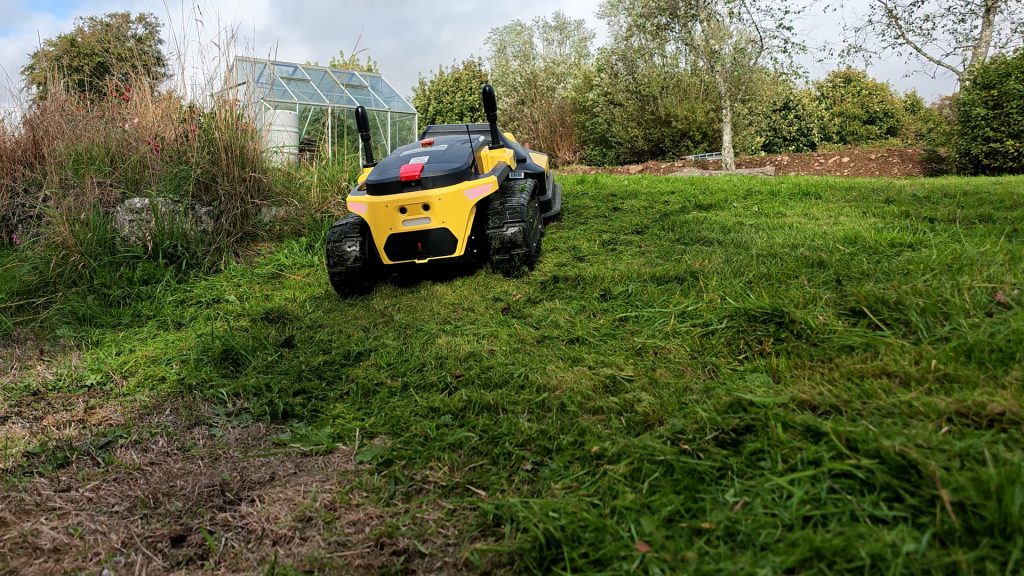
Yarbo claims the mower can handle slopes up to 35°. I couldn’t find a slope quite that steep, but it manages this 20° slope just fine.
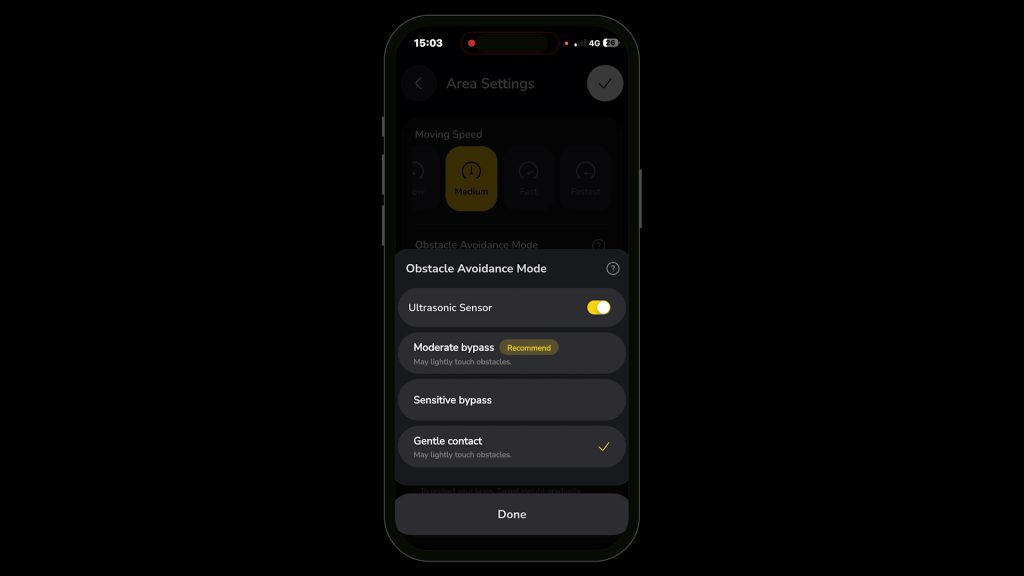
So far I’ve mostly been running the mower in Gentle Contact mode. The mower uses its cameras, ultrasonic sensors and physical collision sensors to navigate around objects. Gentle Contact mode allows the mower to make light physical contact with obstacles rather than trying to avoid everything it detects.

This is the right setting to use in longer grass, but in my testing it was less gentle than I’d expected. I had to exert quite a bit of force to stop the mower ploughing through this obstacle. So do check your lawn is clear if you’re going to use this setting.

In its default Moderate Bypass mode, it’s far more cautious and works as you’d expect.
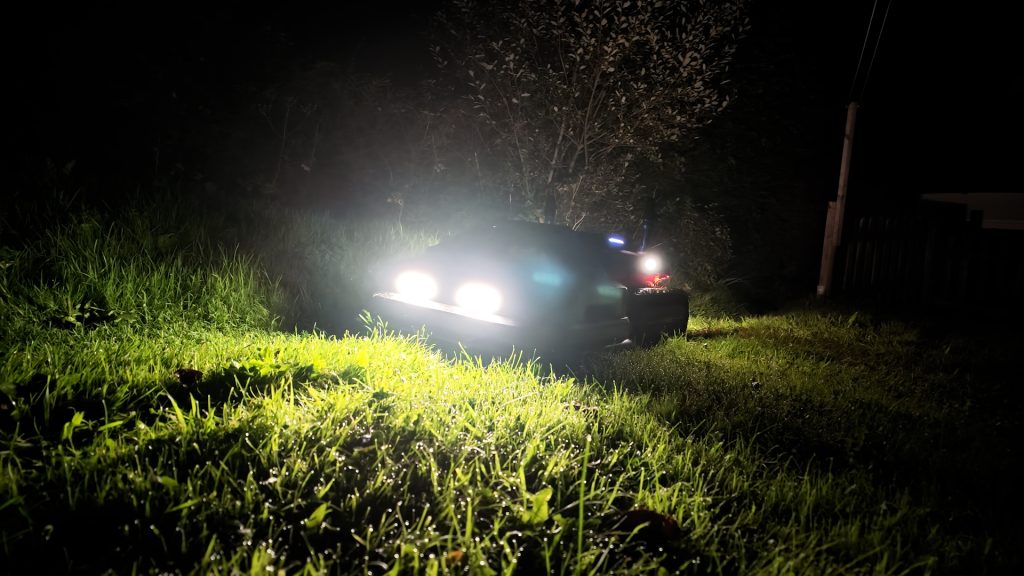
It’s worth noting that there’s no LiDAR sensor, so when mowing at night it relies on its built-in lights for the cameras, together with the ultrasonic sensors.
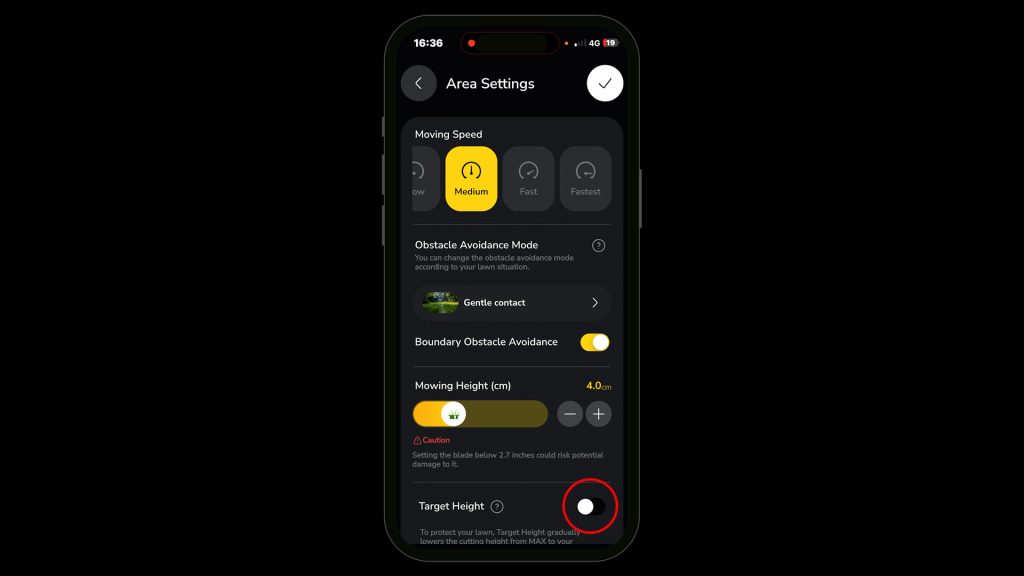
After mowing the long lawn at the recommended 6.9 cm, I lowered the blades to just 4 cm. In real use, you’d want to use the Target Height feature, where the mower gradually lowers the cutting height to your target. But I wanted to see if I could bog down the motors.
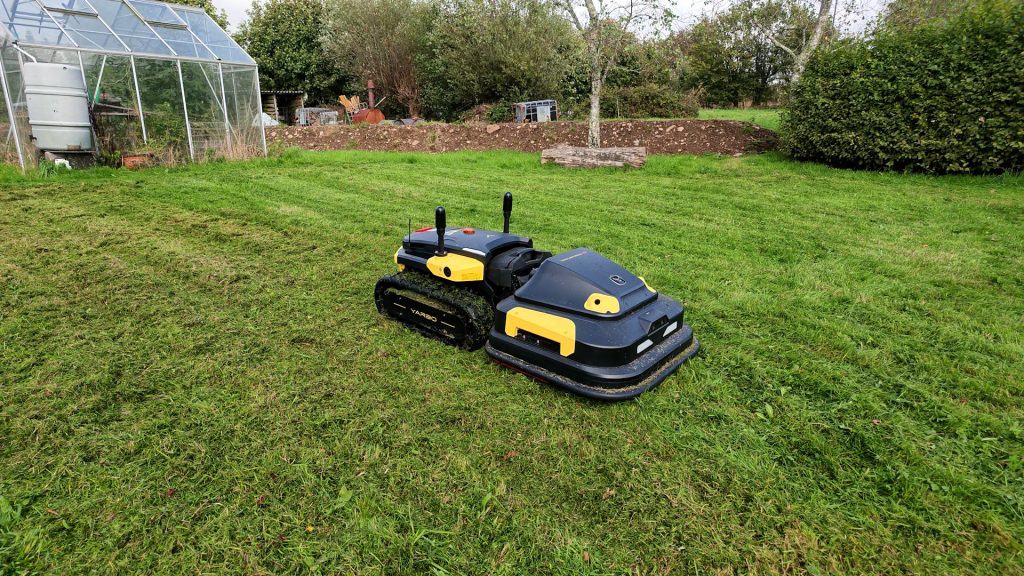
Each blade runs off a 300 W motor, which is around twice the power of other mowers I’ve tested, and Yarbo’s standard Mower module.
At this lower height, again with the damp grass, I could definitely hear the motors straining slightly over some sections, but they never stalled.
Conclusions
The Yarbo Mower Pro is a very impressive robot mower, both in its build quality and its performance. I’ve tested it in some pretty tough conditions, and I’ve not really managed to find the limits of its mowing capabilities. It has occasionally got stuck, albeit on some huge divots, but thankfully I’ve never actually had to manually lift and move it — I’ve always been able to remote control it out of difficulty. And it cuts beautifully, even through long, wet, tough grass.
The only real issues I’ve had are related to 4G coverage, which isn’t really the fault of the mower. And even in this rather extreme use case, it’s still managed to recover and continue mowing. In normal circumstances, you’re not standing next to it waiting for it to recover, so you probably wouldn’t even notice.
And if 4G coverage really is an issue, Yarbo does include its Data Center, which uses a long-range HaLow wireless connection to communicate with the mower. It just requires some additional setup.
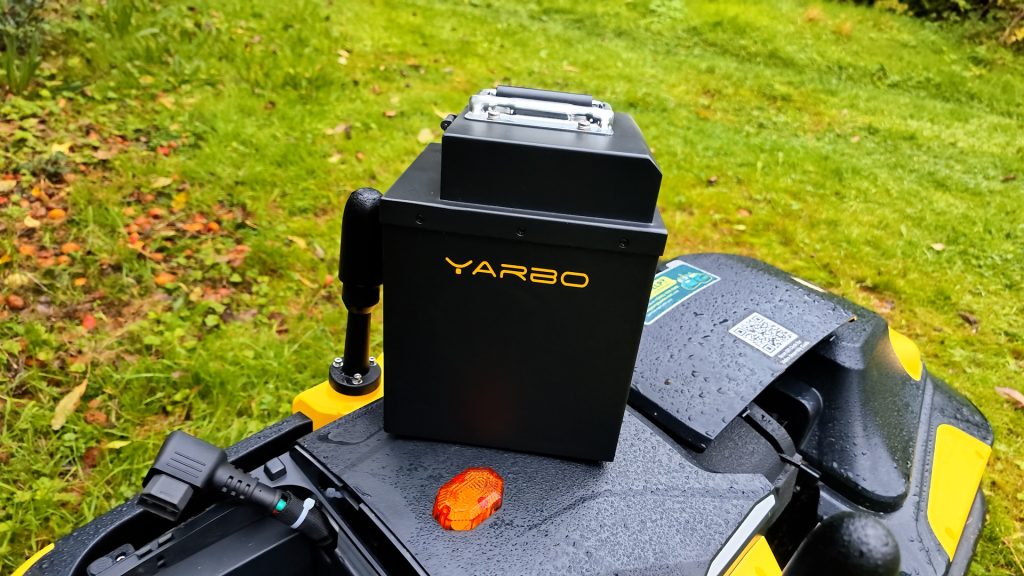
I would like to see an upgraded LFP battery. It might add a little extra weight, but considering the number of charge and discharge cycles this battery is likely to go through, LFP makes a lot of sense. Its longer cycle life could also allow Yarbo to recommend using more of the battery’s capacity, rather than the default 20–80% range.

I’ve not even tested the additional modules — probably the most useful for me would be the trimmer module to get right to the edge of your lawn. But the mower has other interesting features I’ve only briefly tested, like the Patrol Mode with the included SAM, which can autonomously patrol your property and alert you if it detects someone.
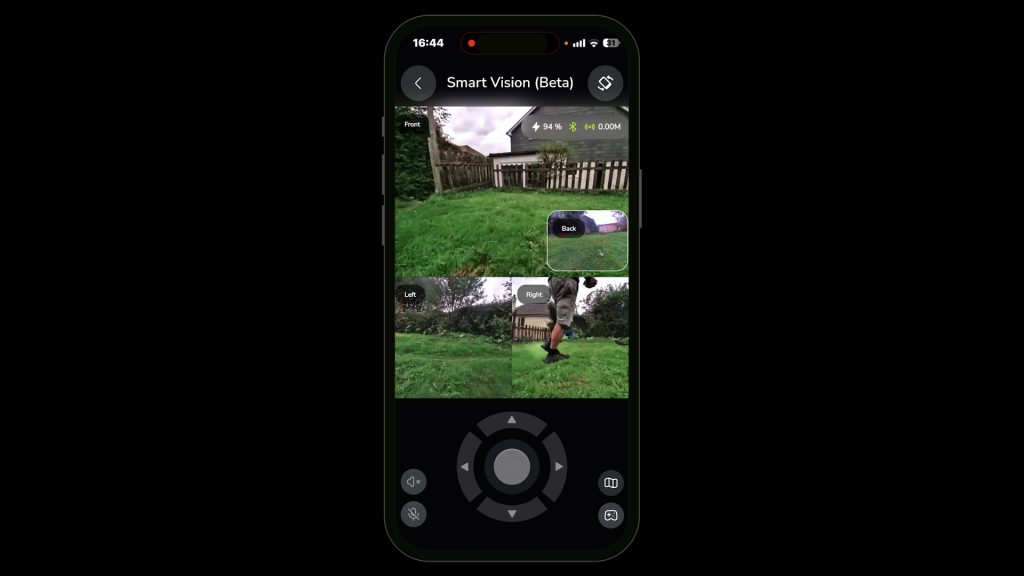
Even without that, it’s a useful security feature being able to remotely view all four cameras through the app.
This certainly isn’t a cheap system, but if your budget allows, it’s the most capable robot lawn mower I’ve tested so far. For managing a larger property of an acre or more, particularly somewhere with distinct seasons where you can make use of the additional Yarbo modules throughout the year, the complete system could actually represent good value – especially compared to paying someone to take care of those jobs for you.
Purchase links:
Yarbo Lawn Mower Pro Combo:
https://yarboeu.pxf.io/oN6JMe
Purchasing through my link helps support the channel at no extra cost to you.
Leave a Reply