The Luba 3 AWD is Mammotion’s latest wire free robot mower. You no longer need a GPS antenna for centimetre accurate mapping, which makes the setup truly plug and play. It also now has 360° LIDAR alongside dual cameras for more precise mapping and obstacle avoidance.
In this article I’ll cover the different model options, just how easy the unboxing and setup process is, and my initial impressions after a few weeks of use.
And in the follow-up article, I’ll be taking a more in-depth look at the features and real-world performance after more extensive testing, including how it compares to other robot mowers I’ve reviewed, to give my final verdict.
So let’s take a closer look.
Overview
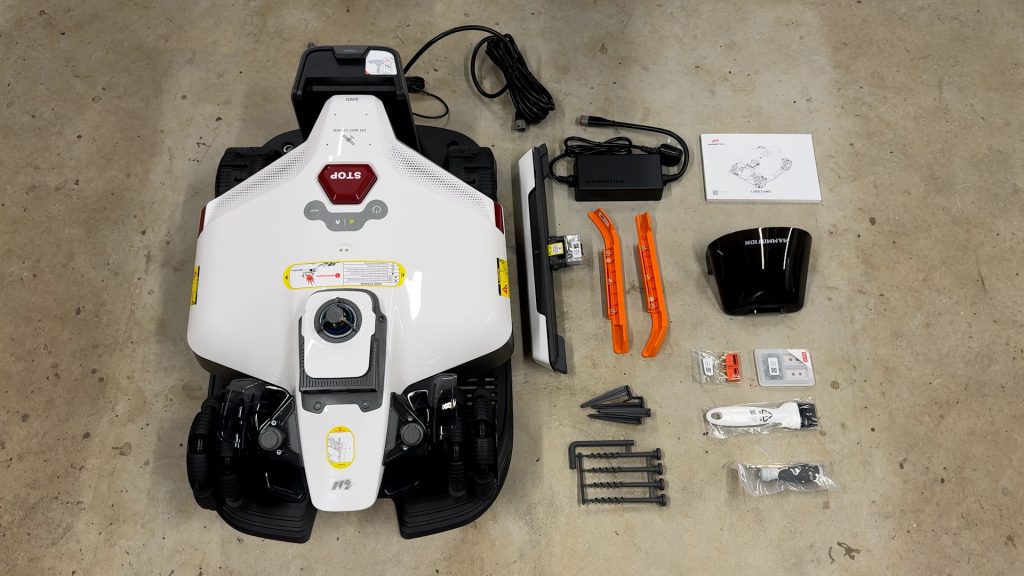
In the box you get the charging station, the mower itself, the power supply, the front and side bumpers, plus a few extras for installation and maintenance including tools and spare blades.
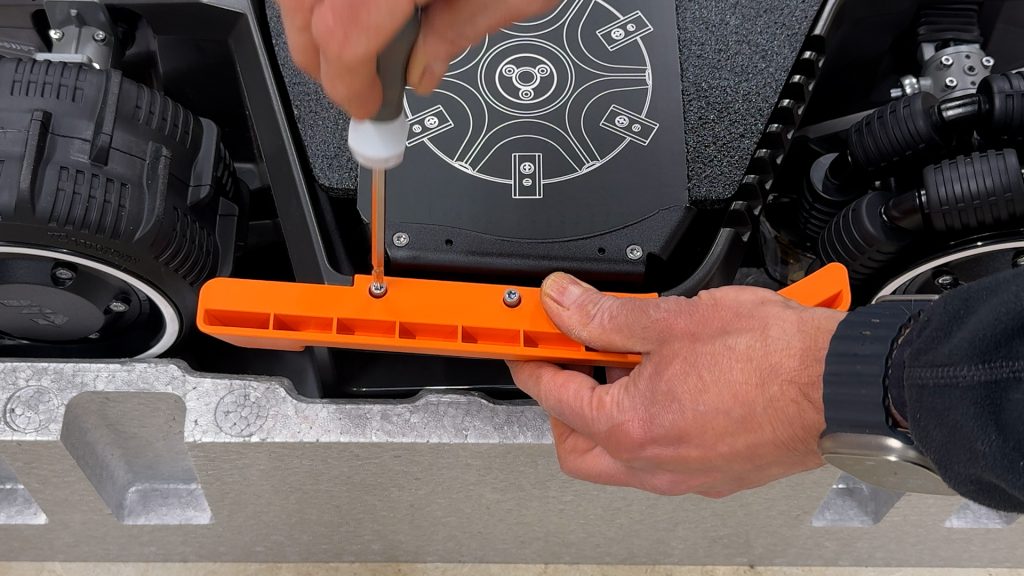
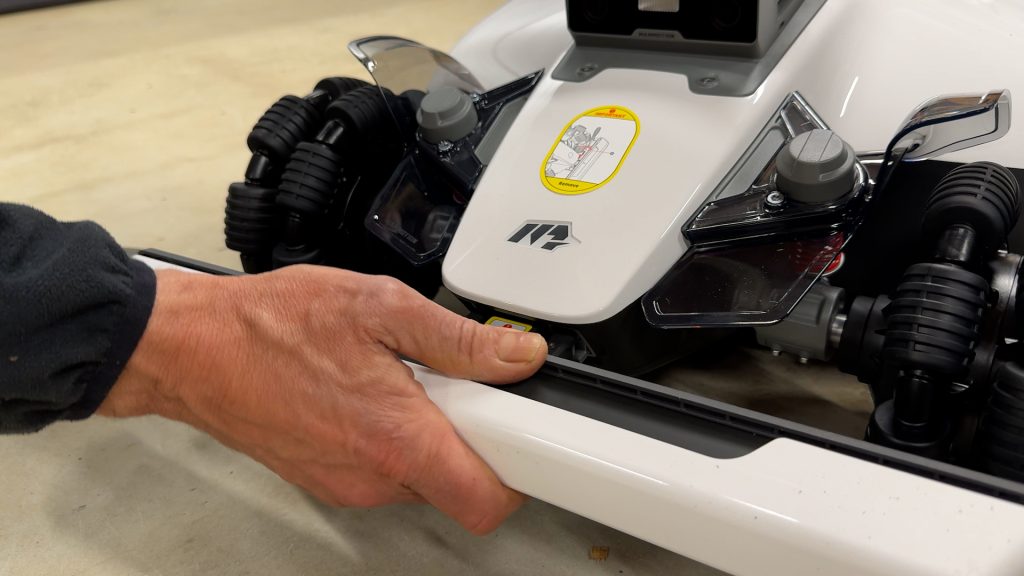
Setup is super easy. Place the mower upside down in its packaging, attach the side bumpers, remove the blade guard, fit the front bumper and secure it with the two screws, then finally insert the security key.
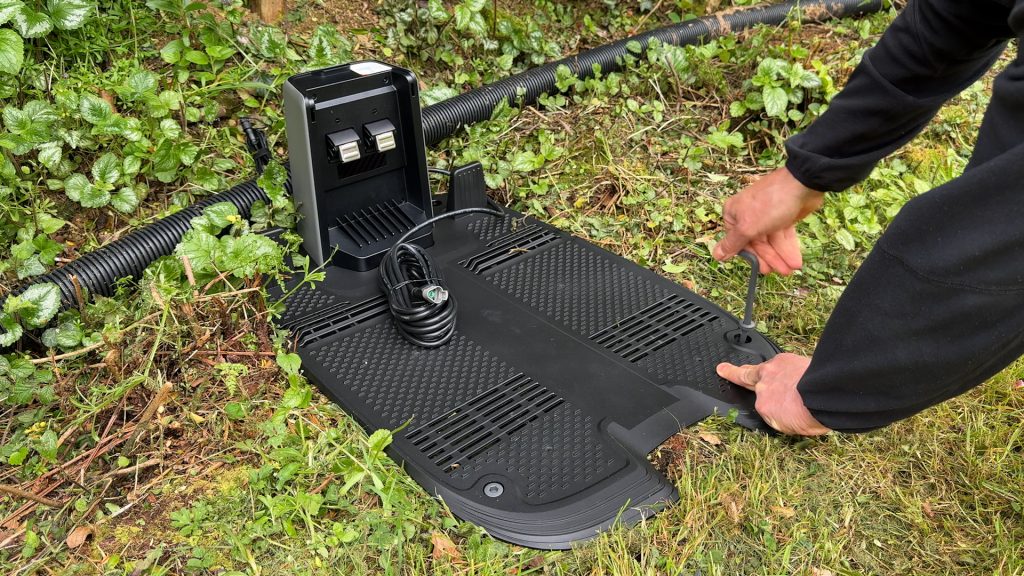
Install the charging station somewhere flat and close to power, plug it in, dock the mower — the side LEDs will light up red to show it’s charging — and then attach the rain cover.
Mammotion has a full setup guide video, but honestly that’s basically it. It took me less than 20 minutes.
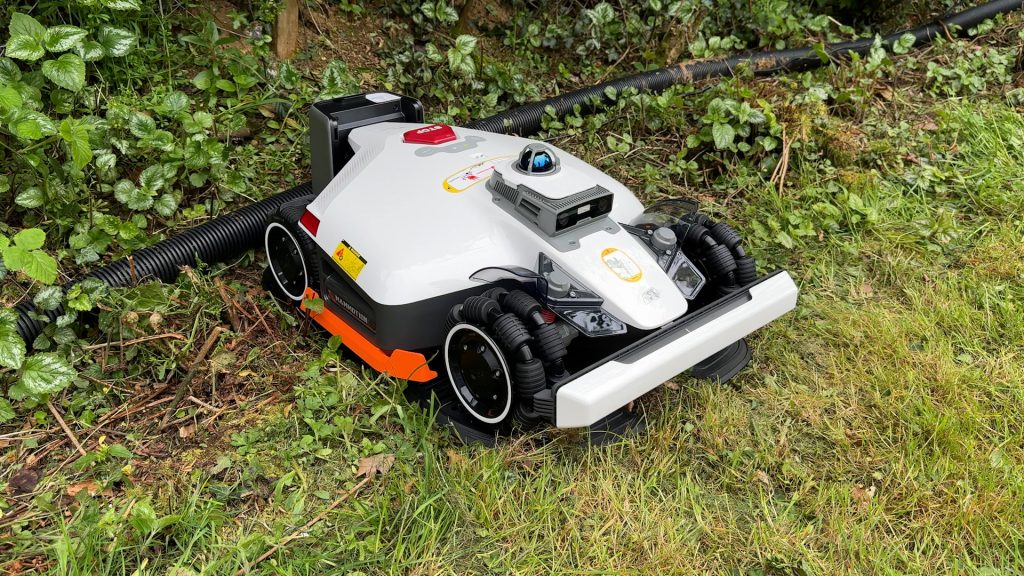
Physically the Luba 3 feels very well built and premium. It’s made of metal and tough plastic.
The large off-road wheels give it a much more capable look than cheaper robot mowers, and the front omni wheels should help it turn tightly without damaging the grass too much.
It also still uses Mammotion’s AWD, or All-Wheel Drive system together with suspension for rougher terrain and steeper slopes, which I’ll be testing more thoroughly and pushing closer to its limits in the next video.
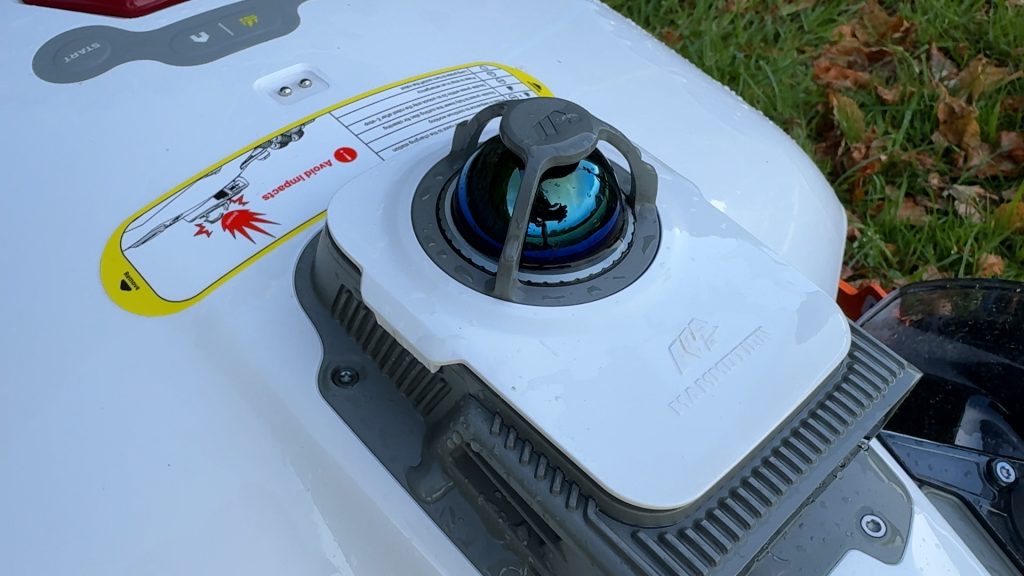
The 360° LiDAR module on top is also one of the big upgrades over the Luba 2. Unlike GPS, which is mainly used for positioning, LiDAR can precisely measure the mower’s surroundings in real time, even in lower light conditions where cameras are less effective. Combined with the dual cameras and GPS, it should help improve navigation and obstacle avoidance.
Next you’ll need to connect the mower to the app. If you have Wi-Fi you can set this up here, but the mower also has built-in 4G so this isn’t absolutely necessary.
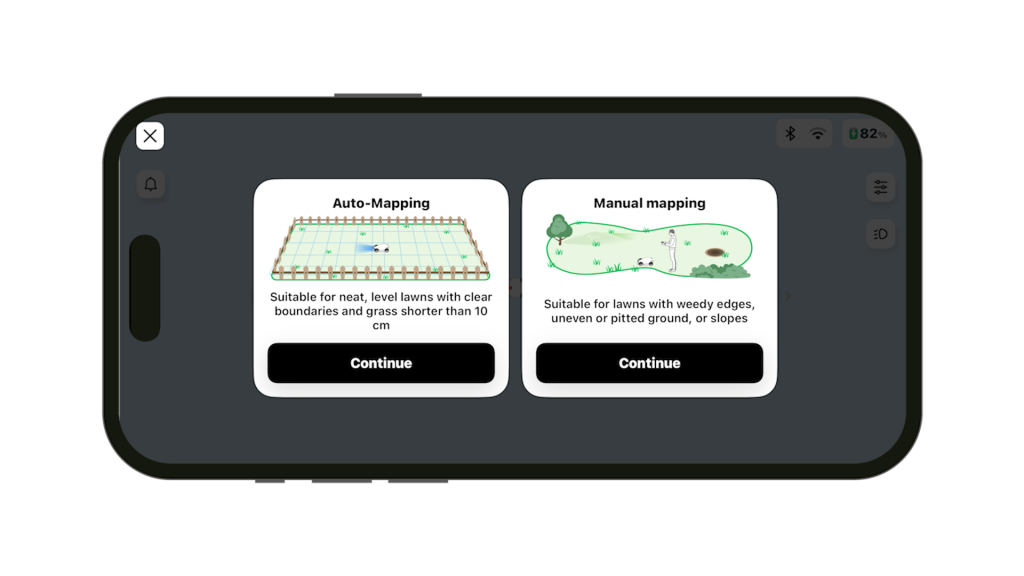
You’ll most likely be prompted to update the firmware, which you should do, and then you can map your lawn. There’s an Auto-Mapping mode if you have a simple lawn with a clear boundary, but in most cases you’ll probably want to select Manual Mapping.
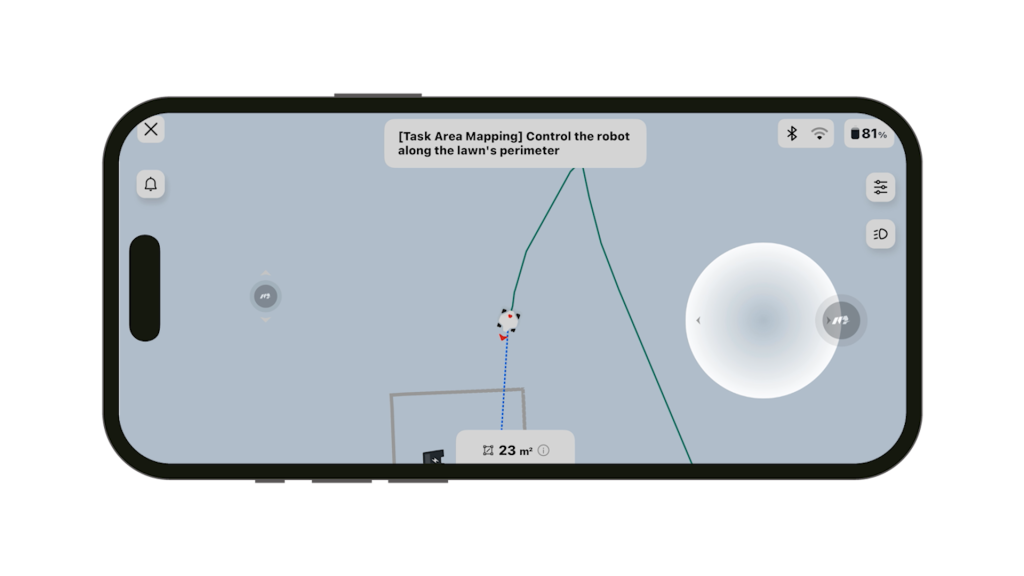
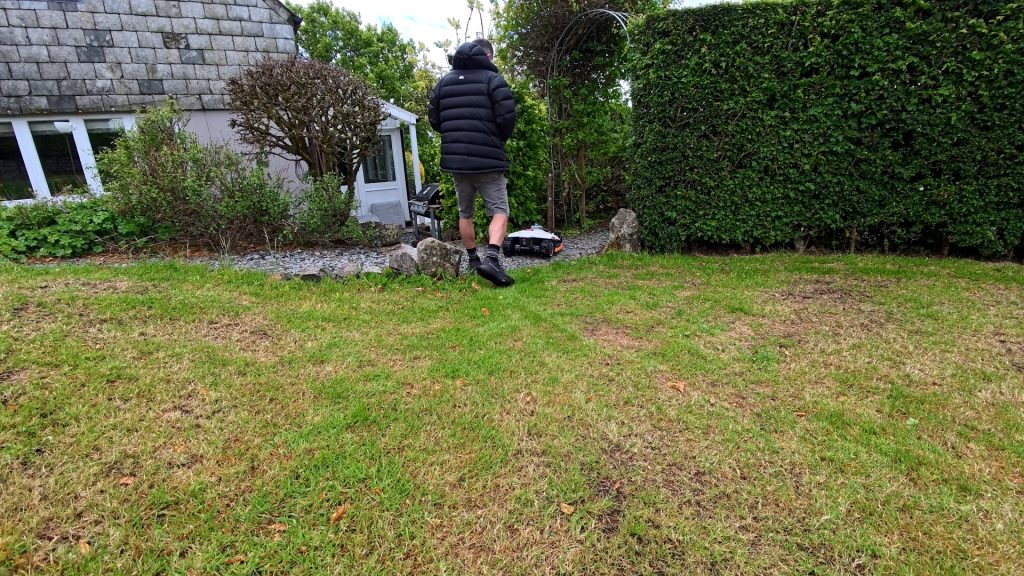
Simply remote control the mower around the perimeter of the lawn until it’s back where it started.
The mower can then start mowing your lawn. By default, the LUBA 3 mows the inside of the lawn first in stripes before mowing the perimeter, although you can customise this to your own preferences. But the main thing here is just how quick and straightforward the whole setup process is.
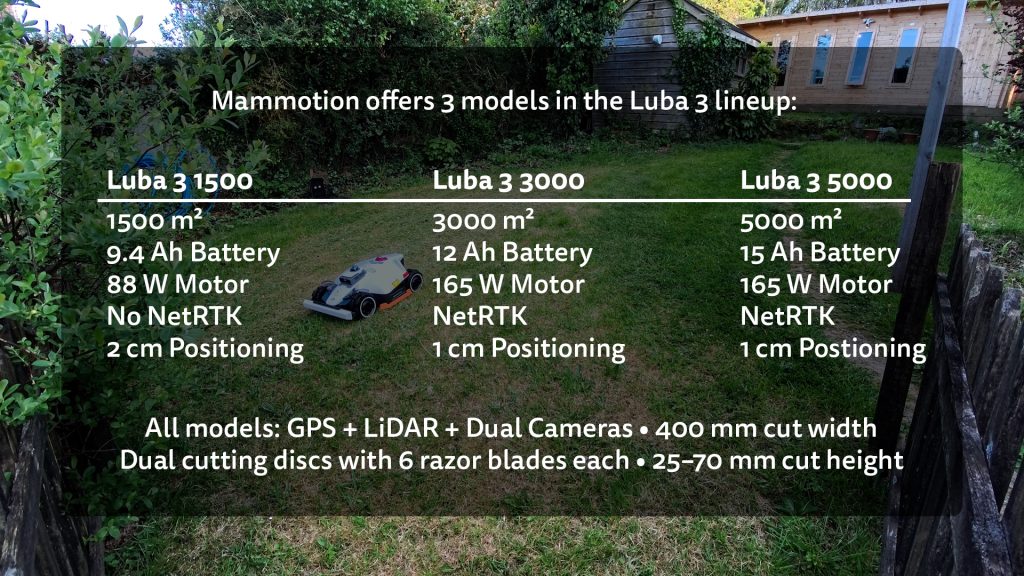
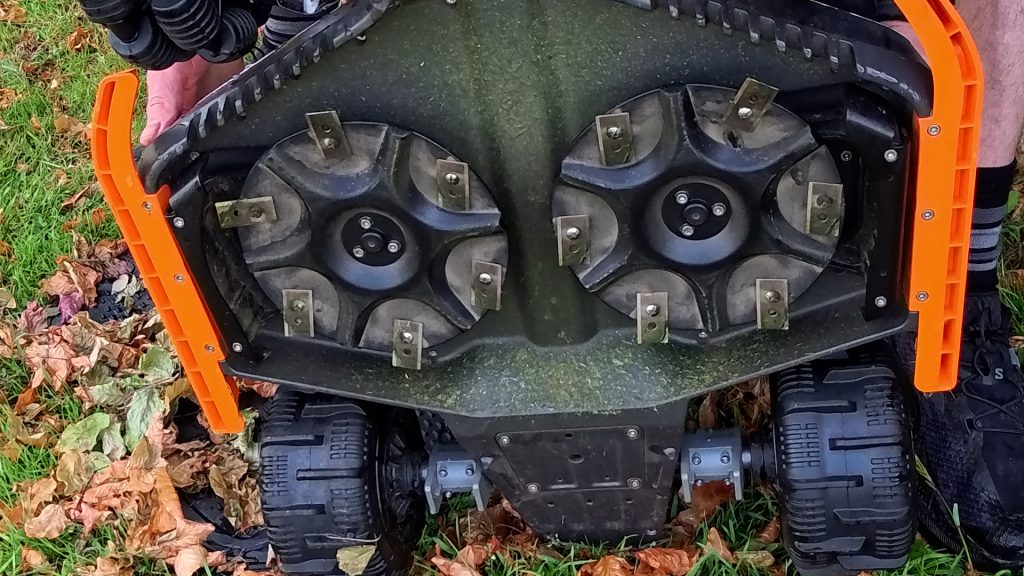
Mammotion currently offers three models in the LUBA 3 lineup, depending on the size of your lawn: suitable for lawns up to 1500, 3000 or 5000 m². All three models have a 400 mm cutting width, dual cutting discs with six pivoting razor blades each, and an adjustable cutting height from 25–70 mm. They all weigh 19 kg, just a little heavier than the previous model, but you shouldn’t have to lift it very often.
The 3000 and 5000 models both have a 165 W motor and support Mammotion’s NetRTK system, which allows mapping accuracy down to 1 cm. The 5000 adds a larger 15 Ah battery compared to the 12 Ah battery in the 3000 for even larger lawns.
The 1500 model has a lower power 88 W motor and a 9.4 Ah battery, and doesn’t include NetRTK, instead relying on GPS, LiDAR and the cameras for mapping accuracy down to 2 cm.
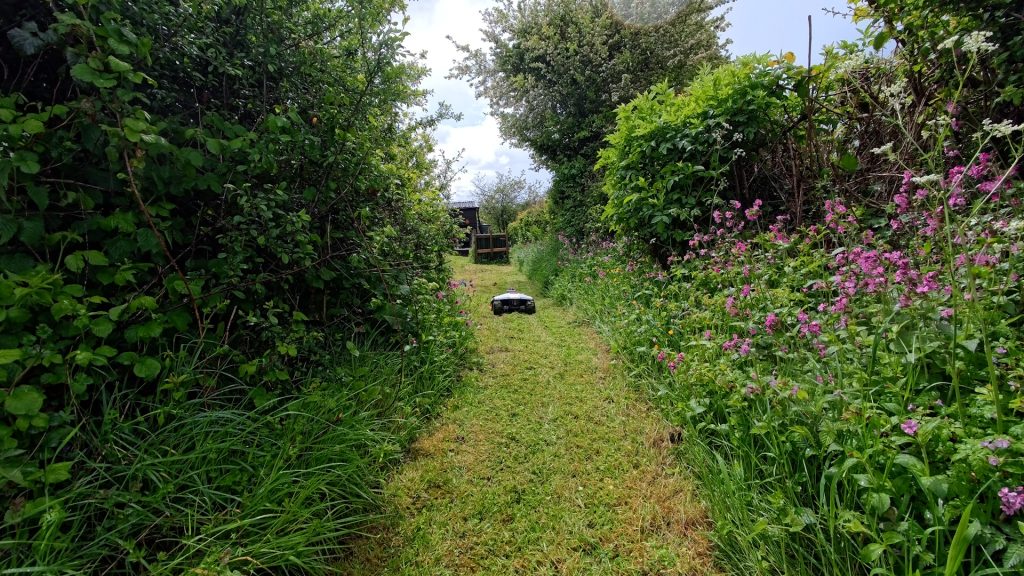
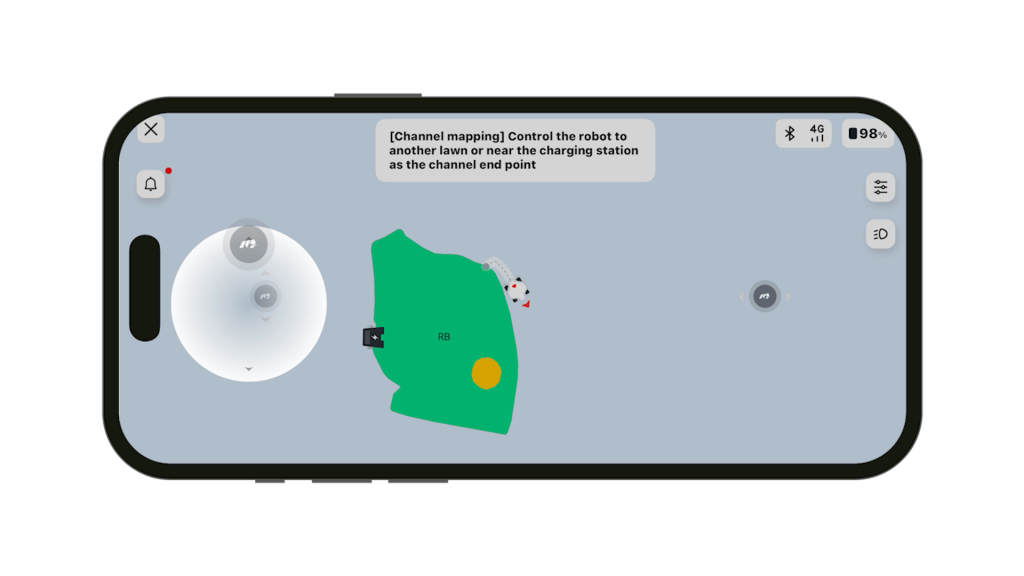
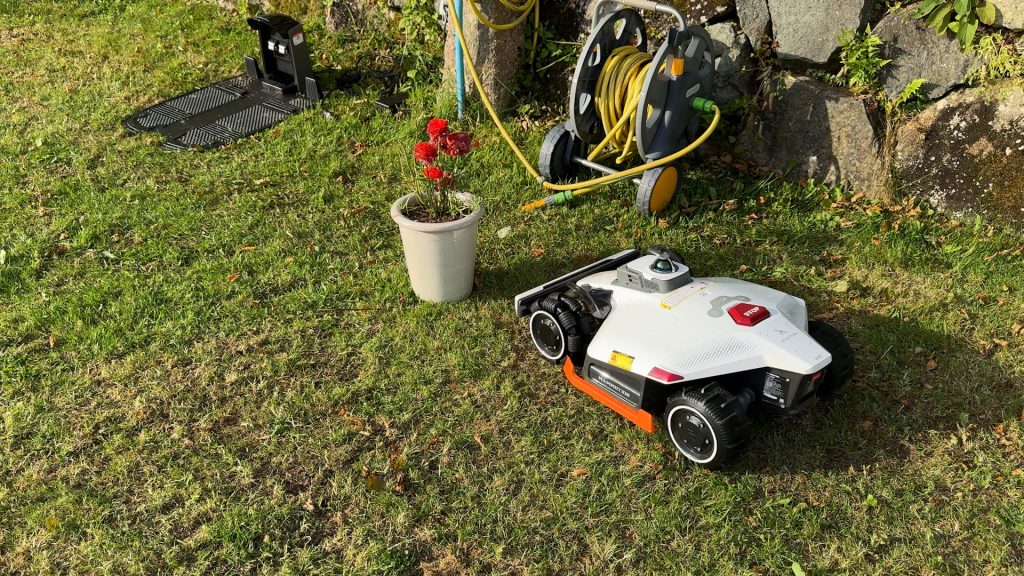
I’m testing the 3000 model, so after my initial tests I installed it in a larger garden. It’s exactly the same process, and this time I also added a no-go zone around this old flower bed, which is really easy to do.
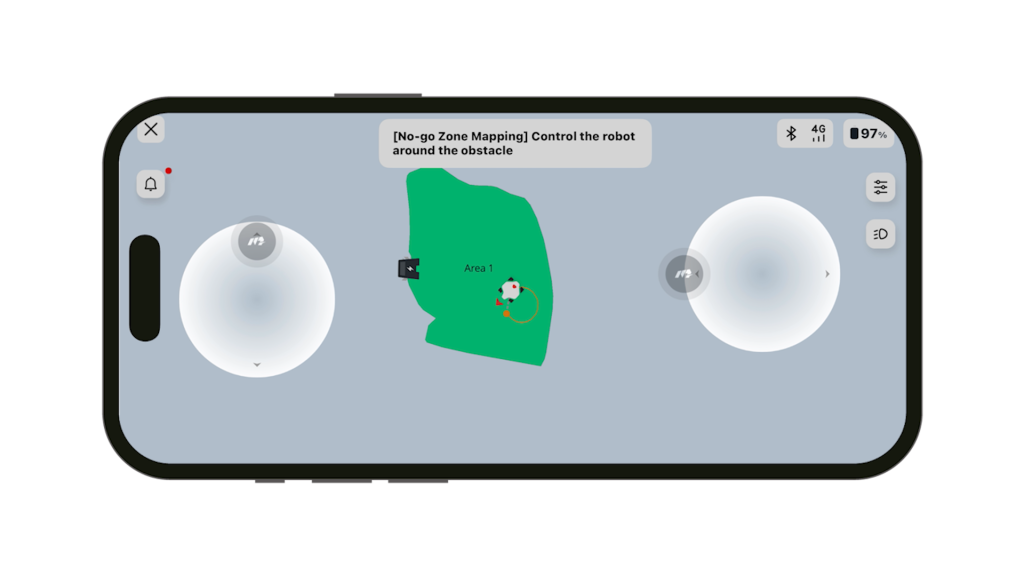
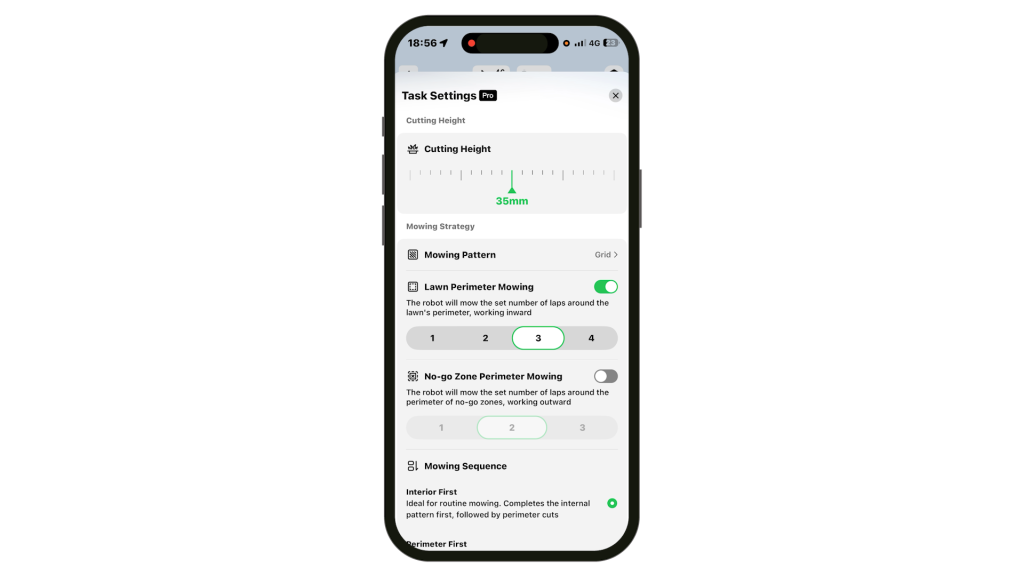
Simply select Create, No-go Zone in the app and guide the mower around the area you want to exclude. I set the cutting height to 35 mm for this lawn.
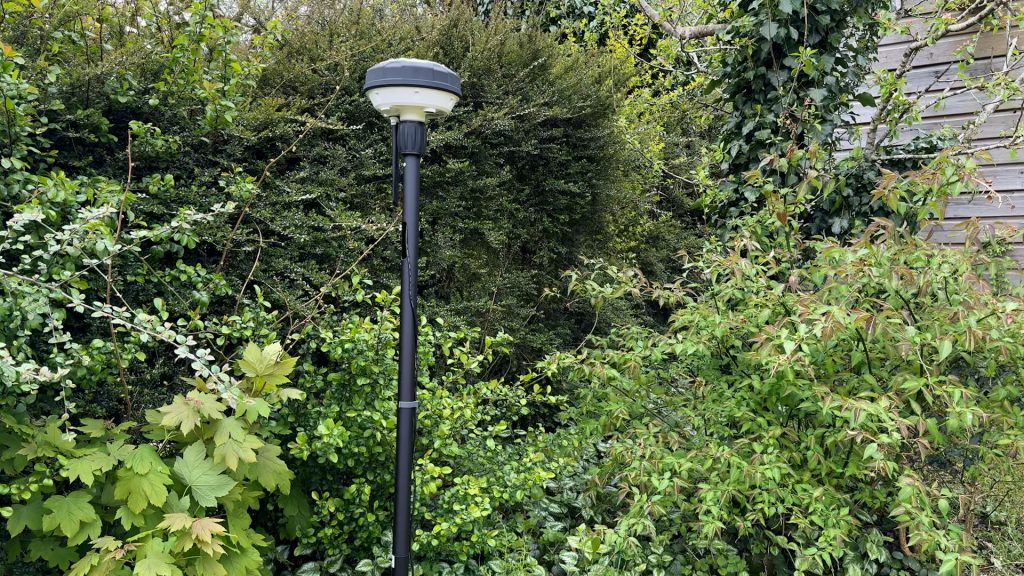
The big difference compared to previous RTK robot mowers I’ve tested is there’s no separate RTK, or Real Time Kinematic, GPS antenna to install. Traditionally, these stationary GPS antennas improve positioning accuracy by comparing their fixed location against the mower’s GPS position. Although I never really had any issues with these external antennas, they were still one more thing to install and position correctly.
Instead, the LUBA 3 uses Mammotion’s new NetRTK system, which downloads positioning correction data over the internet and combines this with satellite positioning, LiDAR and the onboard cameras to maintain positioning accuracy down to 1 cm on the 3000 and 5000 models.
On smaller lawns, the LiDAR and cameras can identify enough nearby objects for accurate positioning, similar to how a robot vacuum navigates indoors.
But on larger open lawns with fewer reference points, accurate GPS positioning still becomes much more important.
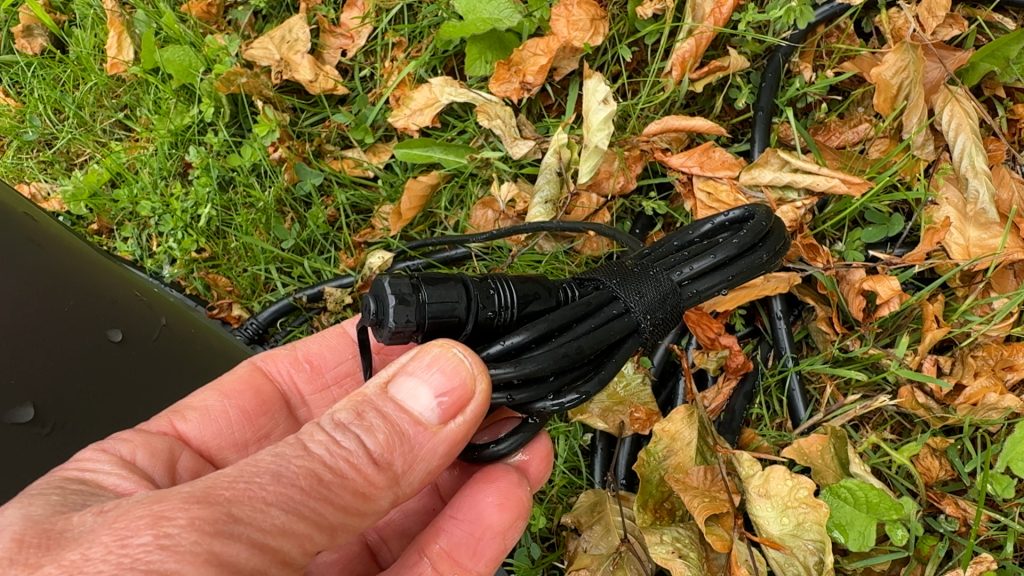
In areas with very weak or unstable network coverage, it’s still possible to use a traditional RTK antenna if preferred. The cabling’s already there — you just need to purchase the optional antenna separately.
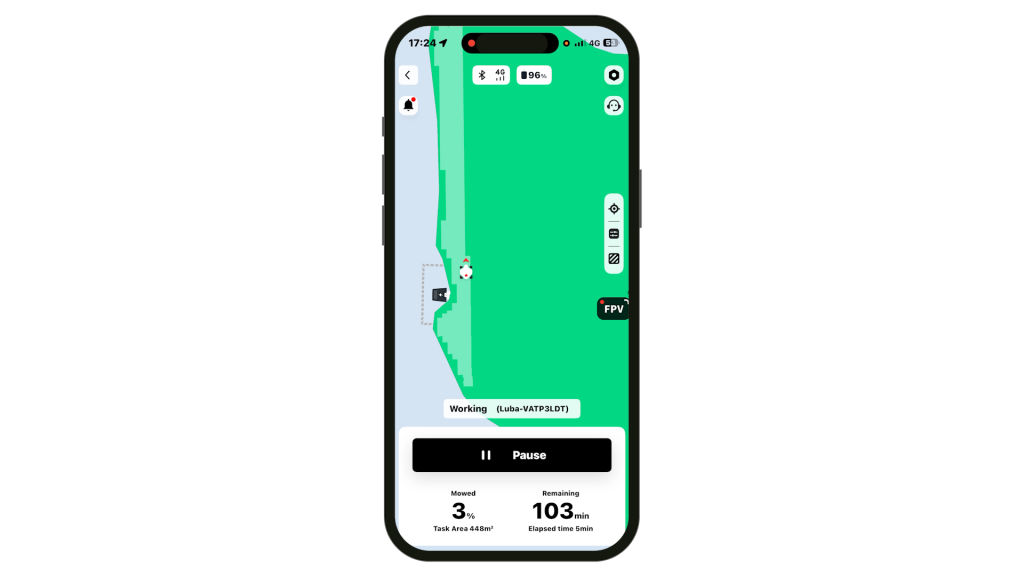
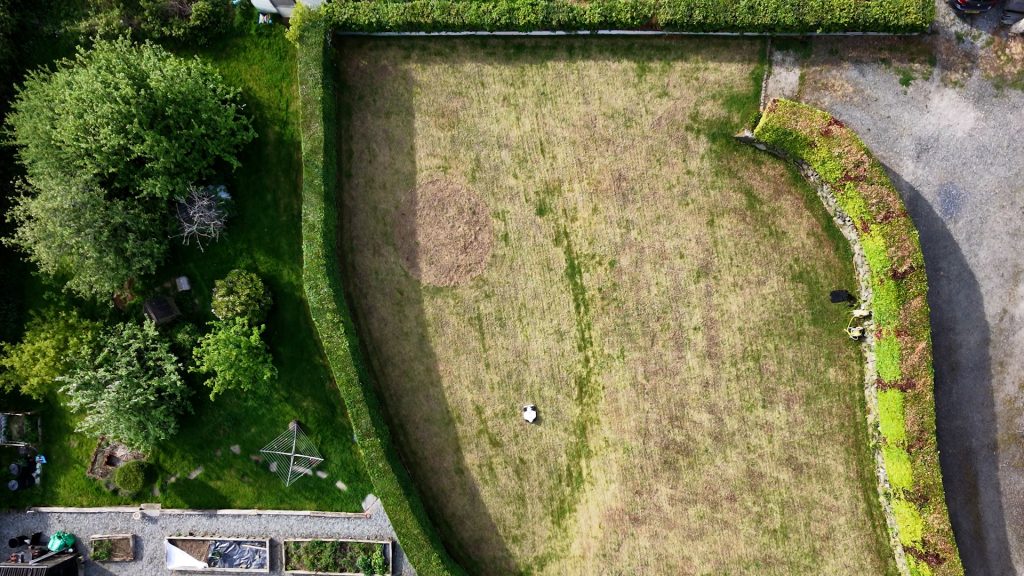
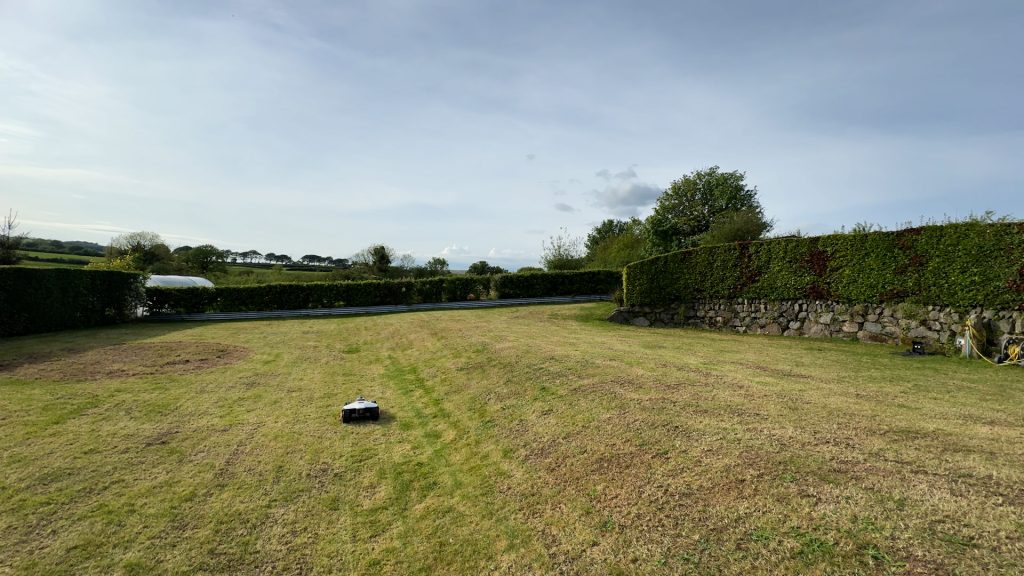
This lawn is just under 500 m² and took around 90 minutes to cut while using less than half the battery charge. That’s in line with the specified 175-minute mow time per charge. If it does run out of charge during mowing it will return to the base, recharge and then finish off. Mammotion are still using a NMC-based Lithium-ion battery rather than a longer lasting LFP battery. And although there are instructions for removing the battery, it still doesn’t look like the battery is user replaceable, so it’ll have to go back to Mammotion for replacement.
In the app as well as adding No-go zones, you can set non-cutting routes or Channels between multiple lawns and as with the Luba 2 you can print patterns and text including custom text in your lawn, if you have enough space.
You also have full customisation over the cutting task, including cutting height, mowing pattern, perimeter settings, mowing sequence, the sensitivity of AI obstacle detection, mowing speed and cutting path spacing. You can also set a schedule and there’s a built-in rain sensor so it won’t mow if it’s wet and if it starts raining during mowing, the mower will return to the charging station.
So far the app has generally been intuitive and easy to use, with lots of advanced features if you want them, which I’ll cover in more detail in the next video.
The mower is also surprisingly quiet in operation, and after several weeks of use there seems to be noticeably less grass build-up underneath compared to some other robot mowers I’ve tested.
So far I’ve also been impressed with the cut quality and the neat, consistent striped finish.
The obstacle avoidance uses both LiDAR and its dual cameras to recognise objects and has generally worked well in my testing.
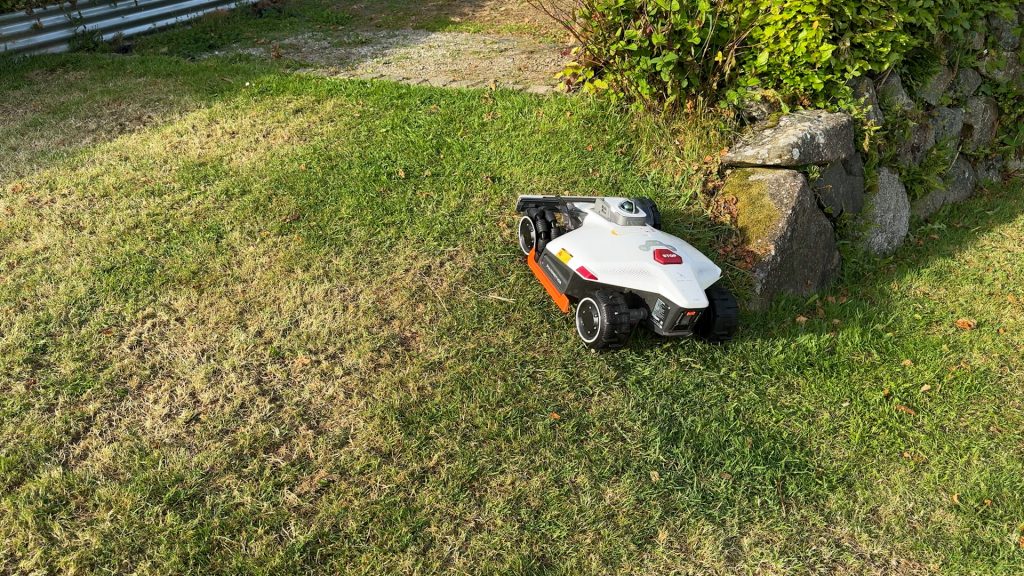
I’ve tested it on slopes up to around 22 degrees and on uneven ground, neither of which seem to be much of a challenge for it.
I still want to test it more extensively in tougher conditions, and in the follow-up article, I’ll take a more in-depth look at how well it performs overall before giving my final verdict.
Don’t forget to take a look at my YouTube video at the top of the page, and again please subscribe to my YouTube channel where I’m releasing videos every week on the latest technology and how to get the most out of it. If you tap the bell icon when you subscribe you’ll get a notification as soon as I release a video, and there’ll be a link to my site here for the written article. YouTube is also the best place to leave a comment. I read all of them and respond to as many as I can!
Purchase directly from Mammotion and help support this website and my YouTube channel at now extra cost to yourself!
Mammotion Luba 3 AWD: https://uk.mammotion.com/?ref=awqjjnnc
Leave a Reply