The Halot-X1 Neo is a new budget, beginner-friendly resin 3D printer from Creality. In this article and accompanying video, I’ll see just how beginner-friendly it really is, what sort of print quality you can achieve straight out of the box, and how it compares to a more conventional FDM printer. I’ll also explore how you can create your own models without any 3D modelling experience, and whether the whole process of resin printing is really as straightforward as Creality claims. And ultimately, who is a printer like this actually for?
Overview and First Print
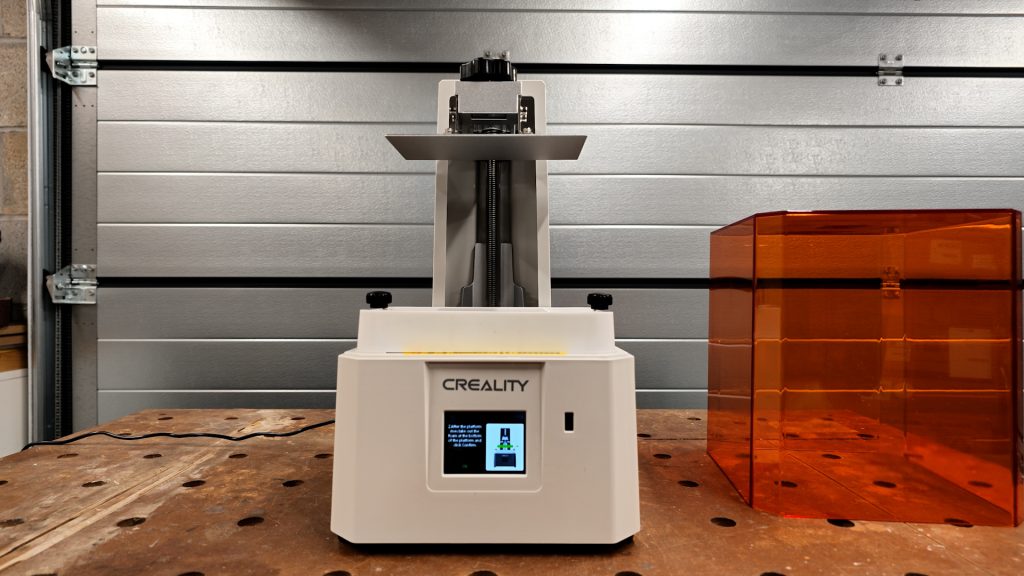
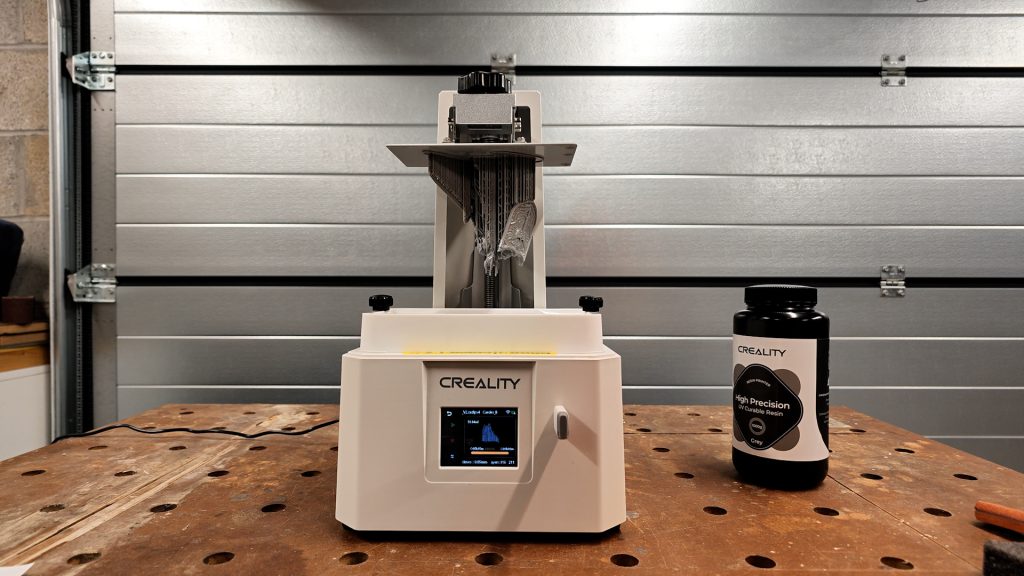
Pretty much everything you need is in the box. The first thing you notice is this is a very compact machine. It does feel quite plasticky compared to other resin printers, but that does keep the weight down to just 4.38 kg.
There’s almost no setup. Just plug the machine in and turn it on. Follow the prompts and the build platform will rise to the top of the single lead screw, which is surprisingly quiet and smooth in operation. The touchscreen is quite small and it’s not the clearest display I’ve seen, but it’s perfectly adequate. You can then remove the piece of foam.
At this stage you can connect to your home WiFi so you can send prints and monitor print progress progress remotely.

According to Creality, the build platform comes pre-levelled out of the box, so you should be able to get printing straight away. But to be on the safe side, I decided to level it manually. Unfortunately, for a printer aimed at beginners, there’s no automatic bed levelling, although the manual process is fairly straightforward.
Loosen the 4 bolts securing the platform. Remove the resin vat. Insert a piece of paper on the screen and then go to Settings | Levelling. Gently push down on the build platform and tighten all 4 screws. The paper should be snug. Then tap Reset Position. You shouldn’t really need to do this again unless you drop the build plate or have a very stubborn print that needs a fair bit of force to remove. Reinstall the resin vat and tighten the two thumb screws.
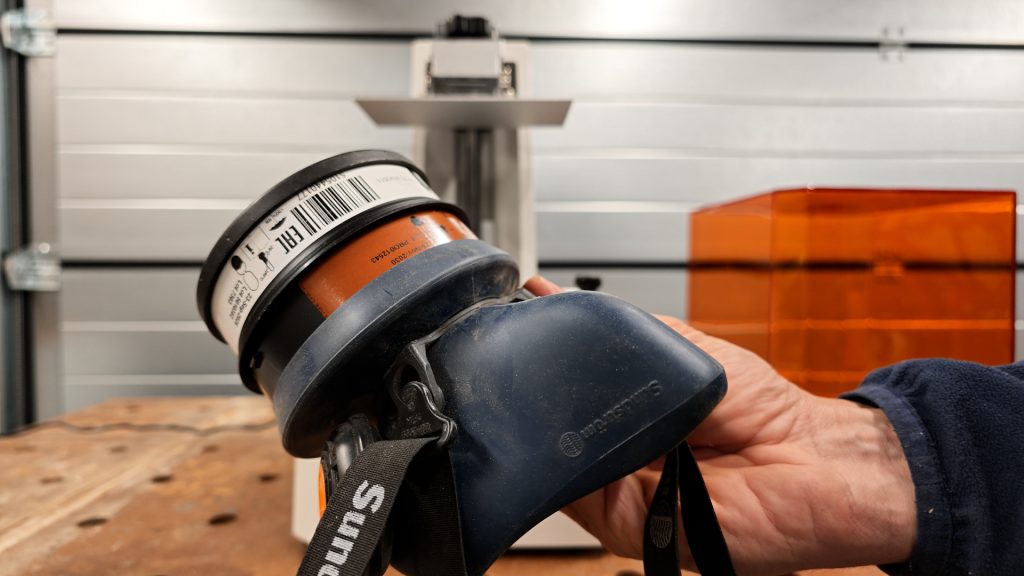
Resin is pretty nasty stuff. You need to wear gloves and use suitable respiratory protection when handling it. Good ventilation is also important. I leave the garage door slightly ajar or open it completely if it’s practical to do so.
If you’re new to resin printing, I’ve covered the process in more detail in some of my previous reviews.
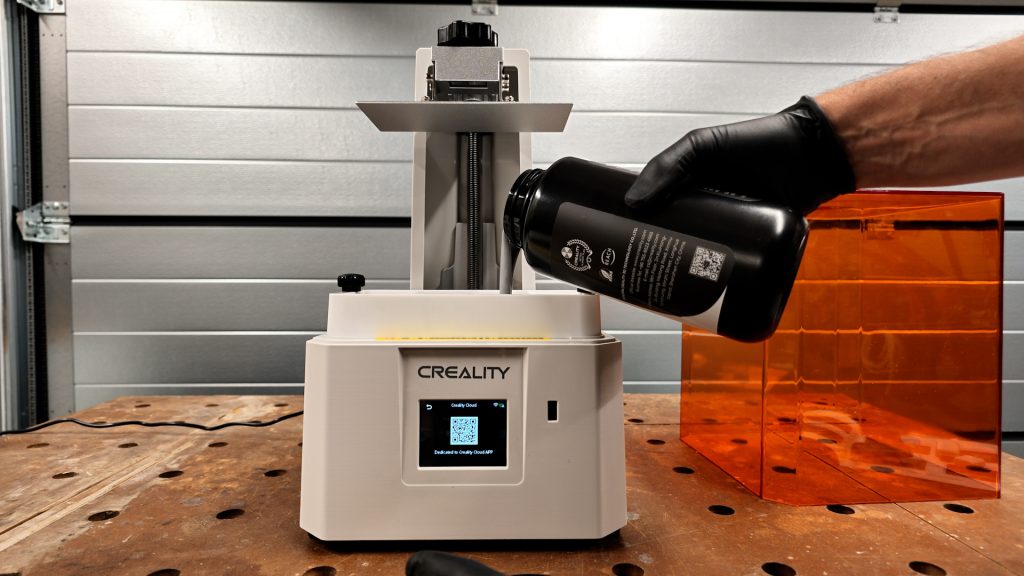
Fill the resin vat with resin. I’m using Creality’s High Precision resin in grey. The vat can hold up to 400 ml of resin.
Place the orange UV resistant lid on top and you’re ready to load your print from the supplied USB stick.
Only one print was included on the USB stick, which is already presliced with supports. Insert the USB stick and tap on the file. This copies it to the internal memory. You can now remove the USB stick if you like. There’s also a second USB port inside the printer, which keeps the USB stick out of the way so it doesn’t get knocked.
Tap on the model, tap on file parameters and then tap the play icon to start the print.
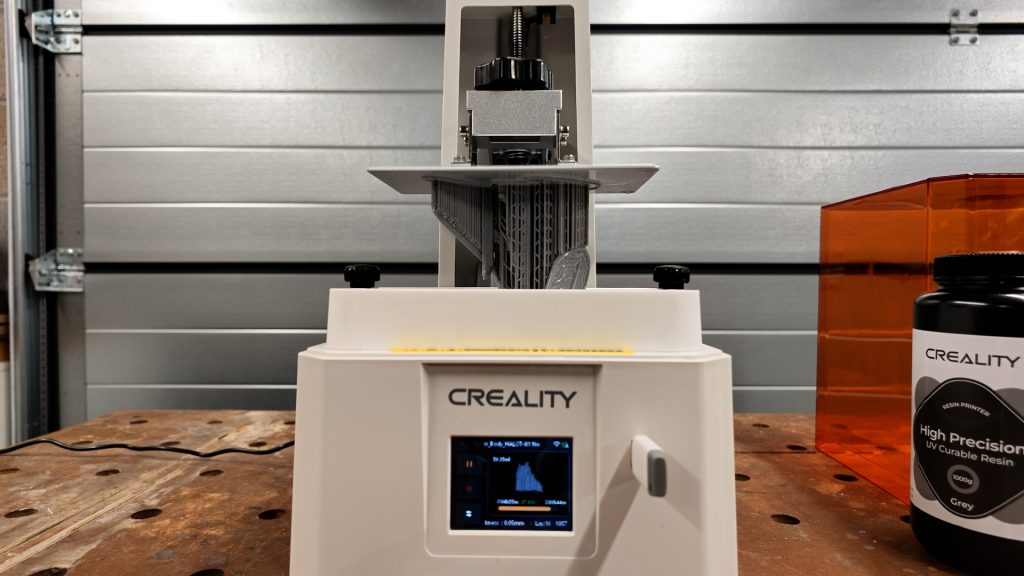
Unlike an FDM printer that extrudes molten plastic, a resin printer uses UV light shining through an LCD screen beneath the vat to selectively cure liquid resin, one thin layer at a time. The model is actually printed upside down, attached to the build platform, which lifts slightly after each layer to peel the cured resin away from the bottom of the vat and allow fresh resin to flow underneath. This process repeats until the print is complete.
The transparent film at the bottom of the resin vat, known as the release film, is a consumable part. Over time it wears out and will eventually need replacing.
The X1 Neo has a 9K monochrome LCD screen with a resolution of 8520 by 4320 pixels, giving it an XY pixel size of just 18 microns. That’s impressive for a budget resin printer and means it should be able to reproduce incredibly fine details, even on tiny miniatures. It can also print layers as thin as 0.01 mm, or just 10 microns, although in practice you’ll typically use thicker layers to keep print times reasonable.

This is a long print for a test model unfortunately, but after over 5 hours and 35 minutes the print had completed successfully.
Now you need to remove the print from the build platform, clean off the excess resin and cure the print under UV light. You really need a so-called wash and cure station for this. I’m using the Creality UW-03 which can be bundled with the Neo currently for just £40 extra, so I’d definitely recommend going for the bundle.
This is far bigger than you need for the compact Neo, but it will also accommodate larger resin printers if you decide to upgrade in the future.
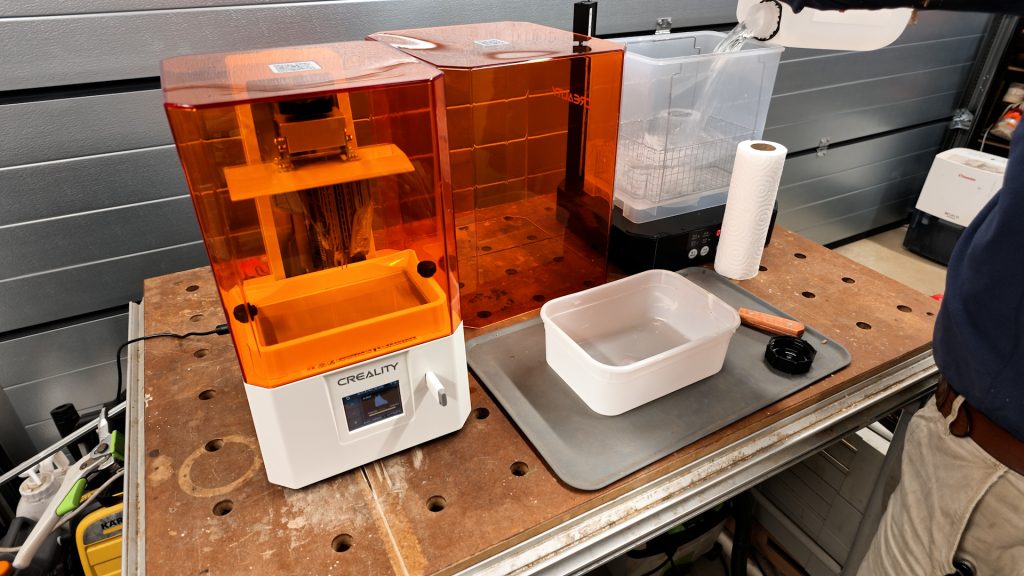
The bigger size does mean it needs more cleaning liquid. For this resin I need to use 99.99% isopropyl alcohol, or IPA. This isn’t cheap and is a real hidden cost of resin printing. I paid £22 for 5 litres here in the UK, and even filling the large container less than halfway used 4 litres.
I put the remaining litre into an ice cream tub, which I use for the initial clean to remove most of the excess resin before transferring the print to the wash station. This smaller amount of IPA is cheaper to replace when it gets dirty, keeping t he IPA in the wash station cleaner for longer. It also means less tidying up afterwards. Resin printing is messy enough as it is, so I try to keep everything as clean and tidy as possible and minimise contact and cleanup of uncured resin.
You can also buy water-washable resin, which can be cleaned with water rather than IPA, making the washing process cheaper and more convenient. However, it still needs proper washing and curing, and the contaminated water needs to be handled carefully.
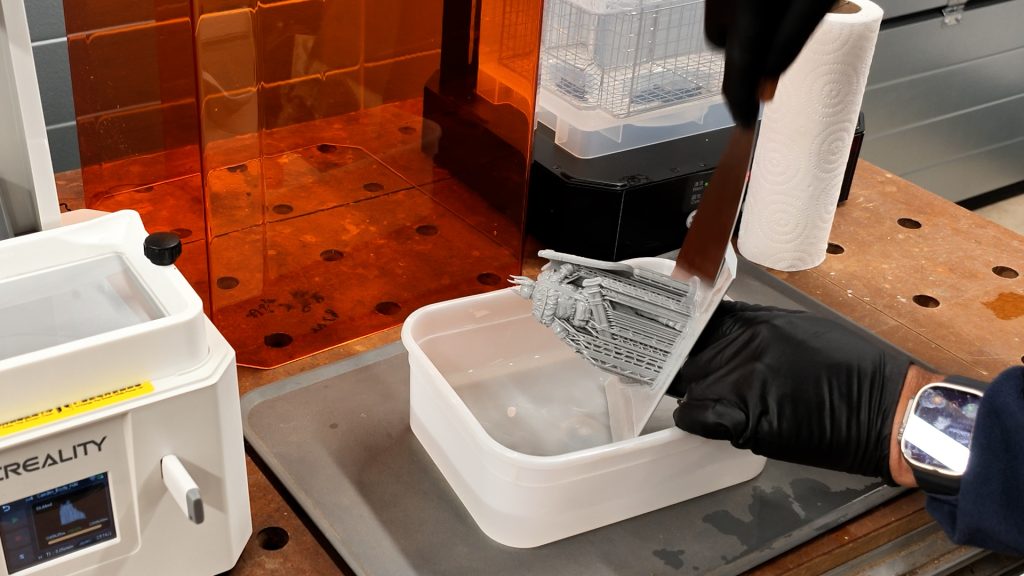
You can unscrew the knob on the build platform to slide the build plate off. I then used the included spatula to remove the print from the build plate straight into the container filled with IPA. Prints come off the build plate relatively easily.

I’d normally use some tongs to agitate the print in the IPA, but in this case I just used my gloved hand. It then goes into the wash station for a five-minute wash cycle, which uses a magnetic stirrer to create a vortex in the IPA, circulating it around the model to remove any remaining uncured resin.
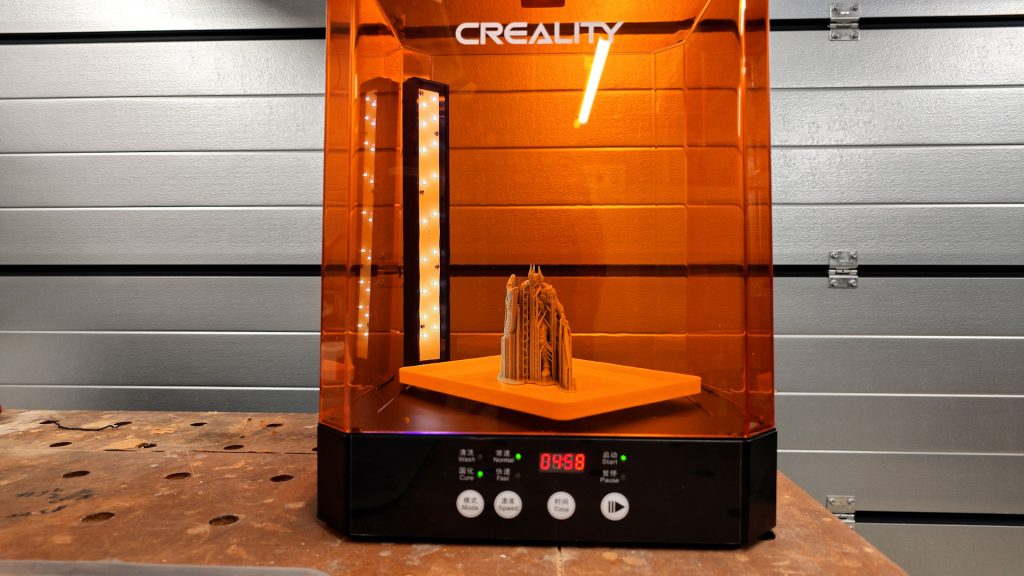
Then remove the print from the IPA and ideally let it dry before switching the wash station to cure mode and exposing the print to UV light for five minutes to cure the resin. The time needed will depend on the resin and the size and shape of the print.
Once the print is properly cured, you can handle it without gloves and remove the supports. It’s easier to remove the supports before curing, but since I prefer not to handle uncured resin, I like to do it at this stage.
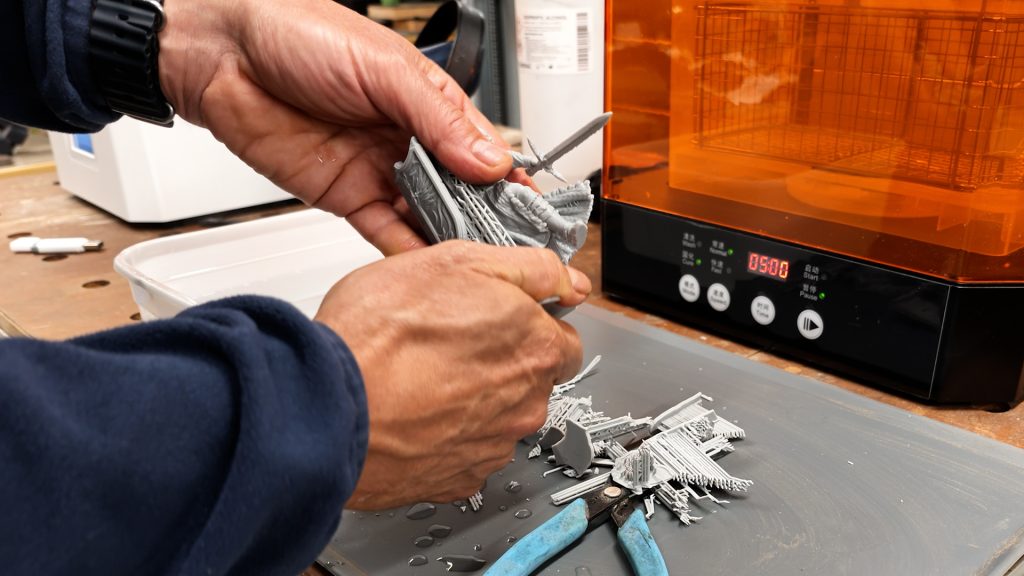
If you find the supports a bit tricky to remove, soaking the print in some hot water will soften them, making them much easier to remove.

The print came out pretty well. You’ll always get some scarring from the supports, but this could be sanded off quite easily. But it’s the detail you get from resin prints that makes the whole process worthwhile. You’d struggle to get close to this level of detail from an FDM printer, even with a very small nozzle.
Printing Miniatures and Creating Your Own Models
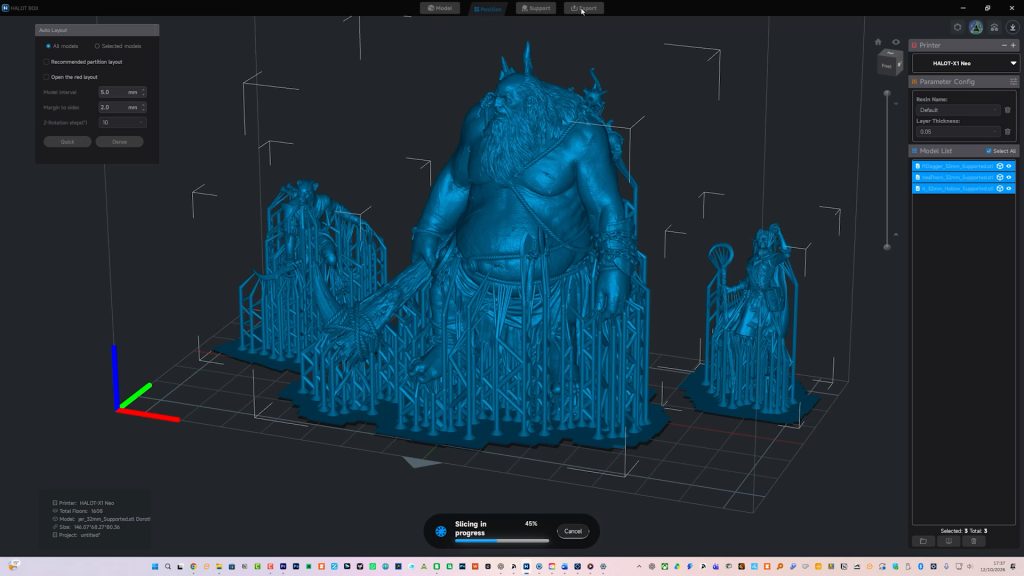
One of the most popular uses for resin printers is printing detailed miniatures, particularly for tabletop gaming. There are loads of models available online, including pre-supported ones like these, which already have all the supports added. Getting supports to work isn’t too difficult, but getting them just right, so they’re easy to remove without leaving too much scarring, takes quite a bit of skill.
You can simply load them into Creality’s Halot Box slicer software, arrange them on the build plate and slice them ready for printing. You can spend a lot of time fine-tuning resin settings with calibration prints, something I’ve covered in previous videos. But with a beginner printer like this, ideally you just want to choose your resin and start printing. Since I’m using Creality resin, I stuck with the default resin settings in Halot Box, which worked well throughout my testing.
You can then transfer the file to the printer using a USB stick, or theoretically send it wirelessly, although I couldn’t get that working initially.

This makes pre-supported models a perfect introduction to resin printing, particularly with an entry-level printer like the X1 Neo. I tried a few of these miniatures and the results were excellent, with some really impressive detail.
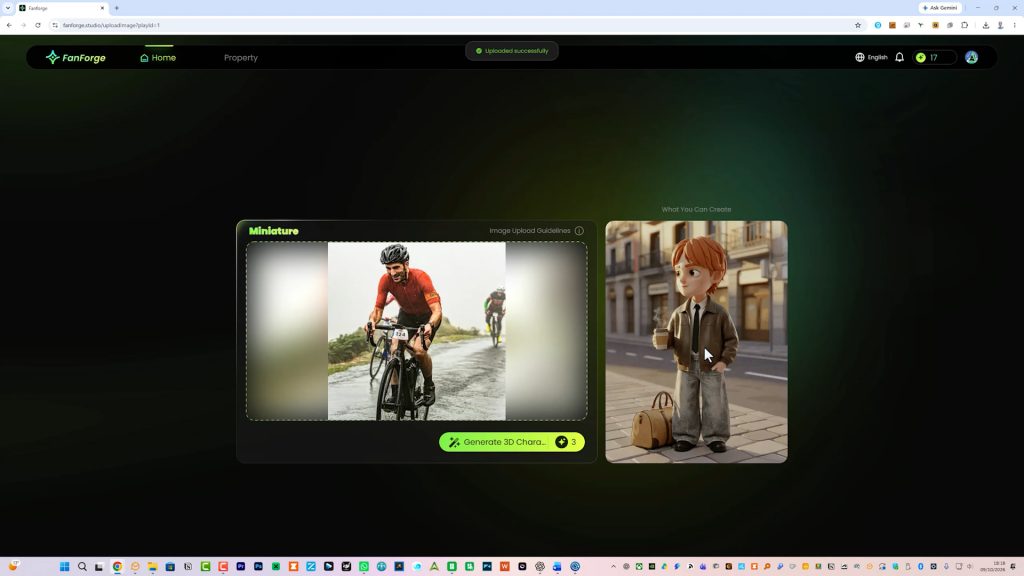
But what if you want to create your own models? There are now lots of AI tools that let you generate 3D models without any modelling experience. Creality has one called FanForge, which I thought I’d try out.
You currently get 20 free credits a day, and each generation costs around three credits, so that’s fairly generous by AI standards.

You can upload a standard photo of yourself, someone else or an animal, and it’ll generate a 3D model that you can print.
There are a few different options in FanForge, but for my test print I decided to use the Miniature template, which turns your photo into a chibi-style 3D character. I uploaded a photo of myself at a cycling event to see what it could come up with.
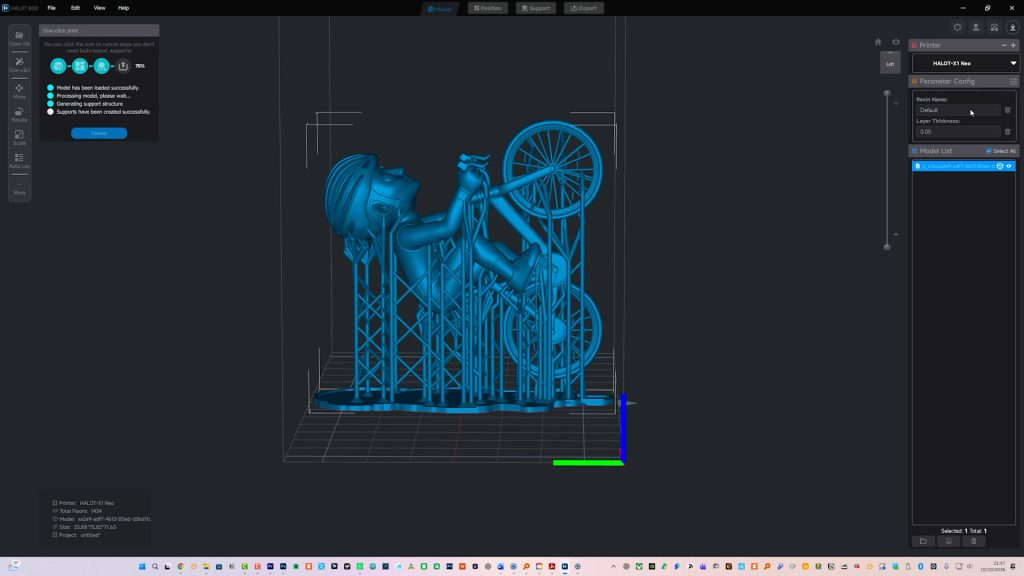
It did a better job than I was expecting, and I loaded the model into Halot Box. Since this is a beginner printer, I thought I’d try the One Click Print option, which adds the supports automatically. I then transferred the file using the USB stick and started the print.
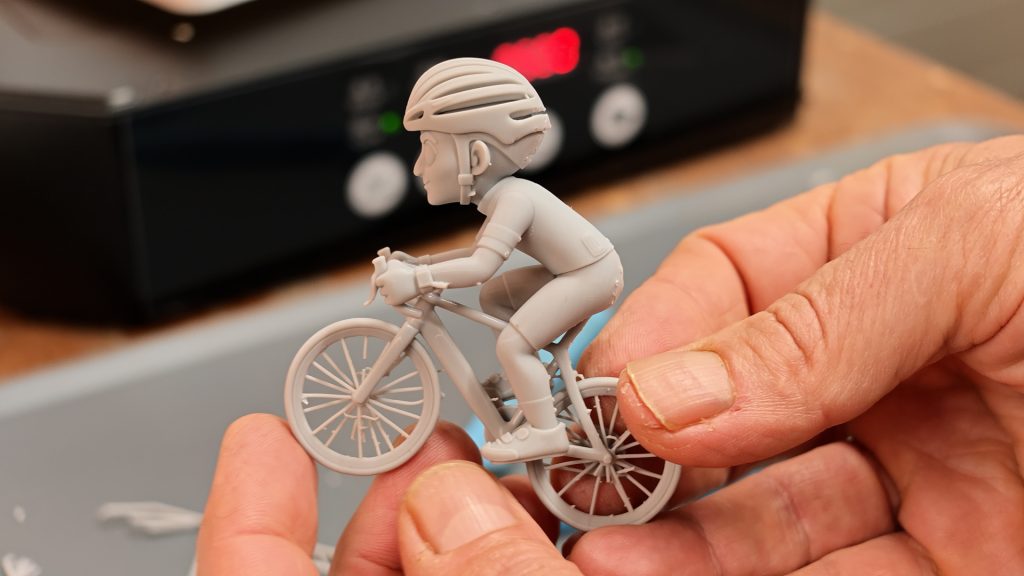
The print completed successfully in just over 3 hours. I went through the same post-processing cycle and the resulting print is quite impressive, both the detail around the handlebars and brake levers and the smoothness of the print, with absolutely no visible layer lines. I knew the spokes would be a challenge, but they actually came out pretty well. They’re just very fragile, and I didn’t quite manage to keep them all intact when removing the supports.
The next step would be some sanding to remove the scarring and a paint job. And I can see this being a great way to make personalised gifts, perhaps using a photo of someone’s pet, or a couple on their wedding day.
Functional Prints

Resin printing is really best suited to smaller, highly detailed models. Even with the X1 Neo’s relatively small build plate, larger prints can take a long time compared to FDM printing. And for functional parts, FDM is generally a better choice, with a much wider range of materials, including engineering-grade filaments, giving you more flexibility in what you can print.
But I still wanted to see how the X1 Neo would cope with a couple of simple functional prints, since that’s what I mainly use 3D printing for.
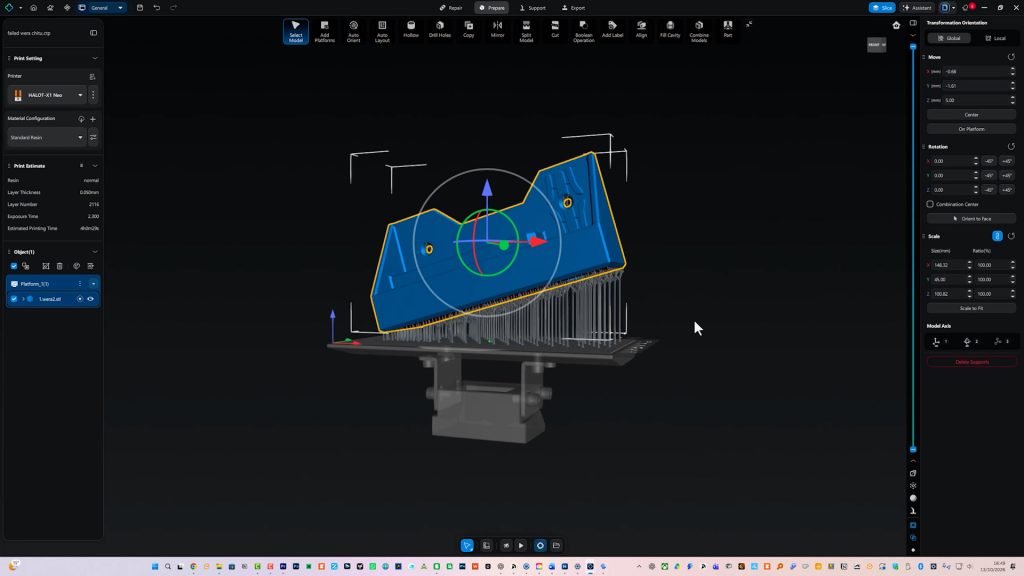
First off, I tried printing this Wera ratchet screwdriver and bit holder. I used Chitubox, a more advanced slicer with both free and paid versions. Lychee Slicer doesn’t currently support the X1 Neo. I didn’t notice that the resin exposure times in Chitubox were shorter than in Halot Box. The small build plate also meant I couldn’t quite orient the model as I’d have liked.
Either way, the print failed, which gave me a chance to see how easy it would be to clean up a failed print.
This is probably my least favourite part of resin printing. You can keep things pretty clean if your prints are all successful and you don’t change resin very often, but when you have a failed print, it’s hard not to make a bit of a mess.
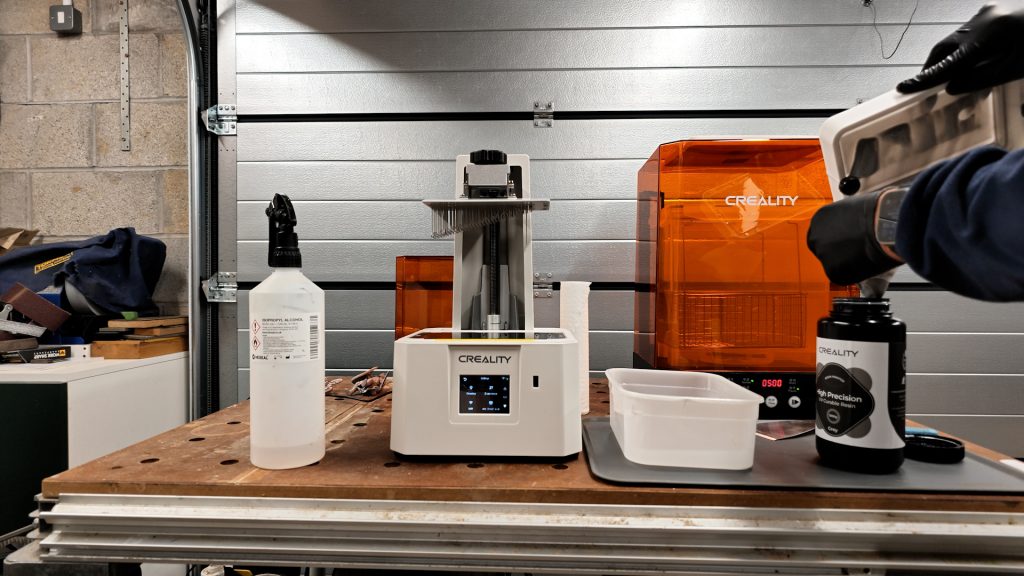
Since the model had detached from the supports, I knew there would be remnants of the failed print in the resin vat. The first thing to do is go into Settings and select Cleaning, which exposes the entire bottom of the vat to UV light. This cures any loose bits of resin into a single sheet that you can remove in one go.
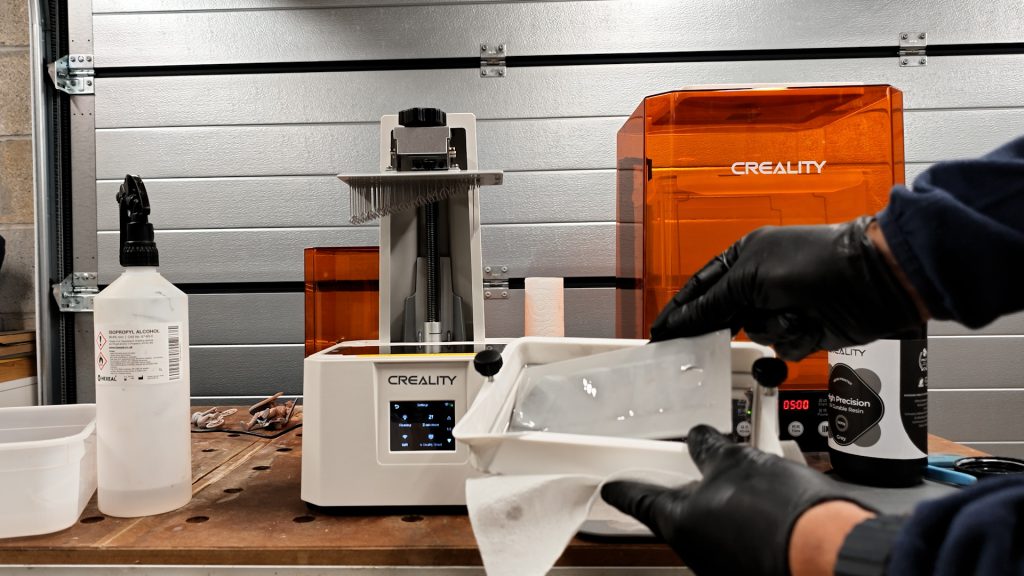
After doing this, I removed the resin vat, poured the resin through a filter back into the bottle, peeled off the cured sheet and put it into my container of dirty IPA. I then cleaned the resin vat, put it back onto the printer and screwed it down.
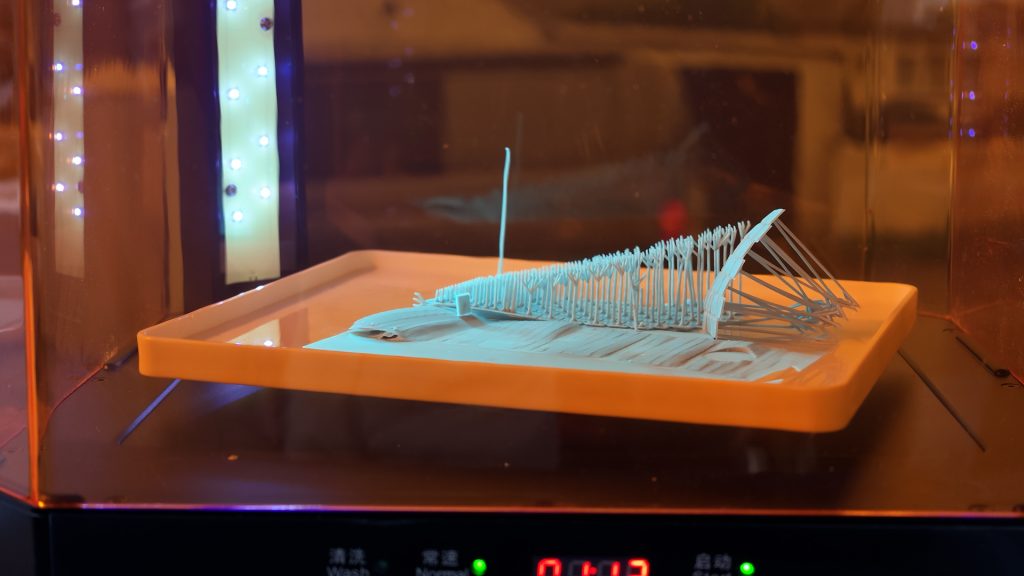
Next, I removed the build plate and the remaining part of the failed print, and gave it an initial clean. Since I don’t really want uncured resin sitting around in my garage, I put all the failed parts through the full wash and cure cycle, and then disposed of them.

Back in Halot Box, I tried a slightly less ambitious functional print – a small funnel. I set this up manually, orientated it for the best results and added medium-strength automatic supports.
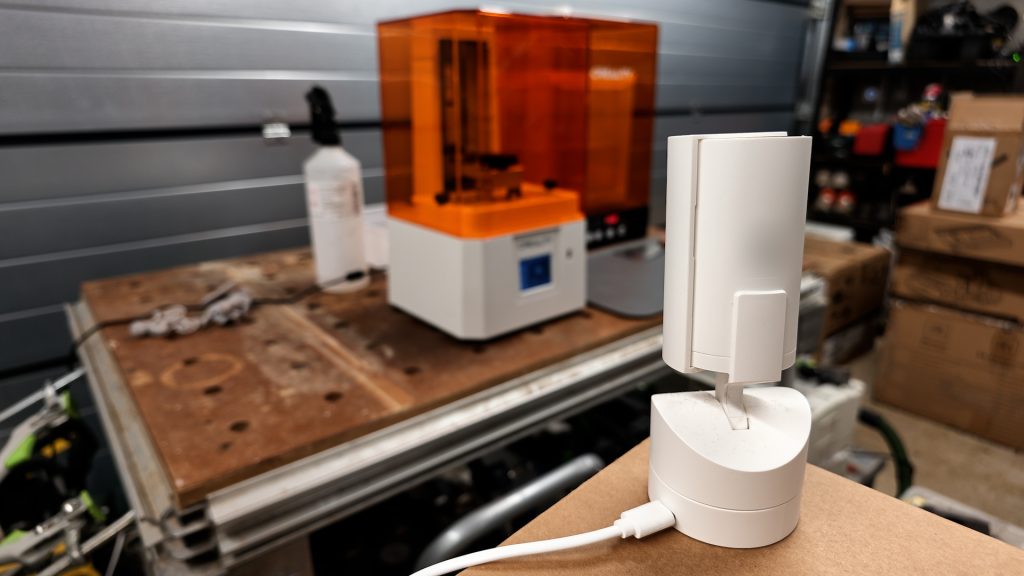
Disappointingly, there’s no camera built into the Neo, although one should be available as an add-on at a later date. Since I try to avoid being around the printer while it’s running, I set up a cheap Ring camera to monitor the print, which works well. I only had the lid off here because I was recording a timelapse.
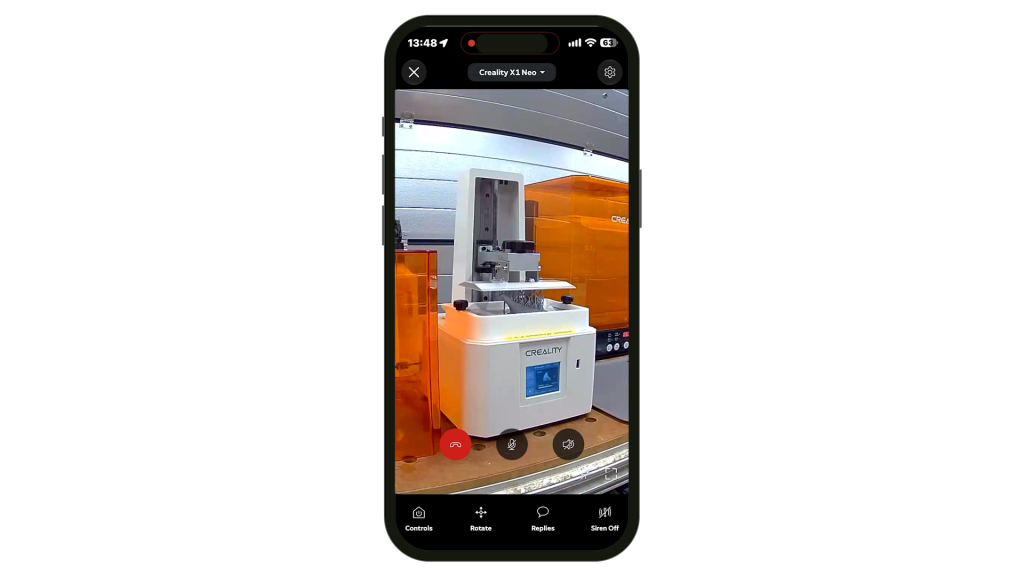
If you connected the printer to WiFi and linked it to the Creality Print smartphone app, you can check on the progress percentage of your prints remotely.
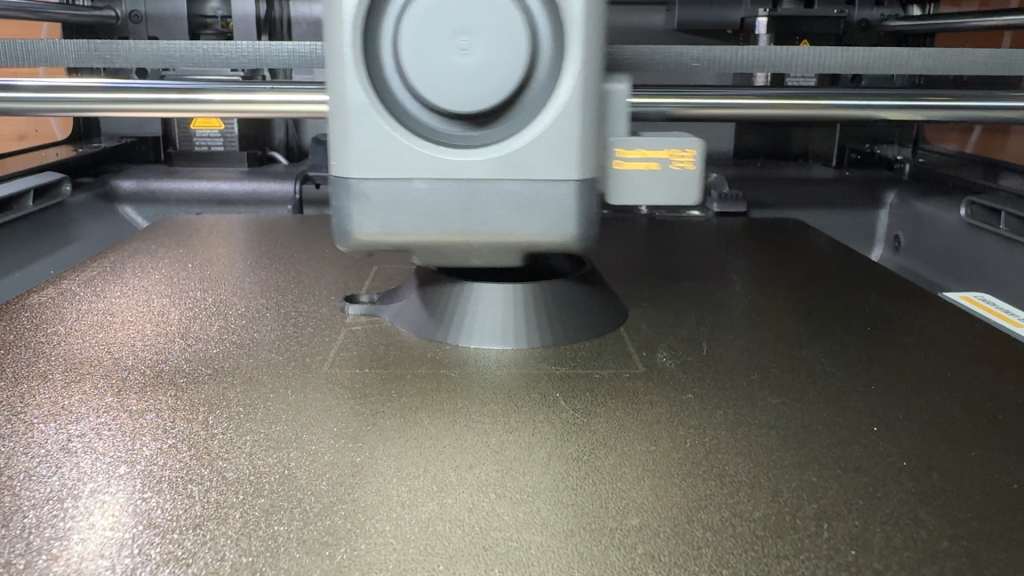
The funnel printed successfully in around 3 hours. For comparison I printed the same funnel at the smallest layer height possible – 0.08mm on my Bambu X2D with a 0.4 mm nozzle installed. That took around half the time and printed without any supports.
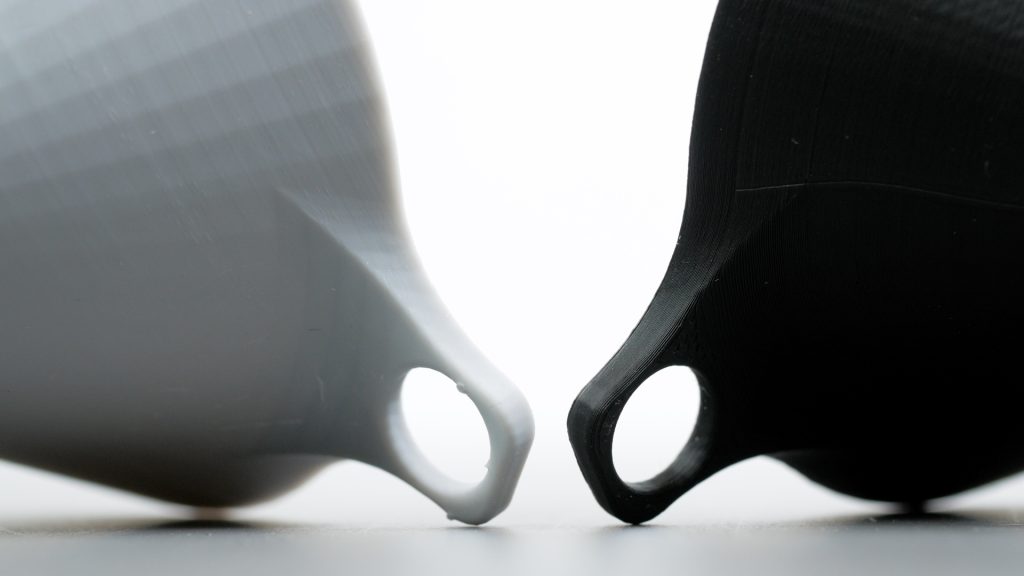
From a distance it’s hard to see layer lines on either printer but close up and on any fillets the difference is noticeable.
Conclusions

Overall, I’ve been impressed with the Creality Halot-X1 Neo. It’s a compact, affordable resin printer that’s easy to get started with, and the print quality is very good – at least as good to my eyes as other resin printers I’ve tested.
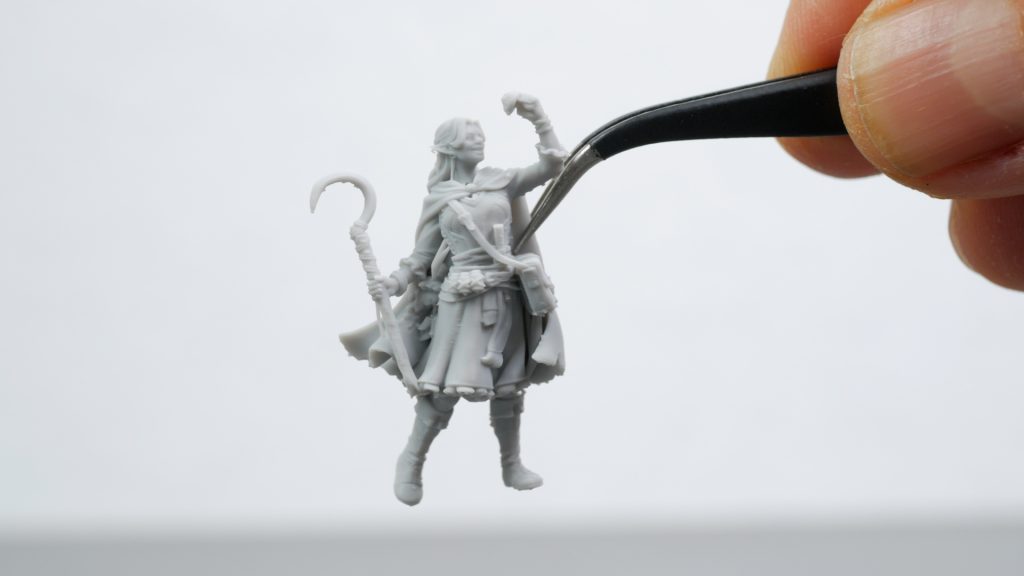
The level of detail you can achieve, even on tiny models, is what really makes resin printing worthwhile.
The software is important too, and although Halot Box is fairly basic, in some ways I quite like its simplicity, particularly for beginners. It worked well enough for everything I needed to do, and I did eventually get wireless transfers working.
There are a few compromises at this price point . The build quality is perfectly adequate, but there’s a lot of plastic. There’s also no built-in camera or, perhaps most surprisingly, the quick-release build plate found on its more advanced sibling, the X1. You also miss out on features like automatic bed levelling and a heated resin vat, although I wouldn’t expect those at this price. None of these limitations stopped me getting some excellent prints.
Resin printing is a lot messier than FDM printing, and with consumables like resin, cleaning alcohol and gloves, there are additional running costs. But once you’ve got a routine, the process is fairly straightforward. I’d definitely recommend getting the UW-03 wash and cure station bundle, which makes everything much easier.
So who is the X1 Neo for? It’s particularly well suited to anyone interested in printing and painting detailed miniatures, especially beginners who can take advantage of the widely available pre-supported models that make getting started so much easier. But even if you’re not into miniatures, AI tools like FanForge make it possible to create personalised models from photographs without any 3D modelling experience.
It’s less suited to functional prints, where an FDM printer is generally a better choice. But if you’re looking to get into resin printing, or you’re more experienced and want an inexpensive second resin printer, the X1 Neo offers excellent print quality for the money.
Don’t forget to take a look at my YouTube video at the top of the page, and again please subscribe to my YouTube channel where I’m releasing videos every week on the latest technology and how to get the most out of it. If you tap the bell icon when you subscribe you’ll get a notification as soon as I release a video, and there’ll be a link to my site here for the written article. YouTube is also the best place to leave a comment. I read all of them and respond to as many as I can!
Buy the Creality Halot X1 Neo:
This is an affiliate links. If you buy through them, it helps support the channel at no extra cost to you.
Leave a Reply