I’m pitting this complete battery-powered coffee system against my full-size kitchen coffee machine. This portable system can grind your beans, heat the water and make a proper espresso when you’re out and about. And surprisingly, I can regularly get better coffee from this tiny machine. But there is one fairly big limitation, depending on what sort of drinks you like to make.

I have the whole Outin coffee system here, all in a fetching Tundra Brown, but you certainly don’t need everything. What you need really depends on how much you want to spend and how particular you are about your coffee.
At the heart of the system is the Outin Mino espresso machine. Then there’s the Fino grinder if you want to use freshly ground beans, the LattoGo milk frother if you prefer milk-based drinks, and even their Claro espresso coffee scales.

Let’s start at the beginning with the Fino burr grinder. You can see everything that comes in the box. You’ll need to charge it with the included USB-C cable before you get going.
Then you need to set the grind size. There’s a chart depending on what you’re after, but I’m concentrating on espressos in this review, and I’ve found setting 2 works well for most of the beans I’ve tried.
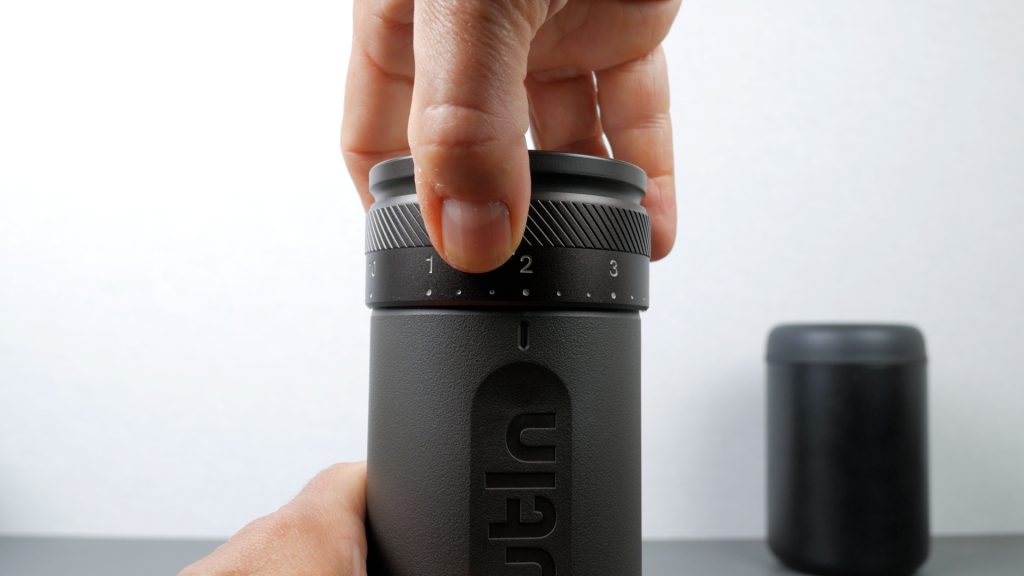
Next, open the bean hopper by turning it anticlockwise until it clicks. You can grind up to 25g of beans, but I like to make the exact amount I need for the Mino espresso machine, so I weigh out exactly 10g.
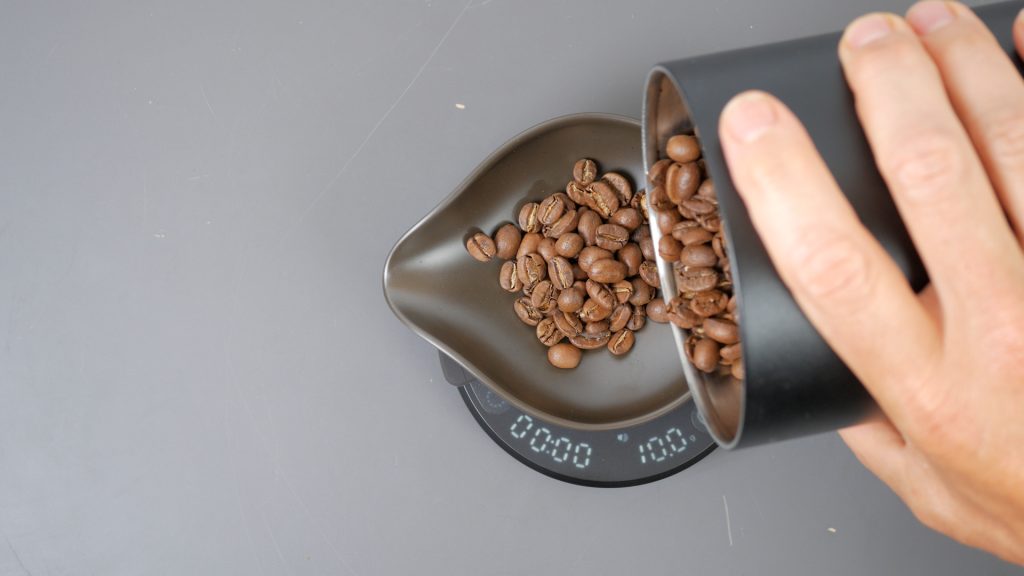
Here I’m using the nifty Claro scales to weigh the beans in the bean tray. They’re a really nice set of compact, accurate portable scales, with some handy automatic functions if you want to get more precise and experiment with your coffee.

When I’m out and about, I tend to take already measured portions of beans with me, so I don’t need to take the scales. Or you could just grind more than you need and use the scoop to measure out your coffee.
Rotate the hopper clockwise to close it, then press and hold the power button for two seconds, or double-press it, to start grinding. Grinding 10g of beans takes around a minute or so.

Now unscrew the dosing cup to reveal your freshly ground coffee, and screw on the Fino’s dosing funnel.

Now you can get the Mino ready. You can see everything you get in the box with the Mino here too. Unscrew the coffee cup and remove the portafilter. Pull off the shower screen, which can be a little tricky – you might need to use the included tool. Then attach the Mino dosing funnel.

This fits on top of the ground coffee, and you can turn the whole assembly upside down and shake all the coffee into the portafilter.
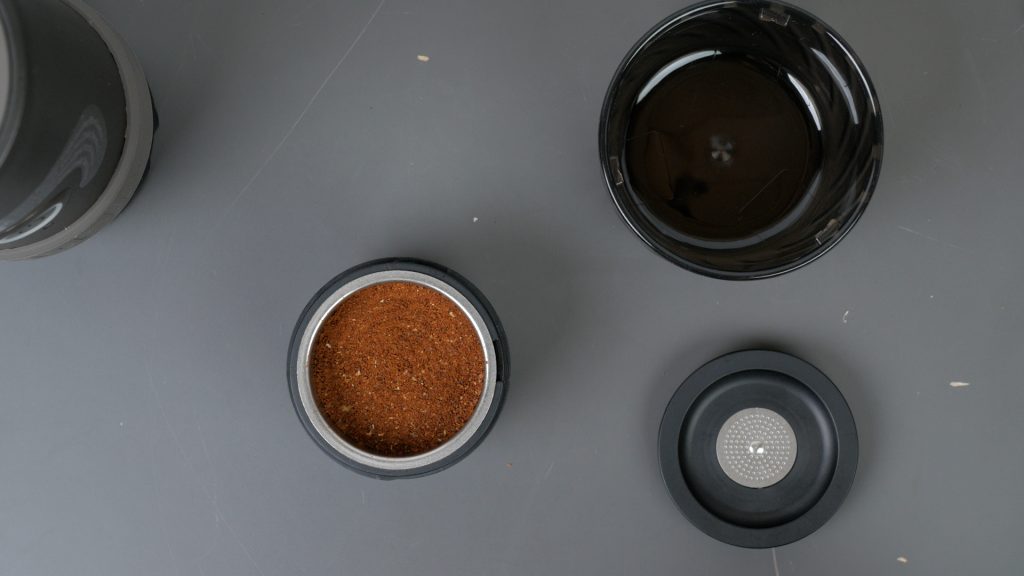
Take off the dosing funnel and use the foldable scoop to firmly tamp the ground coffee. Replace the shower screen and screw the portafilter back into the Mino. The Mino can then rest on its cup ready to add the water.
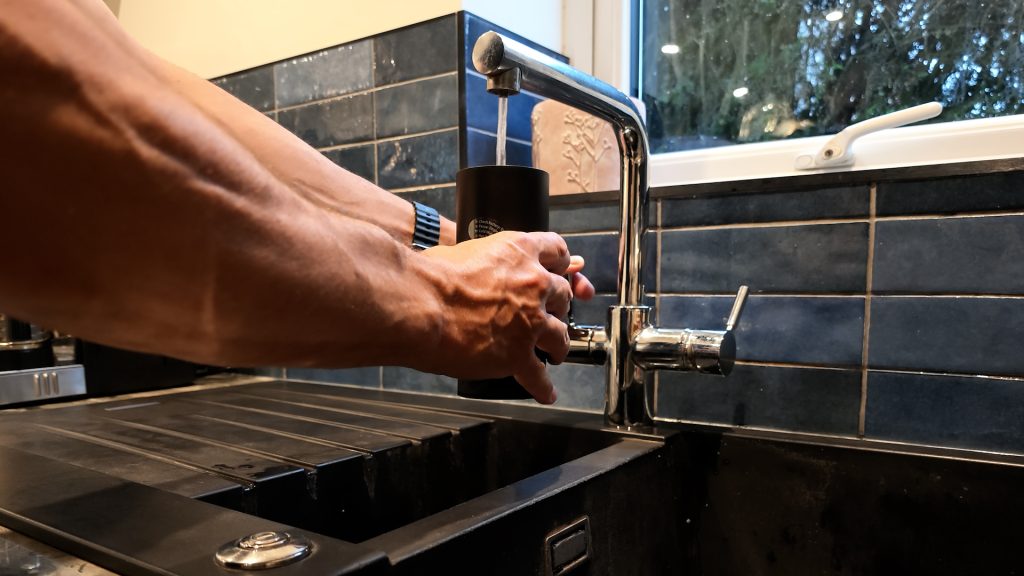
What’s great about the Mino is that it can heat the water for you, or you can save time and battery if you already have hot water. In this case, after removing the lid, I’m adding cold water up to the 55 ml espresso mark.

Replace the lid and hold the power button for two seconds to start heating the cold water. If you’re using already hot water, double-press the power button to start the extraction immediately.

The cold water takes around three minutes to heat up to the specified 93.3°C. I measured just under 90°C, so close enough. The extraction then happens automatically and finishes in under 30 seconds. So from start to finish, including all the preparation and faffing around, it takes me around six or seven minutes to make an espresso.

I’ve not found a coffee bean yet, from cheap supermarket coffee to expensive freshly roasted beans, that doesn’t produce excellent crema, which certainly makes the espresso look very appealing.

Obviously taste is very subjective and I’m no coffee expert, but I do know what I like. I’ve tried a variety of beans, and the combination of the Fino and Mino produces really good coffee. I’ve also made coffees for my family and others, and everyone has been impressed with the results.
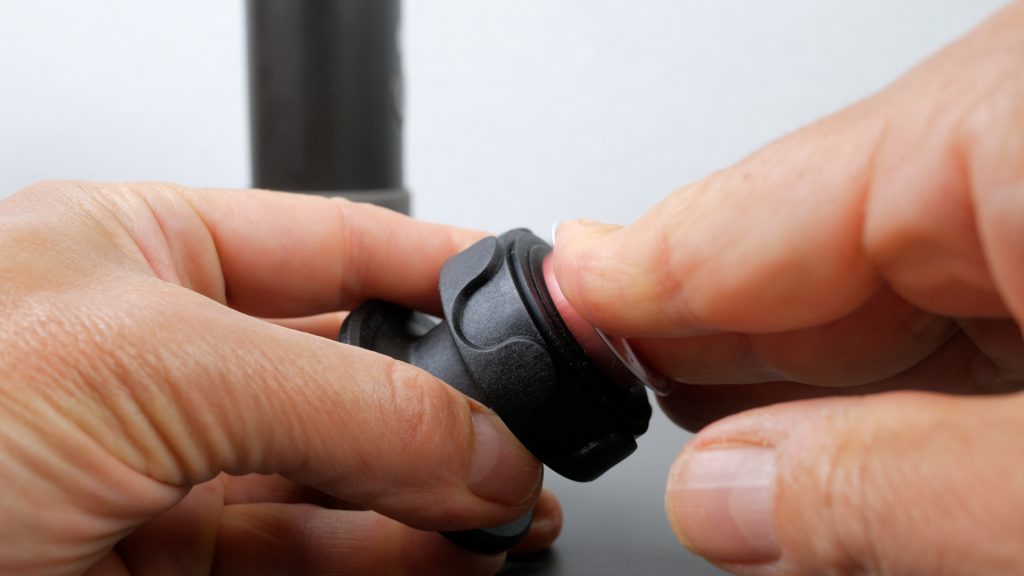
The Mino has another useful feature. You can also use it with Nespresso-compatible coffee pods using the included capsule adapter, and I found these gave decent results too.
But let’s see how it compares to my full-size Ninja Luxe Café Pro.
Making an espresso in the Ninja is about as easy as it gets. Load the hopper with beans, choose your drink and set the grind size. Press grind and the exact dose is automatically weighed into the portafilter.
Then pull the lever down to tamp the coffee with the correct pressure, lock the portafilter into the machine, place your cup underneath and press the brew button to start the extraction.
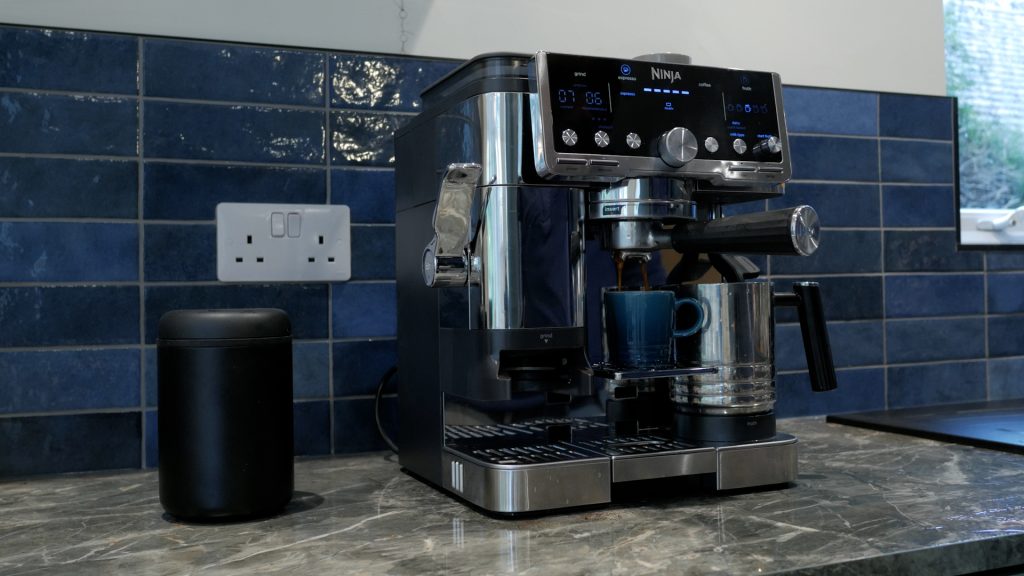
In less than 90 seconds from start to finish, you should have a perfect espresso.
And if the extraction isn’t quite right, the machine will guide you to adjust the grind size for the next coffee based on the previous extraction.

With good quality, freshly roasted beans, the Ninja makes a good espresso with excellent crema. But I’ve found it much fussier than the Outin about the beans you use. A lot of cheaper supermarket beans, for example, produce hardly any crema. The coffee can still taste perfectly good, but it doesn’t look quite as appealing.

And this is what surprised me. Overall, I’ve just had more consistent results from the Outin, regardless of what beans I use. I think the rich crema probably influences my perception of the coffee as well, but more often than not, I find myself preferring the espresso from the Outin.
That’s not something I expected from such a small battery-powered coffee machine.
There are a few other things to consider. Battery life on both the Fino and Mino is pretty good. The Fino provides around 18 grinds per charge and takes around 90 minutes to fully charge.

The Mino can make around six espressos per charge when heating the water from cold, or apparently over 500 if you use already-hot water. It also supports fast charging at up to 30W, taking around 45 minutes to charge from 20% to 80%. It can also be run off a power bank which is handy.
The batteries are integrated and aren’t user-replaceable, which does mean they will ultimately limit the lifespan of both devices. That’s always a concern for me with relatively expensive battery-powered products like these.

And there is, of course, the one big limitation I alluded to at the start – milk-based drinks like flat whites and cappuccinos, which are actually what I tend to drink most.

The Ninja handles these brilliantly – it heats and froths the milk automatically and produces really good results with almost no effort.

Outin have their LattoGo milk frother, but there’s no way to heat the milk. I’ve taken warm milk in a flask a couple of times and you can get decent results, but it’s not ideal. I’d love Outin to bring out a battery-operated milk frother that heats the milk as well. That would make this feel like a genuinely complete portable coffee system.
Conclusion
So overall, I’ve been really impressed with the Outin system. It’s not cheap, particularly if you start adding the Fino grinder, scales and milk frother, but you certainly don’t need all of it.
The Mino and Fino are the core of the system. Together they weigh around 1.4kg and take up surprisingly little space. They’re not exactly super lightweight, but I could still take them in a rucksack on a longer hike.
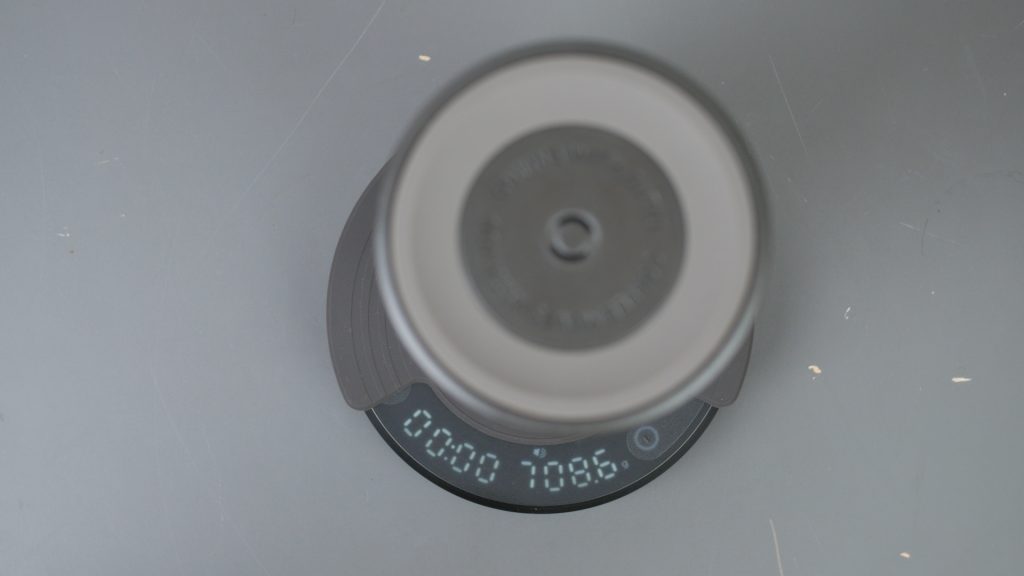
If I wanted to travel even lighter, particularly if I was out cycling, I could leave the grinder behind and take pre-ground coffee or use Nespresso-compatible capsules. The Mino is also IP67 water and dust resistant, which is reassuring when you’re using it outdoors. The grinder unfortunately doesn’t have an IP rating.
There is a fair bit of faff making coffee on the go compared to using a machine at home, and then there’s the cleaning afterwards. The Fino isn’t really an issue – it just needs a quick brush or blow out – but with the Mino you need to empty the used coffee and ideally rinse the portafilter and other parts with some clean water and dry everything. And milk drinks make things trickier still, because you’ve then got the frother and anything else that’s had milk in it to clean as well.
Probably where I can see myself using the system most is when I’m travelling. On longer car journeys I could make my own coffee rather than paying motorway service station prices, and then when I get to a hotel, I can make a decent espresso in my room rather than relying on whatever coffee-making facilities are provided.

And that really sums up the appeal of the Outin system. I can take a setup this small pretty much anywhere, grind fresh beans, heat cold water and make a genuinely good espresso, rivaling my home machine.
If you want hot milk-based drinks, the system isn’t quite complete yet, and it isn’t the cheapest way to make coffee on the go. But if you care about the quality of your coffee, I think it makes a pretty compelling portable setup.
Don’t forget to take a look at my YouTube video at the top of the page, and again please subscribe to my YouTube channel where I’m releasing videos every week on the latest technology and how to get the most out of it. If you tap the bell icon when you subscribe you’ll get a notification as soon as I release a video, and there’ll be a link to my site here for the written article. YouTube is also the best place to leave a comment. I read all of them and respond to as many as I can!
If you want further information or to purchase any of the gear featured, please use my link below. You can also get an extra 5% off with code TECHNOLOGYMAN. It doesn’t cost you anything extra and helps support this website and my accompanying YouTube channel, so thank you!
https://outininc.pxf.io/KBvEmv
Use code TECHNOLOGYMAN for an extra 5% off!
You can also buy the system on Amazon if you prefer:
Outin Mino Espresso Machine: https://geni.us/Lct6k
Outin Fino Grinder: https://geni.us/XAhLE
Outin Claro Scales: https://geni.us/I1YWmMB
Outin LattoGo Milk Frother: https://geni.us/1TS38Tz
Leave a Reply