At the end of last year, I wrote an article on how you could turn your desktop computer into a gaming machine that will rival the very latest offering from Sony or Microsoft.
So assuming you’ve read this article and have your memory and video card at the ready let’s get started.
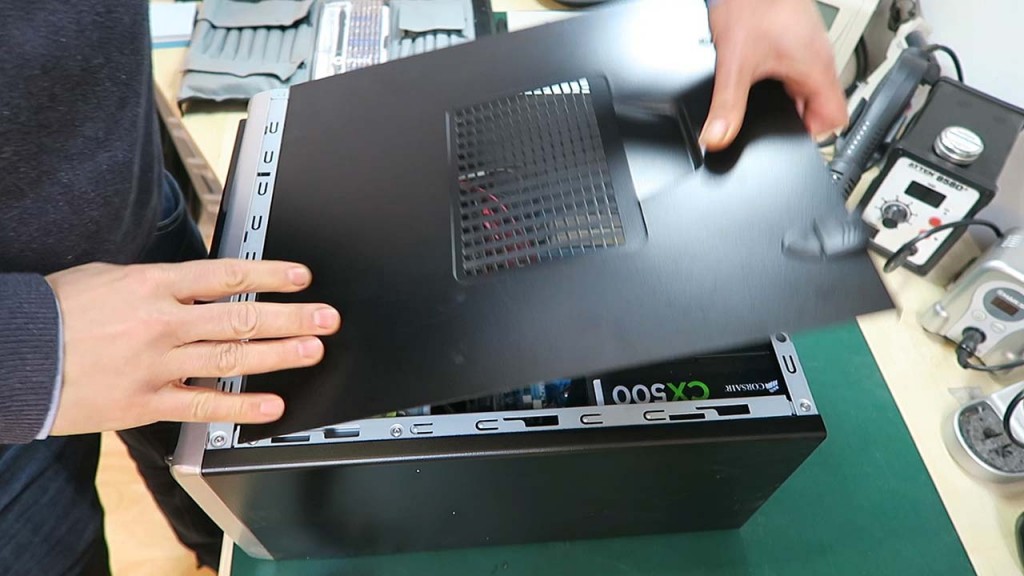
Firstly, slide off the side of the case, after releasing the clips or more typically removing the two Philips screws holding it on:
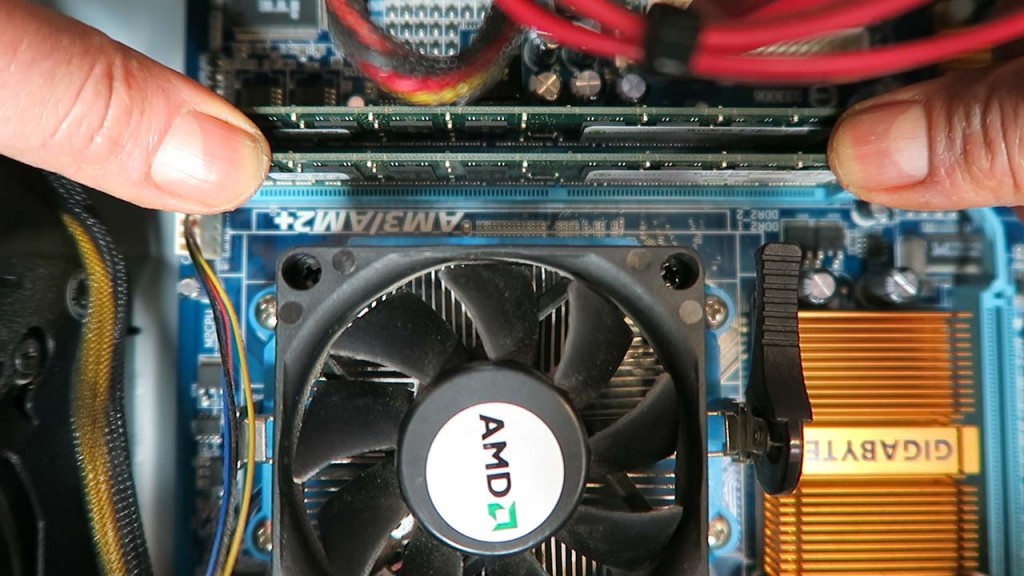
Identify the free memory slot, labelled DDR2 or DDR3, make sure you’re not statically charged up by touching some bare metal on the case and insert the memory module. The module is keyed, so can only go in one way. Also make sure the clips at the end of the slot are opened. You’ll need some fair force to fully seat the memory. You’ll know it’s completely seated when you hear a reassuring click and both side clips close up:
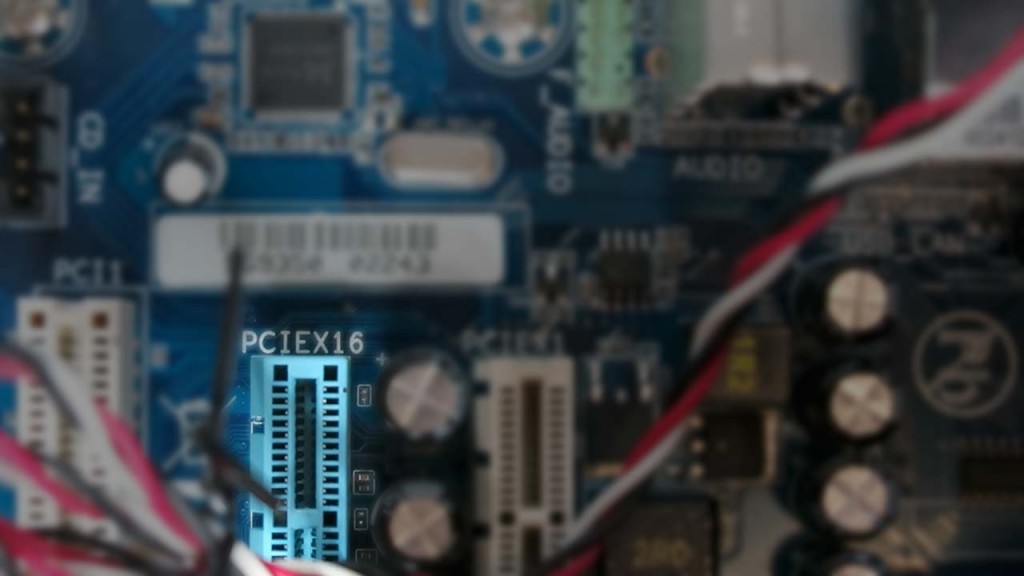
Moving on to the video card, firstly you’ll need to identify the video card slot, labelled PCIEx16 as below:
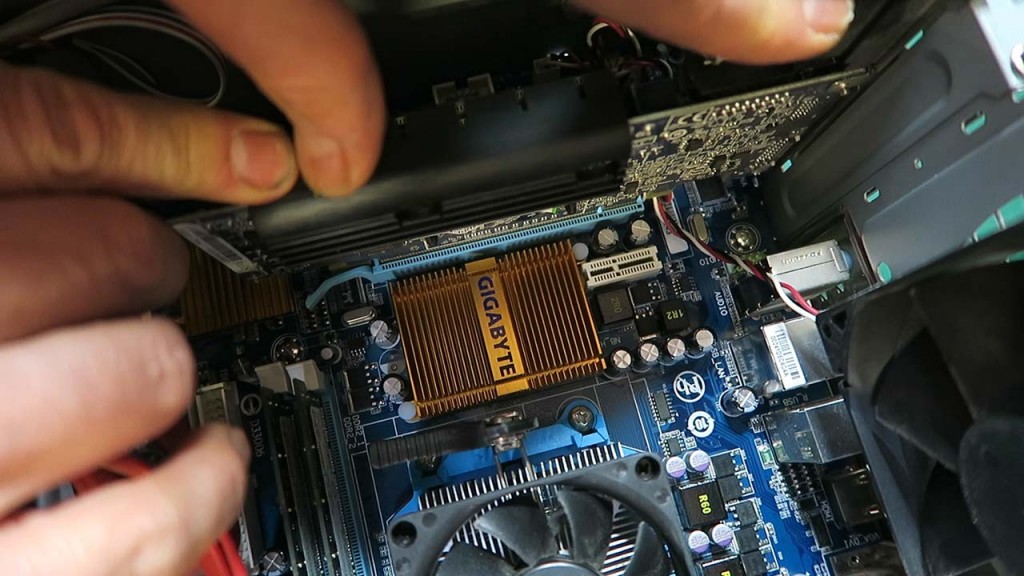
Most entry level boards only have one slot and you’ll need to remove the back plates of the case corresponding to the back of the card. Most decent graphics cards will occupy the space of two mainboard slots (although they just slot into one PCI Express x16 slot). Usually you’ll need to clear some space to install larger cards, so take a photo of how everything’s arranged and temporarily unclip any cables that restrict the installation of the card. Firmly insert the video card making sure it’s fully seated, and re-route any cables you unclipped.
Screw the back of the card into the case, replace any cover plate and reattach the side cover. Make sure all the ports are lined up correctly and connect your monitor to one of your new ports.

Connect all the other cables to your PC, boot up and let Windows download and install the correct video driver. The machine will need to reboot at least once.
Now enjoy your drastically improved frame rates!
Please let me know how you get on in the comments below.
Leave a Reply