[Update 13th January 2020 – see the end of the article for further screen protectors I’ve tested]
I use my Apple Pencil mainly for writing notes on my iPad, but despite several attempts, I find writing on the bare glass screen unnatural. If you feel the same way, pretty much any matte screen protector will improve the experience.
I released a video a few months ago comparing the quite expensive PaperLike matte screen protector against the cheapest one I could find on Amazon. You can see the original video just below.
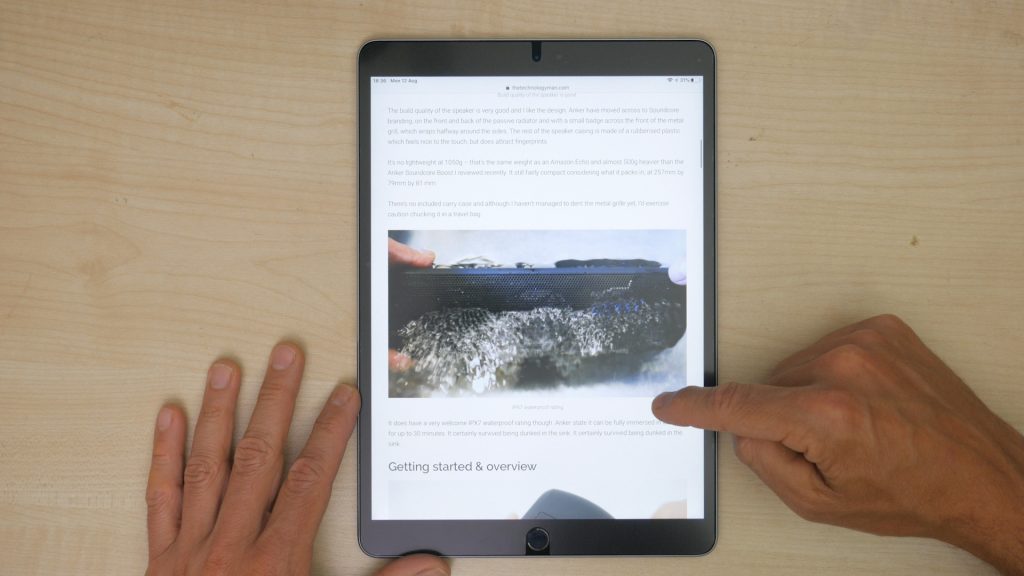
I did marginally prefer the feel of the PaperLike, but on a basic iPad which doesn’t have the laminated screen of all the other iPads in the range, the small air gap underneath the glass resulted in a slightly milky appearance with the PaperLike attached. This was very noticeable reading text and more so when you weren’t looking straight on.
With the newer iPads and all the iPad Pros with their laminated screens, that don’t have the air gap, the reduction in sharpness is not as apparent but there were complaints of display noise, which I personally didn’t really notice in everyday use.
So 2 years later they have released a new version: PaperLike version 2 and based on my last review they sent me an early sample to try out.
The two improvements they’re citing are more resistance when drawing and writing, and higher transparency with less display noise.
So I thought I’d give it a try.
Installation

It took me a few days to summon up the courage to peel off my perfectly installed PaperLike 1 and try out the new and improved version. I don’t have the basic iPad anymore – I’m using PaperLike with a 10.5” iPad Pro. There are no improvements to the installation procedure which despite their very helpful video guides is still a tricky process.
With my early sample I didn’t get the guide and dust stickers, but just used Scotch tape which works fine. PaperLike 2 is the exact same thickness as PaperLike 1 at 0.12mm – just a fraction thicker than printer paper.
You line up the PaperLike and then attach some tape to act as a hinge to install the protector like a book cover, with side one facing down. Since I’d just peeled off an existing protector my screen was very clean, but I probably still should have cleaned it with the included wet and dry cloths.
I tried to pick up any rogue dust particles with some more Scotch tape. You can then peel back side one’s protective film letting the PaperLike stick to the iPad’s glass, hoping that no dust manages to sneak in.
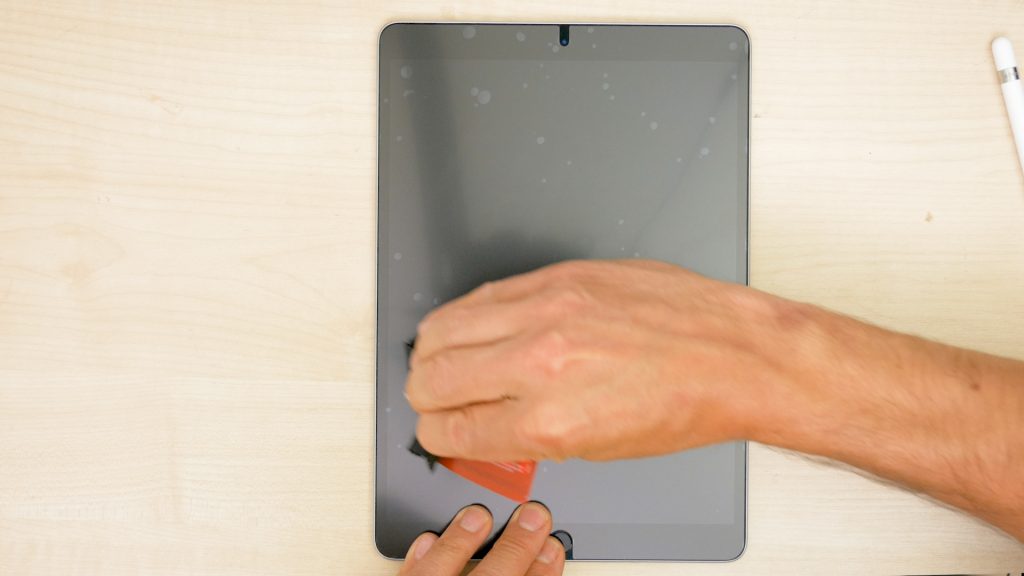
I had a lot of air bubbles to deal with that needed to be directed to the closest side of the screen with a plastic card protected with the dry cloth.

Then you can peel of side two and attempt to remove any remaining bubbles.
I was still left with quite a few bubbles that I couldn’t shift. Some disappeared over the next couple of days in use. Some that must have formed around a dust particle, were still there despite my best efforts to keep everything dust free. You don’t see them when using the iPad but with the screen turned off it looks a bit rubbish.

A few days later I installed the spare protector without filming the process and all the associated lighting paraphernalia that accompanies the filming – that doesn’t help to keep the dust at bay. I was super careful and got a better result, but still not perfect. If you get a dust bubble near the edge of the screen and you’re feeling brave, you can carefully lift up the side of the PaperLike with some Scotch tape and use another piece of Scotch tape to grab the offending dust particle.
Alignment is a little easier with the new version: it’s very slightly smaller than PaperLike 1 so there’s a larger gap around the edge. This should also help a bit if you’re using it with a case – the lip of a case can lift up the PaperLike when it’s very close to the edge of the iPad. Also the cutouts for the Home button and camera have been enlarged – which also makes alignment slightly less critical.

But I still wish they’d improved the installation procedure with this second iteration. It’s just as hard to install dust and bubble-free as PaperLike 1 which is disappointing. I don’t think it’s unreasonable at the price of PaperLike to include an installation frame. It would make the installation easier and quicker and I think it would help with dust, since you could keep the PaperLike completely face down while you peel off the protective film – the part of the process where dust can creep in, even following PaperLike’s installation procedures to a tee.
In use

It certainly feels rougher than the previous version, although I didn’t really have any complaints with the previous texture. The new protector uses what PaperLike describe as Nanodots Surface Technology which is meant to produce a rougher surface with less refraction.
I don’t know whether my PaperLike 1 has already lost a bit of its bite, but my initial impression of PaperLike 2 was that it felt just too rough in comparison to what I was used to, especially using my fingers on the screen which seemed to almost get stuck trying to slide around. And I initially found I had less control with the pencil, especially as my writing got smaller.

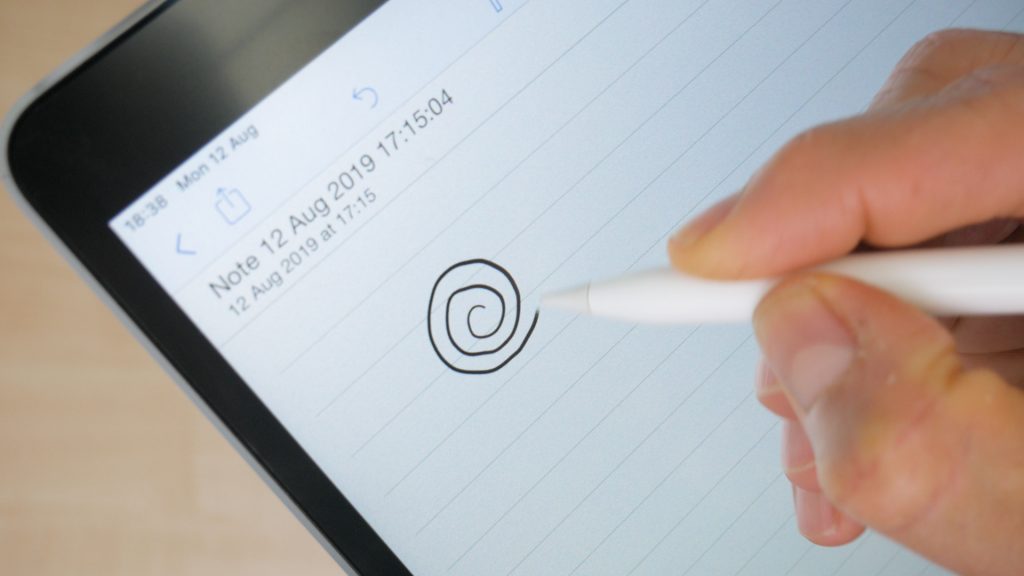
But it’s hard to say whether I quickly got used to it, or if the initial grab of a new film wears off within a few hours of use. Either way after using it for a day or so I found writing on it fine and certainly no worse than with PaperLike 1, but I can’t say I really noticed any significant improvement either. I do still much prefer using the Apple Pencil on a screen protector like this, and find it hard to go back to writing on plain glass. And it’s subtle, but there is a more consistent writing and drawing experience using PaperLike 1 and now 2 compared to other matte protectors I’ve tried.
It does still feel rougher to the touch though which is how I interact with the iPad most of the time and I’m still getting used to that – it has a pretty similar sensation to dragging your finger on a piece of paper.

I did notice the clarity was indeed better, not by a massive amount and I’m not sure it’ll be visible in the footage by the time it’s uploaded to YouTube. But it’s noticeable nonetheless. And the colour noise which is only really present with a bright white background, was minimal. Overall everything looks pretty crisp on my iPad Pro. You’re still not going to forget you have a screen protector on, but it’s not significantly interfering with the iPad’s display and the almost complete lack of glare does make general viewing more comfortable.

I’m not able to test this on the basic iPad with the air gap, but I’d imagine the better transparency would improve things more dramatically. Please let me know in the comments if you get to try PaperLike 2 with a basic iPad.
Conclusions
It’s good to see a company listening to feedback and continually developing their product. PaperLike 2 does have a rougher texture than their previous version and the transparency is indeed improved. This is quite an achievement since you’d imagine these two features would directly compete with each other.

I personally didn’t have an issue with the roughness of the first version of PaperLike, and took a day or two to get used to the new texture. But after another week of using the PaperLike 2 everyday I can’t say I really noticed any difference over the first version, writing and occasionally drawing with the Apple Pencil. I do still prefer the consistency of PaperLike screen protectors over other matte protectors I’ve tried.
Where you do notice the rougher texture is with normal interaction with the iPad using your fingers. They have managed to make it feel, well quite a lot like paper! This takes a bit of getting used to, even coming from PaperLike 1 let along the smooth glass of a bare iPad.
For me the biggest upgrade is the improved transparency with this new version. Text and photos are a little crisper. Together with its anti-glare properties, I now prefer using the iPad with the PaperLike.
But all this comes at a price. PaperLike 2 is going to be priced at €34 which is €5 more than the already expensive PaperLike 1. It’s cheaper while the Kickstarter campaign is running so check their Kickstarter page to see if any discounts are still available.
But even so it’s a lot of money to spend on a plastic screen protector, and there are matte screen protectors on Amazon costing less than a third of the price. In my tests they might not offer quite the consistency of PaperLike with an Apple Pencil but the difference is fairly subtle, especially for casual use.
And there’s no improvement to the installation process, which is still difficult to complete without any dust bubbles. But perhaps there’s no easy solution here.
If you already have PaperLike 1 perfectly installed on your iPad I’m not sure you’ll find it worth upgrading. Unless you have an iPad without a laminated screen where the improved transparency will likely be more significant.
But if you’ve been considering PaperLike, I think the improved clarity alone is enough reason to go for the new version.
Don’t forget to check out my video comparing PaperLike to the cheapest matte screen protector I could find on Amazon, if you haven’t already.
Don’t forget to take a look at my YouTube video at the top of the page, and subscribe to my YouTube channel where I’m releasing videos every week on the latest technology and how to get the most out of it. If you tap the bell icon when you’re subscribe you’ll get a notification as soon as I release a video, and there’ll be a link to my site here for the written article. YouTube is also the best place to leave a comment. I read all of them and respond to as many as I can!
PaperLike (direct – I got mine in 2-3 days from Germany to the UK): http://paperlike.com/
PaperLike (Amazon): https://amzn.to/2KQnLsV
Other matte protectors I’ve tried since this article:
Nillkin Write Like Paper Screen Protector:
+Roughest protector I’ve tried. Probably feels most like you’re writing on paper
+Easiest matte protector I’ve applied – perfect installation with no bubbles
+Feels quite thick so may offer slightly more protection
+Still has good clarity
-Perhaps too rough for many. I couldn’t get on with it but will be very subjective
-Expensive
-You only get one sheet – so be careful applying it!
BENKS Screen Protector for iPad:
+A little rougher than PaperLike 1 and 2 which some will like
+Installation easier than PaperLike 1 and 2
+Decent clarity. Better than PaperLike 1, but not quite as sharp as PaperLike 2
-1mm gap around edges quite visible (this was on an iPad Air 3 10.2″)
-No alignment stickers. I just used sellotape and book method as I show in both my videos. Does come with a nice squeegee though
-Quite expensive considering you again only get one sheet
Tech Armor – Anti-Glare Matte Film Screen Protector for iPad
+Quite similar feel to PaperLike
+Easier to install than PaperLike – no bubbles left for my installation
+Very good value – 2 sheets for £7
-No wet wipe
-Does noticeably soften the screen – this installation was on a iPad 6th Generation with the air gap. Similar to PaperLike 1, worse than PaperLike 2
Leave a Reply