Limited storage on iPads and iPhones has always made purchasing a device with enough capacity a difficult decision. Apple charges a lot of money to jump up to their larger capacities, as much as £1 or $1 per GB for example to increase the basic iPad’s rather paltry 32GB to 128GB. And you don’t always know exactly how much capacity you will need. Apple still don’t let you add SD card storage or even access external storage drives without buying specific devices, which generally have to be used with third party apps. Perhaps iOS 13 will change this, but that’s where we’re at now …

If you’re happy to pay for some iCloud storage, you can enable Optimise Storage to compress all your photos and videos significantly. Or you can use Google Photos, as I’ve discussed in a recent blog post, to backup all your photos and videos free of charge if your prefer. And then you can delete them off your device.
But that’s mainly limited to photos and videos taken with your iPhone or iPad. Sometimes you just want to easily access some files off your computer or external hard drive, perhaps some large video files or RAW photos. Or you want to easily upload some large files to your computer. I’ve got an upcoming video on various ways to expand your storage, particularly when you’re out and about, so please subscribe if you don’t want to miss it.
In this article, I’m looking at a totally free way to have access to as much storage as you want, and you don’t even need a cable.

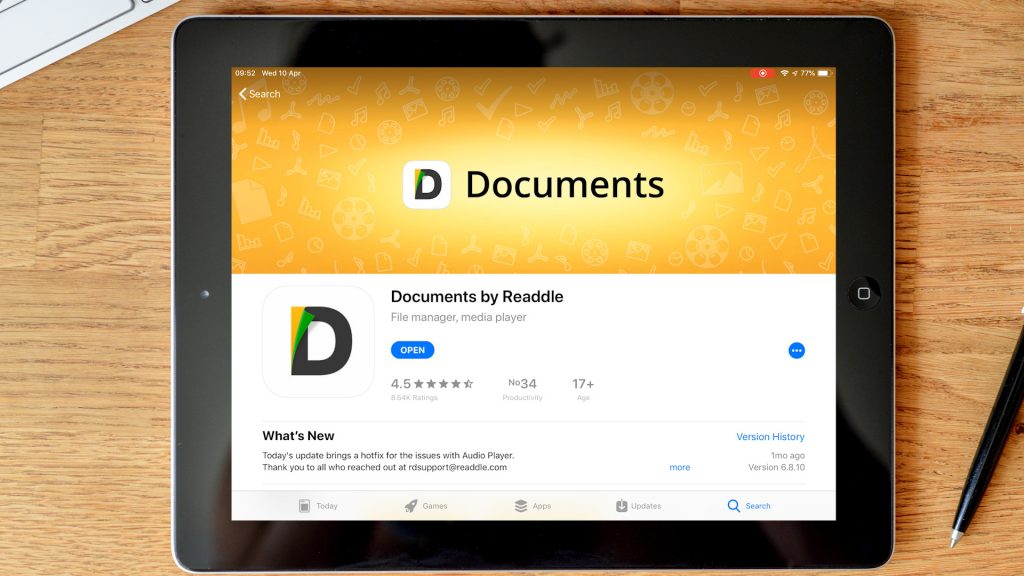
I’m using an iPad, but this will work in the exact same way with an iPhone. You will need a computer and a free app from Readdle called Documents. For some applications you don’t even need the Documents app. You will also need both your iPad and a computer connected to a private WiFi network, so this a great option whether you’re at home or work. I’ve used it for editing videos on my iPad in front of the TV.
The method does involve using file sharing, but don’t be put off – I’ll guide you through the process. And if you’re still not keen on setting up file sharing, I’ll show you towards the end of the video another method that’s not quite as convenient, but easier to set up.
The general idea is you share a folder on your computer, either a PC or a Mac. You could also use a NAS, if you have one, in the exact same way. You then have full access to this shared folder from your iPad to copy back and forth using the Documents app. Just like having a external hard drive plugged into your iPad.
A lot of files can be played natively in the Documents app, including videos, photos, Word files, music and PDFs. Or you can use the “Open in” feature of iOS to import them into your preferred supported app.
It’s quite fast if you have a good WiFi network and the great thing is you can share any folder, so if you already have a huge folder full of videos say, you could either play them directly from the networked computer, or copy across only the files you want for offline playback.

First let’s setup the shared folder on a Mac. Tap the spotlight search and type “Sharing”. Open the Sharing System Preference and tick the File Sharing service. Tap on Options and make sure “Share files and folders using SMB” is selected. Then tick the Windows File Sharing user you want to have access. Take a note of the user name including spaces and capitalisation. You’ll be prompted for your Mac login password. Click “Done”.
You can add a shared folder under the Shared Folder pane. I’m sharing a Videos folder on my desktop. I can just drag the folder across. Check whether you want Read and Write or just Read access. And take a note of your computer’s name in case it’s not obvious when you scan for shares later. It’s also worth taking a note of the network name just below so that you add a share manually later.
Setting up shares on Windows does depend on your version of Windows, but it’s similar on Windows 7, 8 and 10. I’m using Windows 10. Tap the start button and type “Control Panel”. Select Network and Sharing Centre. Make sure you’re on a private network.
Select “Change advanced sharing settings” from the sidebar. Under Private network profile, ensure “Turn on network discovery”, and “Turn on file and printer sharing” are selected.
Expand “All Networks” and scroll to the bottom. Ensure “Turn on password-protected sharing” is selected. I find this the most reliable method, but you will need a password on your logged in user account.
Click back a couple of times to get to “Control Panel” again. Select User Accounts and take a note of your user name, which I’ve highlighted. It’s easier if this is an Administrator account and there needs to be a password set. Often the hardest bit is remembering what your login password is! Especially if you’ve set a pin to gain quick access. But you will need this password.
To share a folder, in Windows Explorer, right click on any folder and select properties. This could also be an external hard drive connected to the computer via USB. Under the Sharing tab, click on Advanced Sharing. Tick the “Share this folder” check box and and either accept the default share name or type in what you want. This will give you read access. If you want to be able to write to this folder too, click on permissions and tick the Full Control checkbox. Click ok twice and close the dialog box.
Now we have our shares setup, we can access them from the iPad. Unfortunately the Apple Files app doesn’t currently work with network shares, but we can use the completely free Documents app.

Open the app and tap Nearby from the sidebar, which will search for nearby network shares. Tap on the Mac – in my case Gidon’s MacBook Pro. And enter the username and password of the user account as we noted down earlier. The username is exactly as displayed on the Mac and includes spaces and importantly any capitalisation. Let Documents save your login details for a quick connection next time. Tap on done and the iPad will connect to your shares.
The procedure for a PC is the exact same as with the Mac. Tap on the PC, in my case “desktop-gmr”. Enter your Windows user account and password and tap done.

You can save a share to the sidebar but tapping + next to “In the Cloud”, and choosing Windows SMB, whether it’s a PC or Mac, and manually enter the server name as listed above when you scanned the network. So in this case: “desktop-gmr”. Then enter the same username and password as before.

You can now browse your shared folders just like you’re on the computer itself. It’s really quick to move around folders and browse directories. You can view supported files right inside the app. For example, photos, Word documents, music and PDFs. And videos will try and stream depending on your network speed and the bitrate of the video.
You can also download files by tapping on the 3 dots underneath the file and choosing “Download”. You can view, and delete, downloaded files in Documents | Downloads. If you delete a file, remember to also delete it from Recently Deleted to avoid filling up your iPad.

A 1GB file took around 2 minutes to download from a MacBook connected wirelessly and less than 90s with a Windows PC connected via a Gigabit ethernet cable. As a reference, importing the same file via an SD card reader over lightning took just over a minute.
You can upload files back to a network share too. Tap on the three dots and choose upload. Or you can drag and drop to a saved share.

If you want to open the file in another app, you can tap on the 3 dots and select share. For example I could open and edit a RAW file in Affinity Photo.
Or I can export a video file for editing in the video editing app Lumafusion. In this case it’s easier to have a project already open in Lumafusion. The file is then copied across to the Imported folder ready for editing.
I find it’s often easier to drag and drop files between Documents and the open app using the iPads multitasking features; if the app supports that.
Some apps like Lumafusion let you directly access shared folders, so you don’t even need to use the Documents app. For example in Lumafusion, just tap on Sources | Wireless/Network Drives and choose “Add Server”. The networked computers should show up. Or you can add them manually as we did in Documents. You can then browse to the shared folder and import the video straight into LumaFusion.

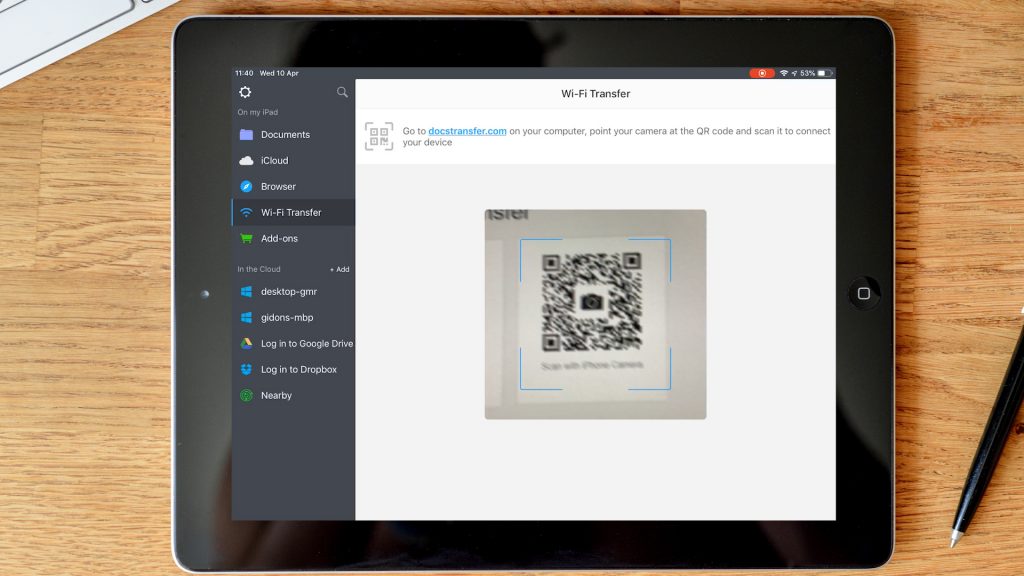
If you’re not keen on setting up sharing, Documents also support WiFi transfer which is a little like Airdrop but works between your iPad and a PC too. It’s very easy to use. Just go to docstransfer.com in your web browser, and tap on WiFi transfer in Documents. Scan the QR code and you’ll be able to use your iPad a bit like a thumb drive. The transfer speed is quite fast – the same 1GB file took less than a minute from my desktop with the Gigabit ethernet connection to the iPad.
This is a great solution for many people. There’s no additional equipment to purchase, and it’s all wireless. Storage is effectively unlimited and the transfer speeds are pretty quick, as far as wireless transfer speeds go.
You can’t work directly off the the large files unfortunately, so you’ll still need enough storage on your device to even temporarily copy them across. But that’s the case for almost every solution out there, until Apple relax the restrictions on their iOS file system.
Leave a Reply